Happy Sunday, friends! This week I’m finally bringing you my Freezer Meal Prep Guide – I’ve been working on this one for quite a while to be honest. I started building up my freezer meal recipe Rolodex last year and now I’ve got enough to really share my tips, tricks, and a long list of favorites. This post will mostly focus on individual meals and how to freeze meal components like veggies and proteins…if you’re looking for a bulk freezer prep or family style meals, this may not be exactly what you’re looking for. Hopefully there are still some good tips that you can put into practice though!
What’s in my Freezer?
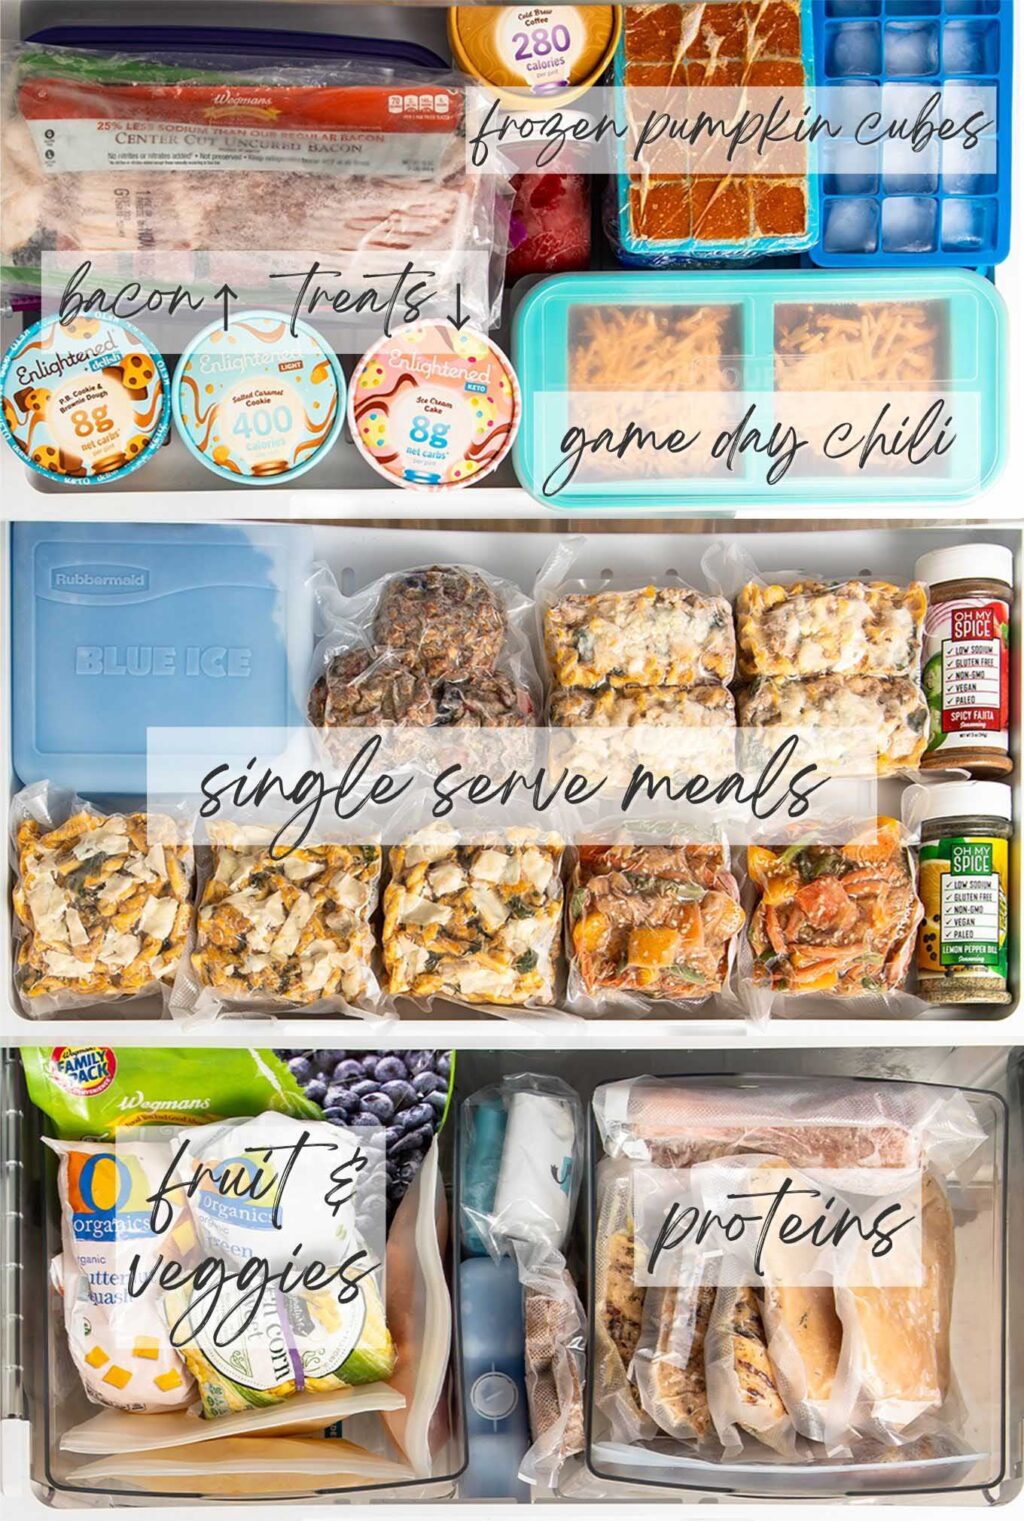
It depends! I should preface this by saying that the only freezer space I have is what you see in the photo above…I currently live in a place with no garage (hence, no highly coveted garage fridge for me) and really no space to put a chest freezer. So I have to be pretty strategic about what gets to take up real estate in my freezer. Even with the limited space, I do like to keep it stocked with a few essentials at all times. If you have extra storage space, this will probably look a bit different for you!
1. Proteins!
This is my top item to stock in my freezer for a few reasons. One, I like to always have some on hand in case I have unexpected guests for a weekend grill gathering or weeknight dinner. Two, we’re going on year 3 of a pandemic that has caused a lot of supply chain issues…and sometimes it’s hard to find the proteins I want in the store. Three, I like making it easy on myself when I’m in a time crunch for meal prep.
Here’s what I mean – I almost NEVER meal prep with chicken that isn’t brined anymore. Honestly, the difference between meal-prepped-brined-chicken and meal-prepped-non-brined-chicken is huge. Read more about that here. So what I’ll do is whenever I know I have a little more time to prep, maybe on a long weekend, I’ll buy 2 or 3 lbs more chicken than I’ll need for the following week. (Bonus: the big family packs of chicken are usually a bargain too!) Then I brine a huge batch of it, getting all the chicken cleaning and brining done at once. My fellow nerds and I call this economies of scale. After it’s brined, the chicken gets rinsed, patted dry, and pounded flat so it’s an even thickness throughout. Next I freeze it inside freezer bags, then vacuum seal them so I can grab one whenever I need it.
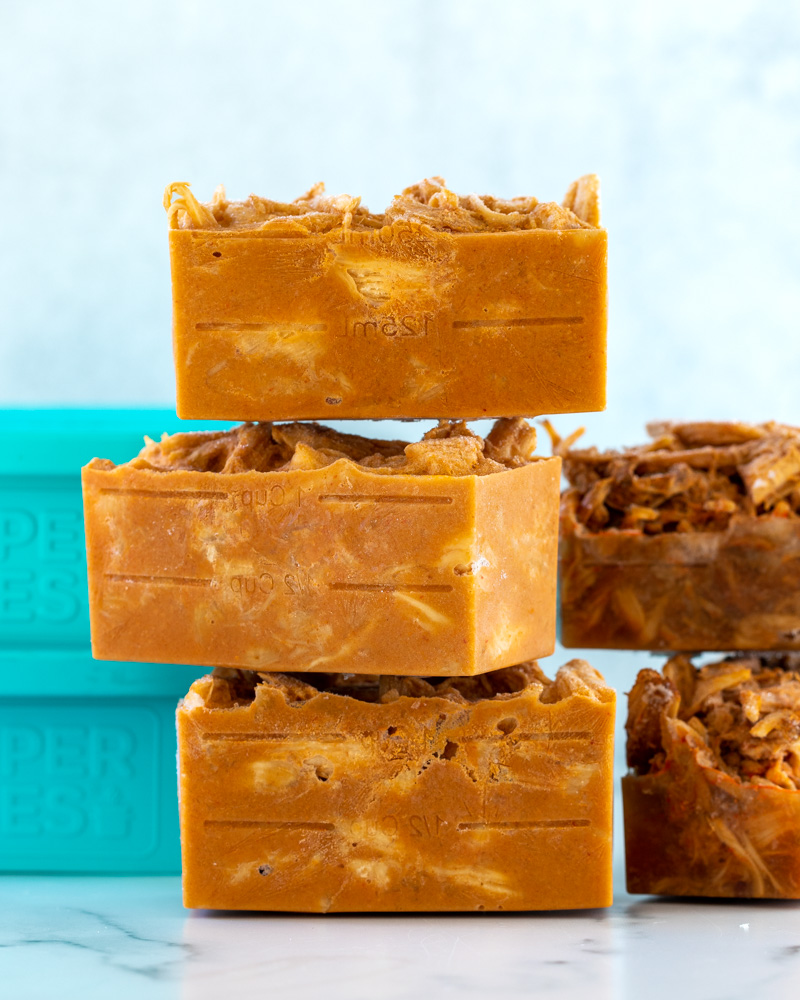
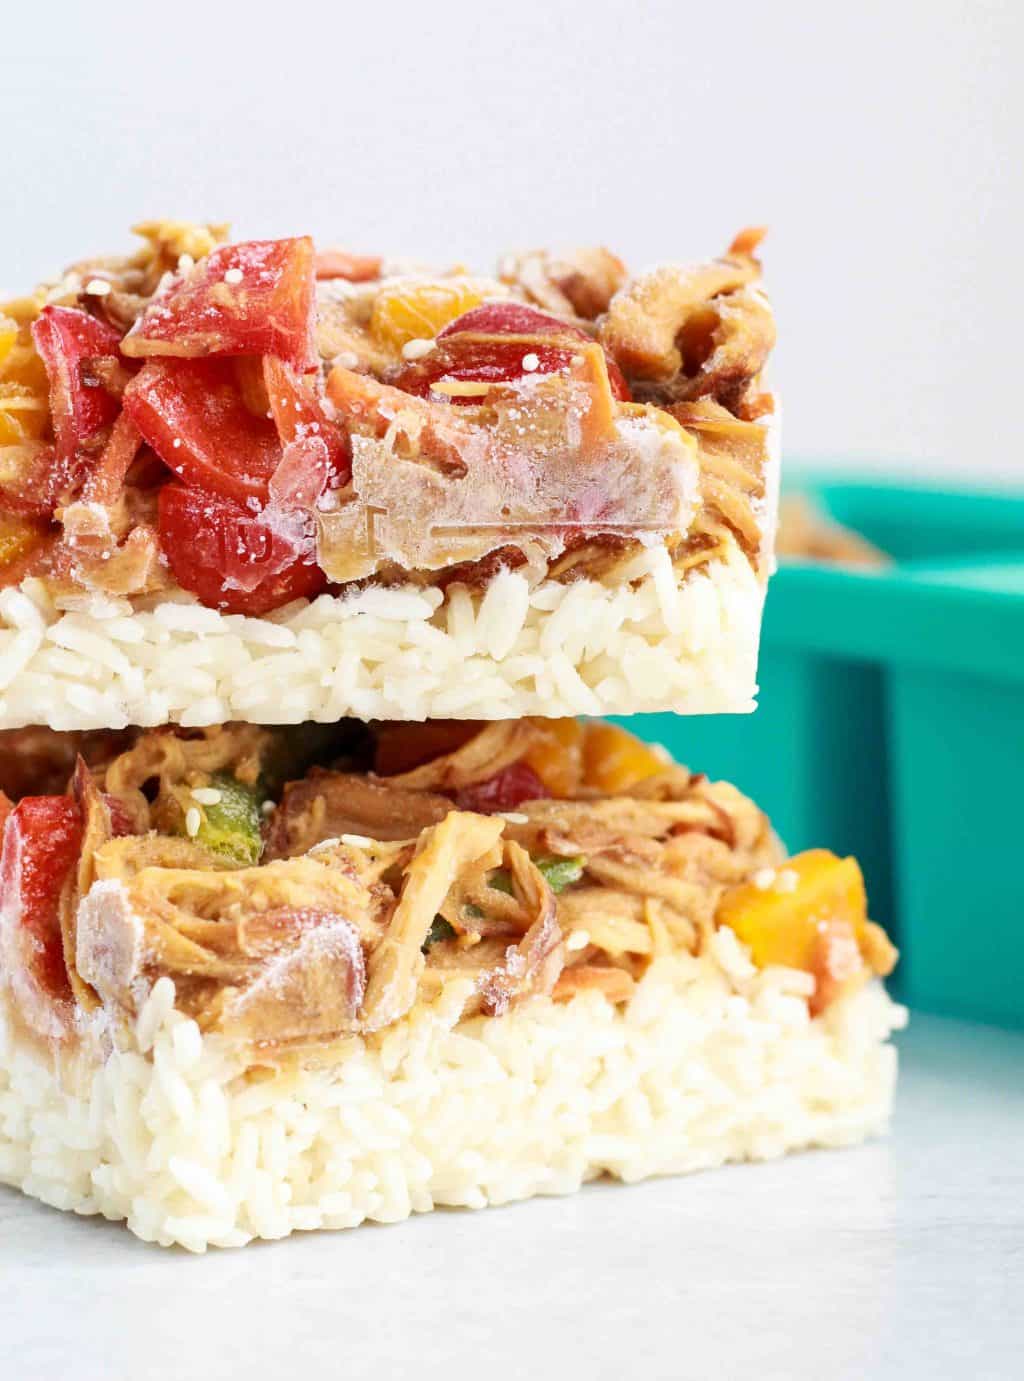
I also like to keep some pre-cooked chicken on hand so I can quickly defrost and throw it on top of a salad when I don’t feel like cooking or I’ve run out of my prepped meals. Sometimes that means chicken that I’ve brined and grilled ahead, and sometimes it means slow cooker shredded chicken. Here you see just the shredded chicken and sauce from my Instant Pot Thai Peanut Chicken recipe (plus the chipotle chicken for this recipe).
2. Fruit and Veggies
Another great option for making a quick meal, frozen veggies can be a life saver when you’re in a time crunch but still want to knock out a home cooked meal/meal prep. I also love freezing extra fruits/veggies when they’re at their peak flavor and in season. Not only are they more delicious, but they tend to be cheaper when there’s an abundance of them locally!
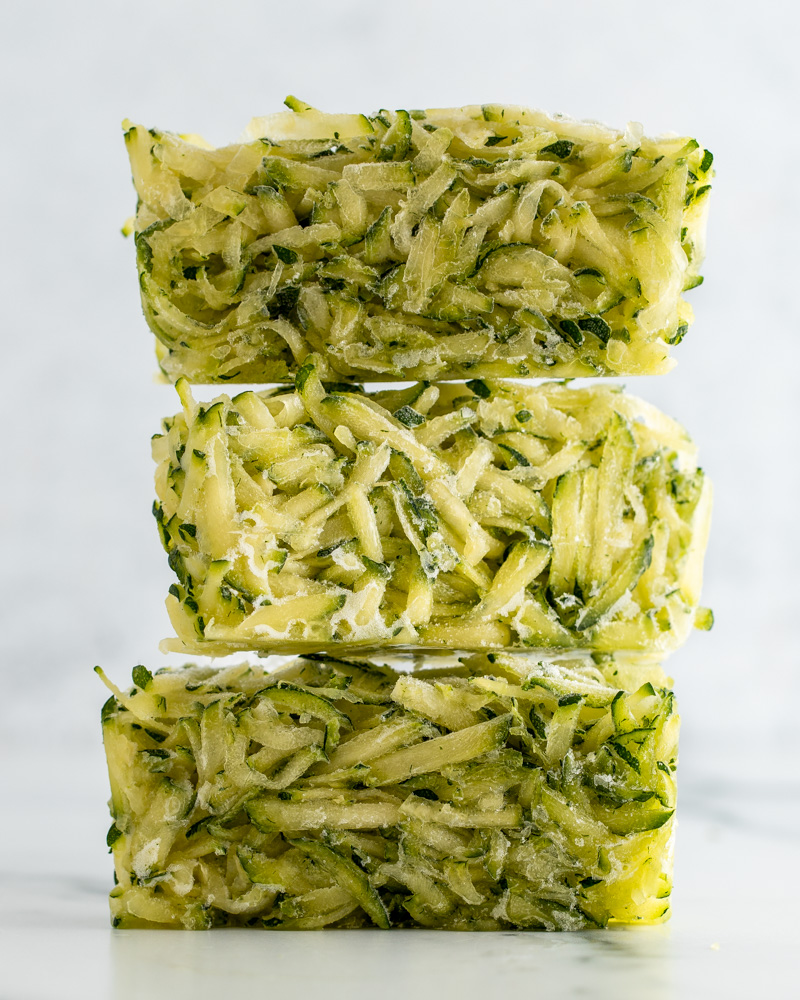
Things like frozen butternut squash can quickly be boiled or steamed, then mashed for use in a recipe like this. Frozen spinach is great for sneaking veggies into sauces or even meatballs. Frozen fruits are perfect for smoothies and shakes, but I also rely on them for use in my oatmeal muffins most of the time. Frozen shredded zucchini like you see pictured here works great in zucchini bread and muffins like these. I froze these half cup portions in my Souper Cubes, of course!
3. Freezer Meals
The reason we’re all here, right?? I love having single serve freezer meals on hand for when I don’t have time to meal prep for the week or even when I just want a little variety!
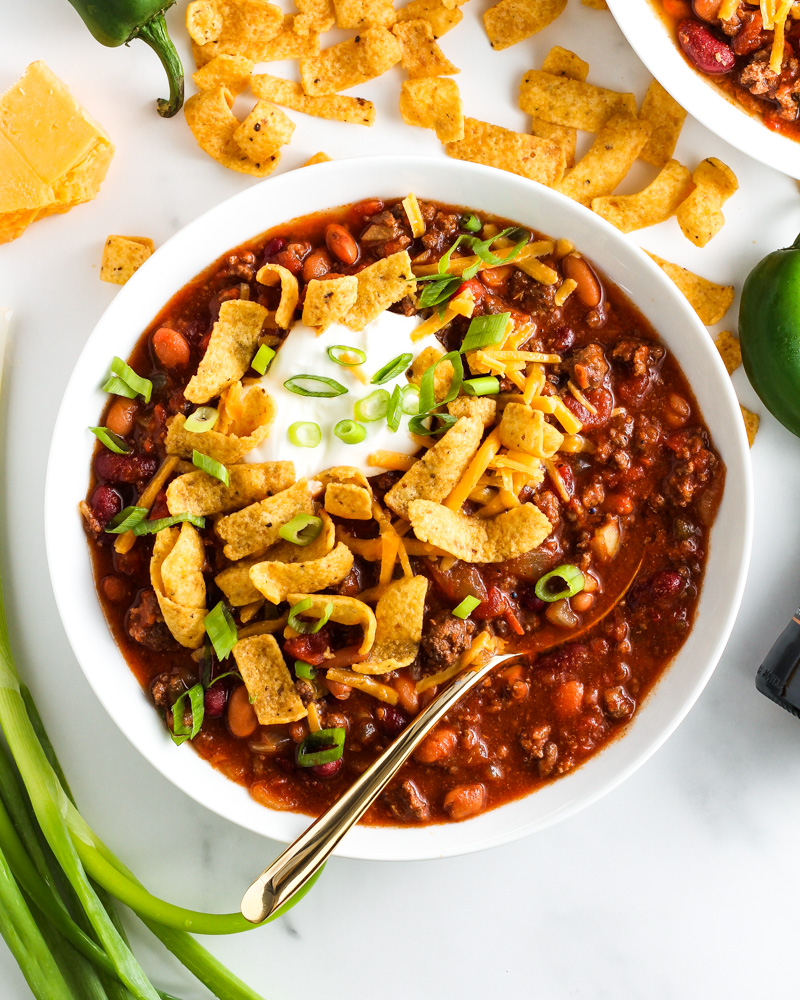
My favorite way to build up my freezer meal stash is to just make a little more than I would normally eat in a weekly meal prep and freeze 1 or 2 servings for later. There are also some recipes that just make more in the first place, like a big batch of chili or soup.

4. Plenty of Ice
I have several types of ice on stock in my freezer at all times. I don’t have a built in ice maker, so of course I have some of the typical half moon shaped plastic tray ice that I keep on hand for when I just…need some ice. I’ll use it for when I’m brining chicken (see how I do it here), when I need to blanch veggies in an ice bath, or maybe when my pup is overheated and just wants to play with a chunk of ice. Then I have nicer square ice (small cubes and large cubes). But then! Oh, then I have my clear ice…and yes this photo is of clear ice made in my home freezer! This is the good good stuff that I keep on hand for serving guests or when I feel like having a touch of hard liquor. Just make it peanut butter whiskey so I actually enjoy it, because if we’re being honest, I don’t actually like drinking bourbon or really any other hard liquor by itself. Call me weak, but I like what I like!
5. Treats and Other Random Stuff
I like to keep a few pints of ice cream (or protein ice cream) on hand at all times. You never know when you’ll have an ice crem-ergency. See what I did there? But seriously, when I do stock a frozen treat, it’s typically non-dairy “ice cream,” but what you see here is from a project I did a while back. If you’re curious about protein ice creams or non-dairy ice creams and which ones are worth buying/trying, check out my Quest for the Best posts on each!
Aside from the treats, you’ll notice I have some spices in my freezer too. Yes, for real. My favorite spice companies usually do big Black Friday sales, so I’ll stock up once a year and then stick anything I won’t use immediately in the freezer. Helps keep it fresh and lasts much longer than leaving it out. Same thing goes for coffee/coffee beans!


Freezer Prep Tips


1. Air is the enemy!
Allowing space for air in your frozen food bags or containers is problematic for a few reasons. First and foremost, it allows space for moisture to be drawn out of your food in the low-humidity environment of your freezer. In the short term, this impacts the quality and flavor of your food (though it’ll still be perfectly safe to eat). For meats and seafood, that means even after thawing, you’ll be starting with a slightly drier piece of protein before you even start cooking. In the longer term, it also makes your food more susceptible to freezer burn as this drawing out of moisture becomes more severe over time and completely ruins the normal textures and flavors of your food.
2. Soggy breads/tortillas are sad.
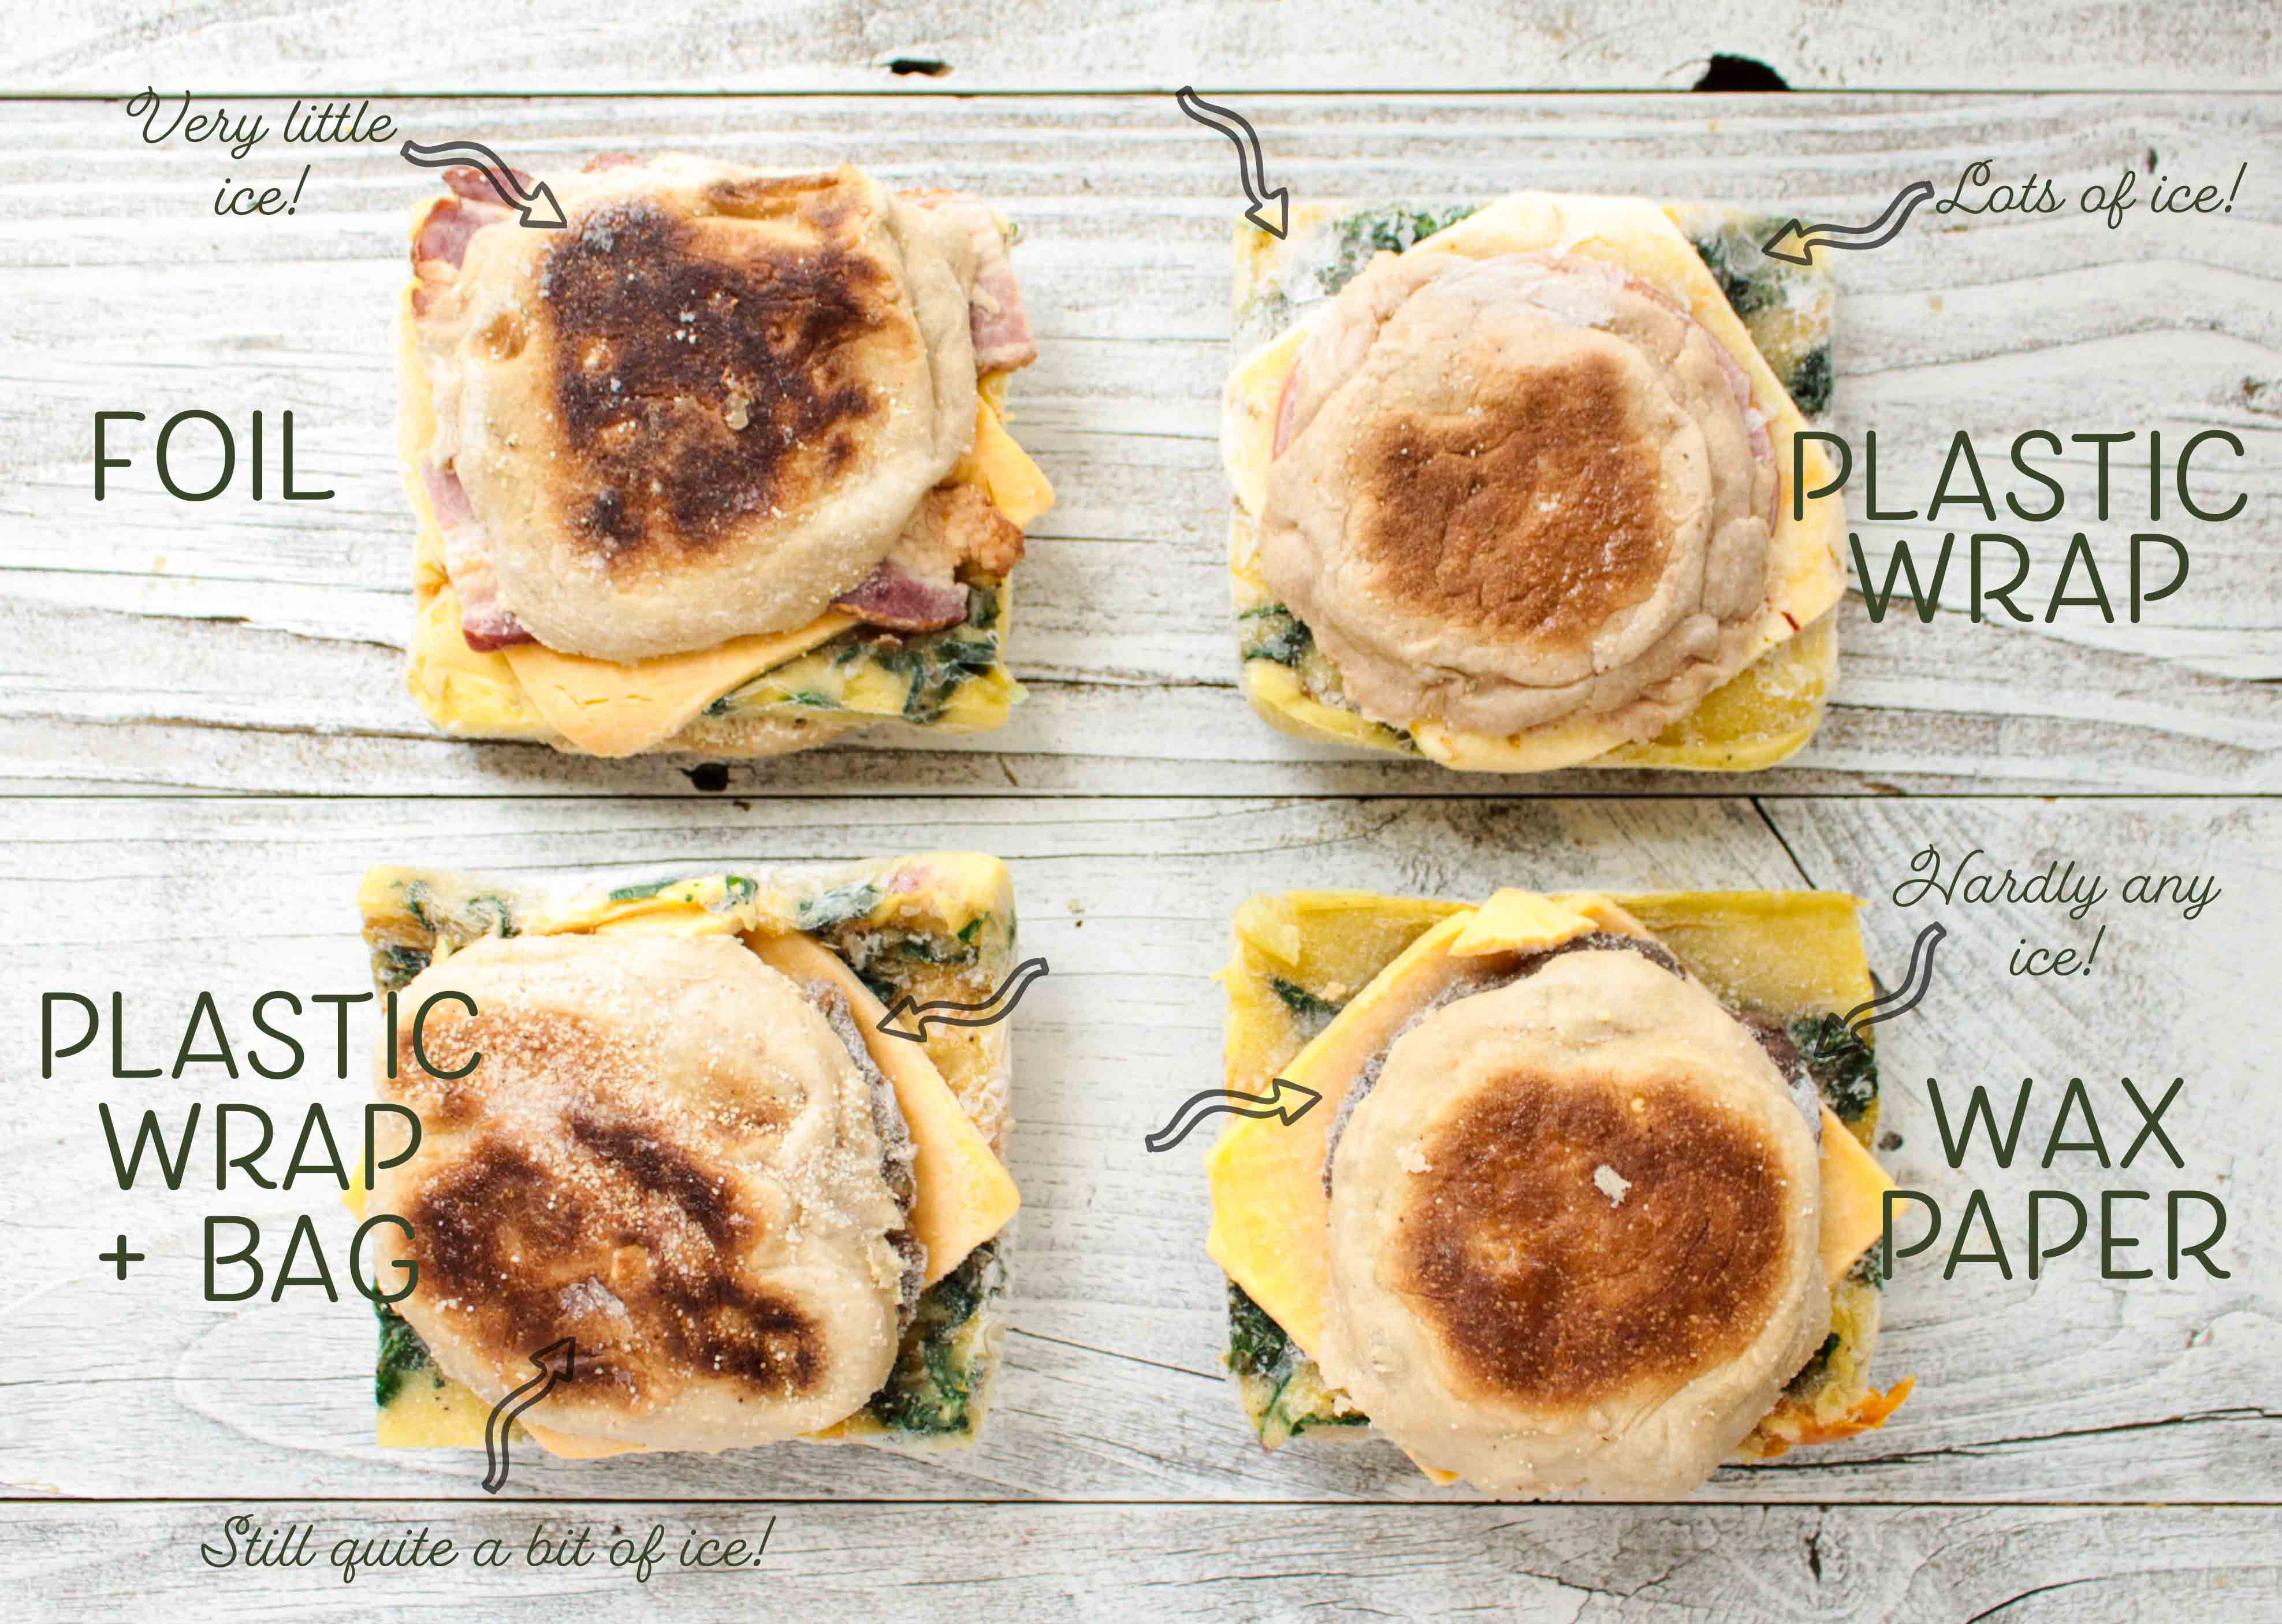
This is kind of a piggy-back off of my first tip, because it has a lot to do with ice. Minimizing the amount of ice that builds up on your foods – especially breads and tortillas – will help keep them from getting soggy when you thaw and reheat them. Part of the trick here is to ensure that food is completely cooled before sticking it in the freezer. This ensures there is no buildup of steam/condensation inside the wrap or container. Then comes the type of wrap…wax paper (especially wax freezer paper) performs really well in the freezer. Just be sure to wrap handheld foods like sandwiches or burritos tightly! In the photo, you can see how several different wrapping methods performed in the freezer.
3. No one likes mushy pasta or rice.
Rice can be tricky in the freezer, and I recommend going straight from freezer to microwave when reheating it to avoid gummy rice. If the rice is frozen as part of a freezer meal, stick the frozen block into a meal prep container like this, add a bit of water or broth to the bottom of the dish, cover with a plate or silicone cover, and run it for two 2-minute defrost cycles in the microwave. Break everything apart with a fork in between/after the defrost cycles, then microwave on high for another 2 minutes to heat it through.
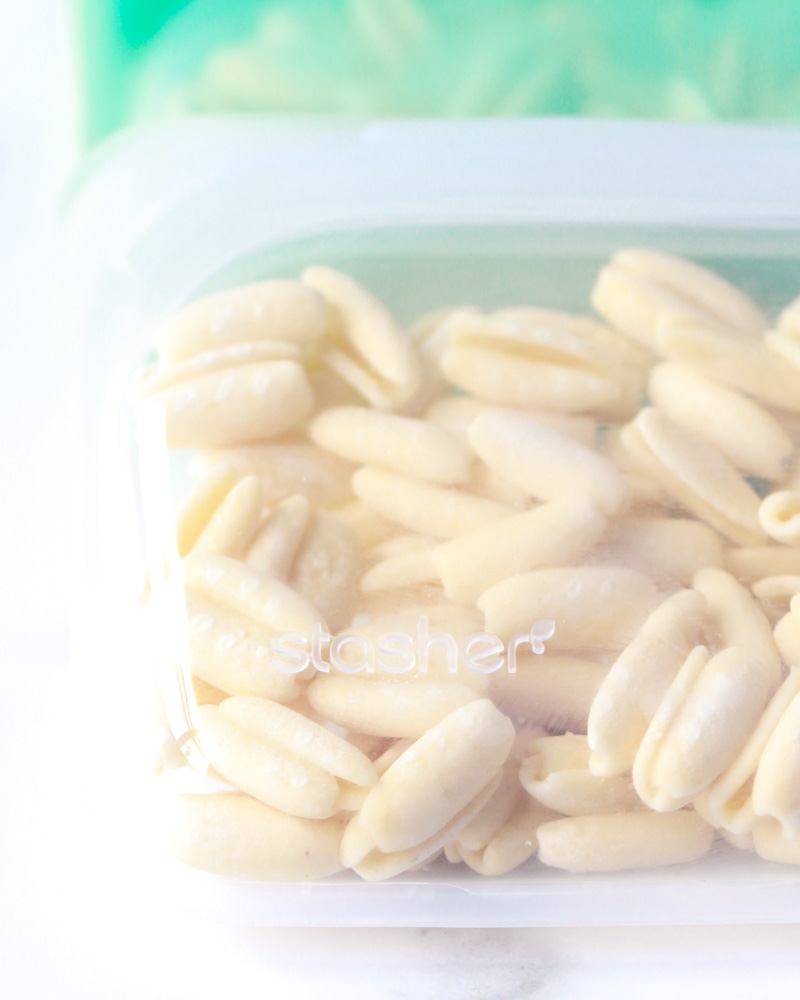
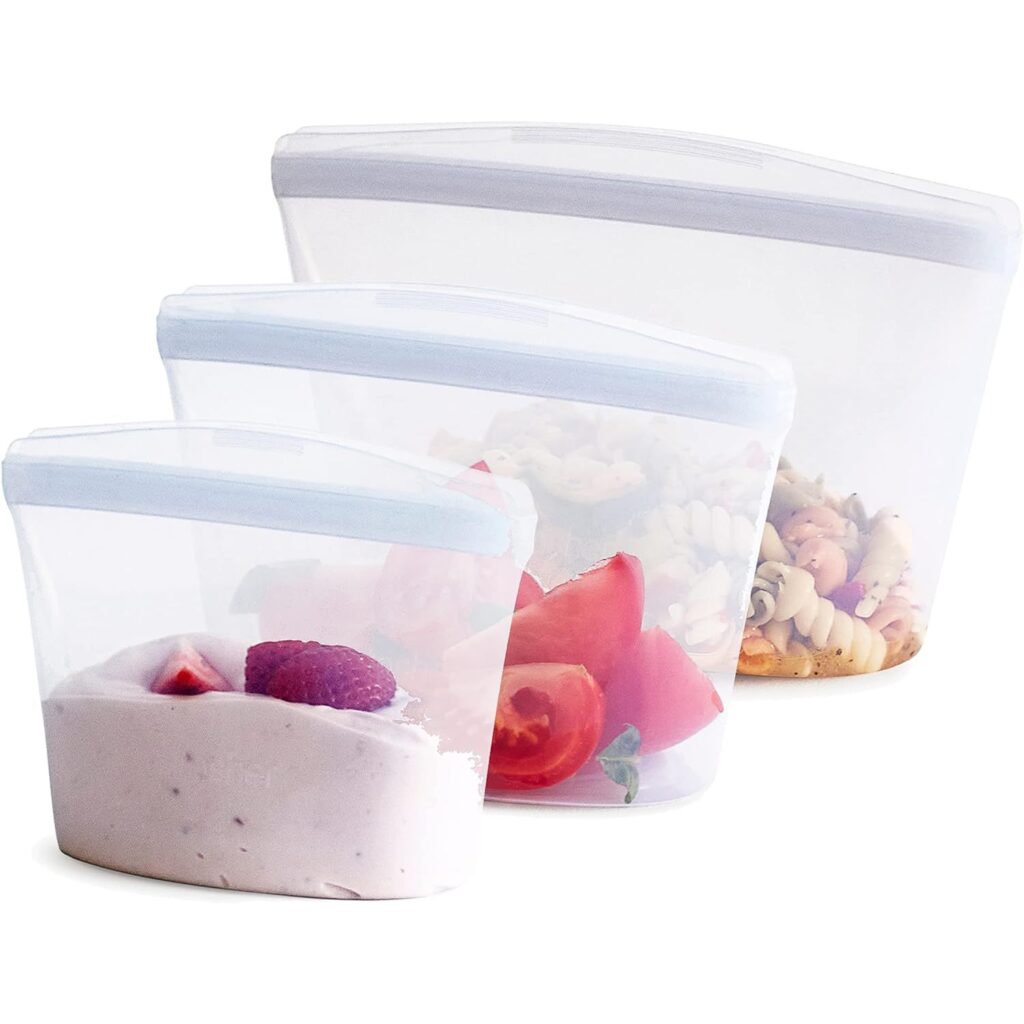
Pasta generally works really well in freezer meal prep, but you have to be careful when it comes to soups or particularly saucy dishes since the pasta will continue to absorb liquid from the sauce/broth until it’s frozen and as it thaws. For soups, I like to freeze partially cooked pasta separately. Just parboil the pasta, rinse it with cold water to stop cooking, and toss it with a bit of olive oil. Then, stick the pasta on a sheet pan in a single layer to cool completely before freezing it. I like to store the frozen pasta in individual serving sizes using Stasher Bags.


4. Reheat strategically.
Each of my freezer recipes includes directions for reheating for best results, but it’s worth repeating here – frozen foods can get soggy, chewy, or just generally be unappetizing. To avoid that fate, reheating from frozen takes a bit more strategy than popping your refrigerated meals in the microwave.
5. Use caution with eggs and dairy.
Meals that contain small amounts of eggs and dairy are usually fine to freeze, but if they have a lot of either, use caution! Here are some general guidelines:
- Yogurt: yogurt frozen into cubes works great in smoothies and some baked goods, but gets very runny and separated when allowed to thaw. Not great for eating plain or using in sauces.
- Buttermilk: you can freeze buttermilk in ice cube trays, then thaw when you’re ready to use it. As it thaws, the milk solids will separate from the whey. You can easily whisk them back together and use the buttermilk like normal.
- Milk and Cream: The problem with freezing milk and cream is that the milk fat separates from the whey as it freezes and crystalizes…and when it thaws, it can be really difficult to get everything mixed back together again smoothly. This can be fine for some recipes, but is usually not great if you just want to eat them plain (or use cream for whipped cream). Check it out in the photos of frozen, then thawed heavy cream below. The thawed stuff remained chunky instead of smooth and velvety. With a lot of effort I was able to whisk it smooth again, but as hard as I tried to make whipped cream with it, it just never fluffed up!


- Non-Dairy Milk: Most of the containers will specifically tell you not to freeze these milks. So…just don’t 😉 Unless you plan to freeze into cubes and throw it directly in a blender for smoothies, of course!
- Cheese: Shredded cheese tends to fare better in the freezer than blocks of cheese, which can turn grainy in texture when thawed or lose some flavor. The grainy texture will usually go away when melted though. Because you usually use shredded cheese in applications where it will end up melted, it’s just fine to freeze it.
- Butter: Butter freezes just fine. Leave it in the original wrapper, stick it in a reusable bag, then freeze away. I like to use previously-frozen butter in recipes that call for melted butter. Another great way to use frozen butter is to grate it with a cheese grater – the small pieces will melt easily and you could even grate it directly over bread before popping it in the oven to toast.
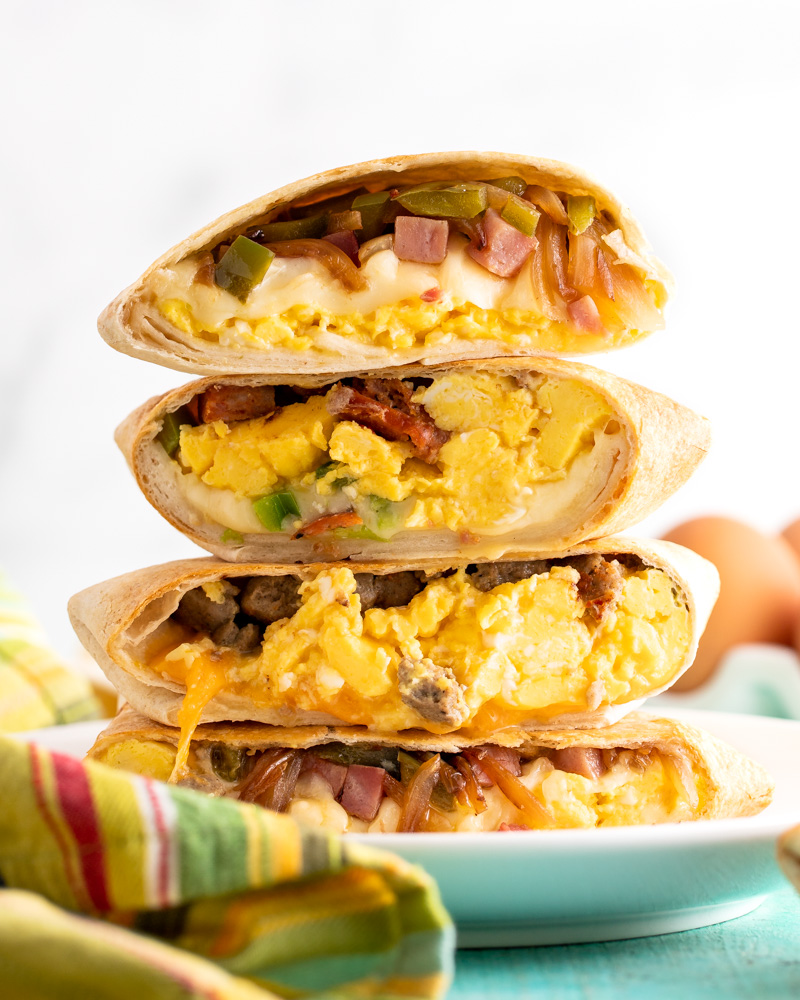
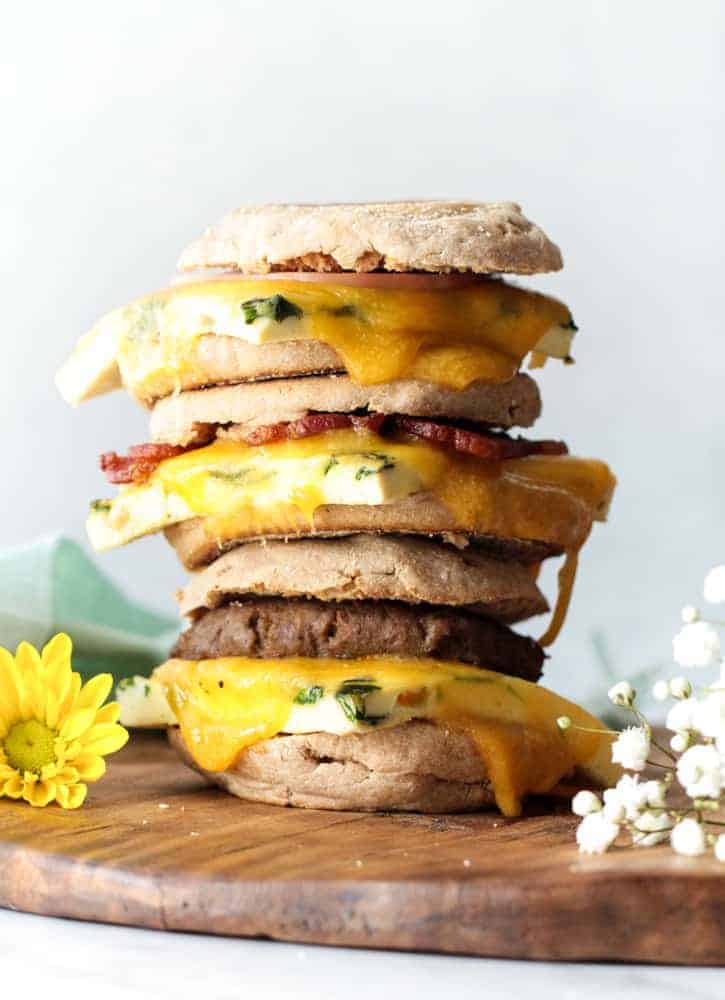
- Eggs: Cooked eggs generally do not fare well in the freezer. Raw egg whites, on the other hand, freeze well and I’m told they will even still whip up into a nice meringue after thawing (I’ve never made a meringue, I wouldn’t know ;)). Raw egg yolks are another story…when ice crystals form in the yolks, then thaw, it changes the texture and how they bake, often leaving behind noticeable chunks of yolk in your baked goods. Just a quick note here – for recipes like these Freezer Breakfast Sandwiches or Air Fryer Crunch Wraps, the change in texture is not a huge deal since the eggs accompany several other star ingredients


← Before Freezing
My favorite way to make egg muffins is with plain liquid egg whites with a touch of half and half. Real egg whites are fine too, but they don’t turn out as tender in my opinion. Don’t forget the cheese on top 😉
After Thawing →
I tried out a bunch of different types of egg muffins in the freezer and they all pretty much turned out the same. The texture gets spongy and they squeeze out a bunch of water when you bite into them. Not my fave!
Freezer Meal Prep Essentials
Freezer Storage Solutions
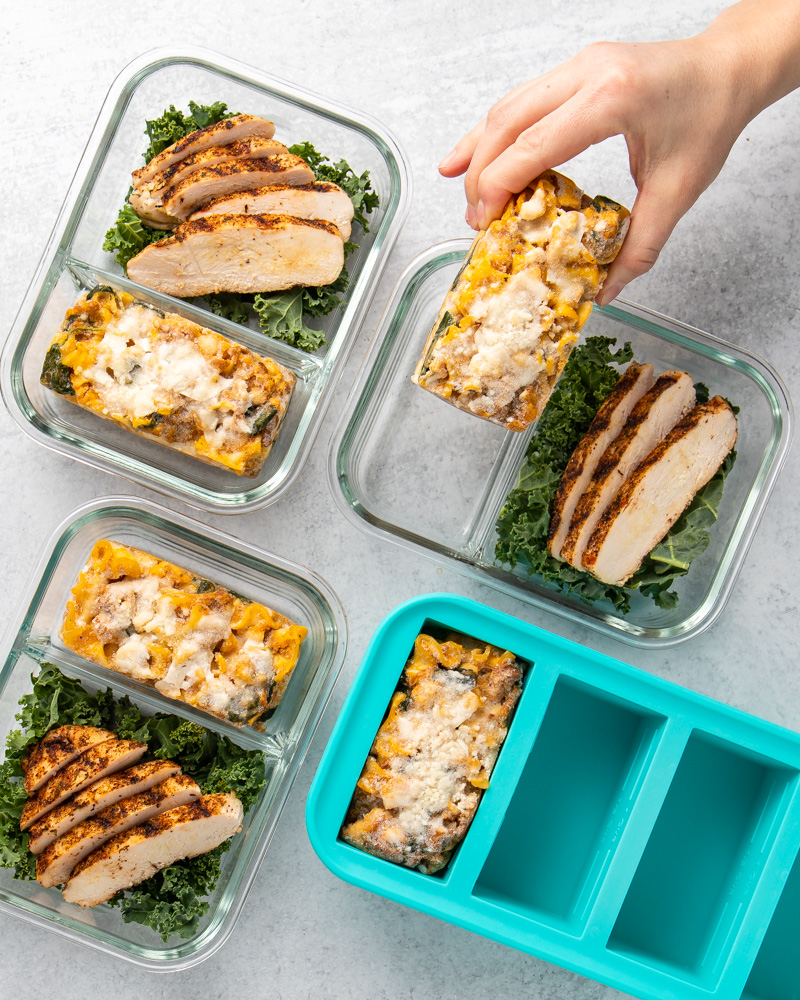
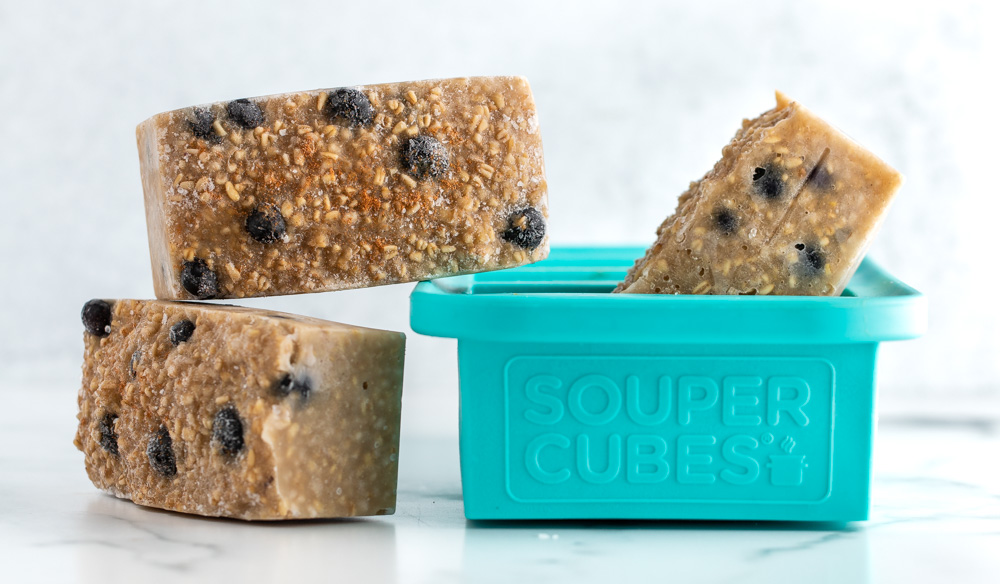
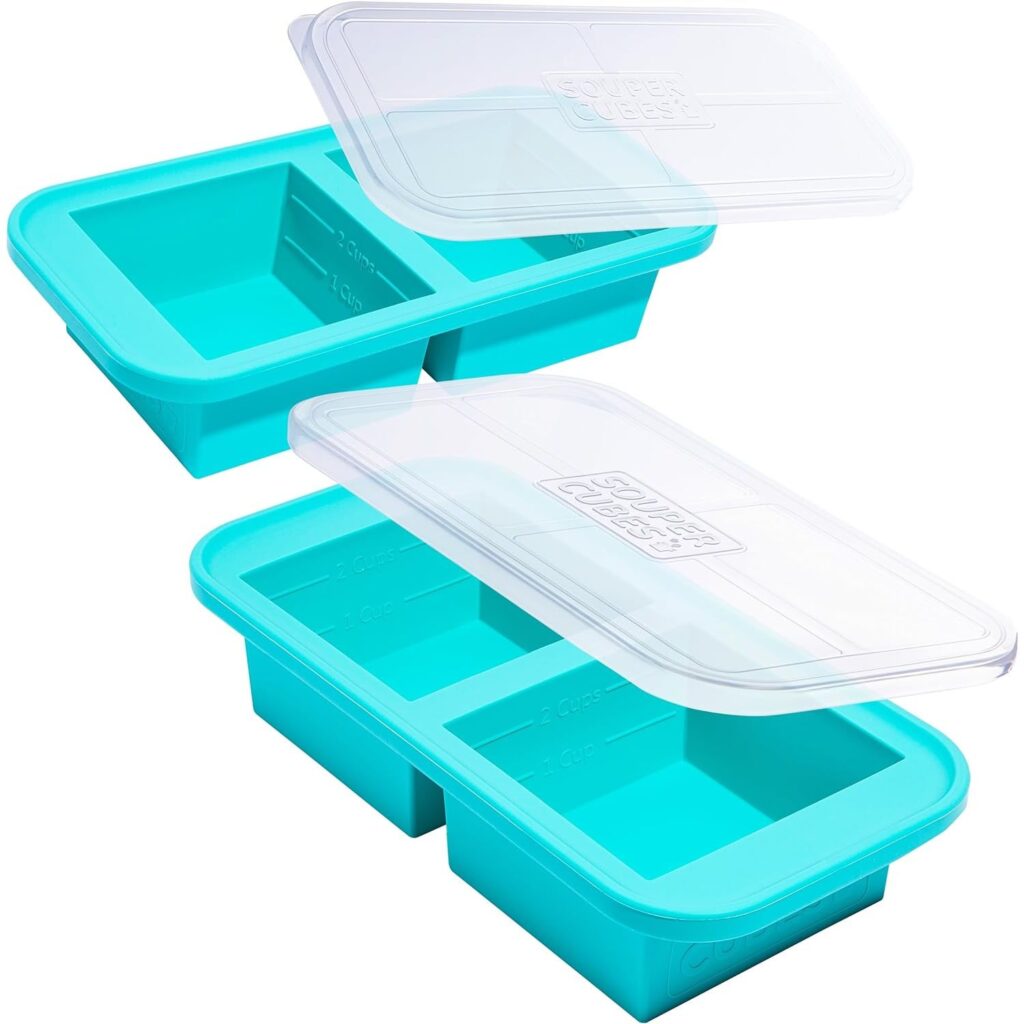
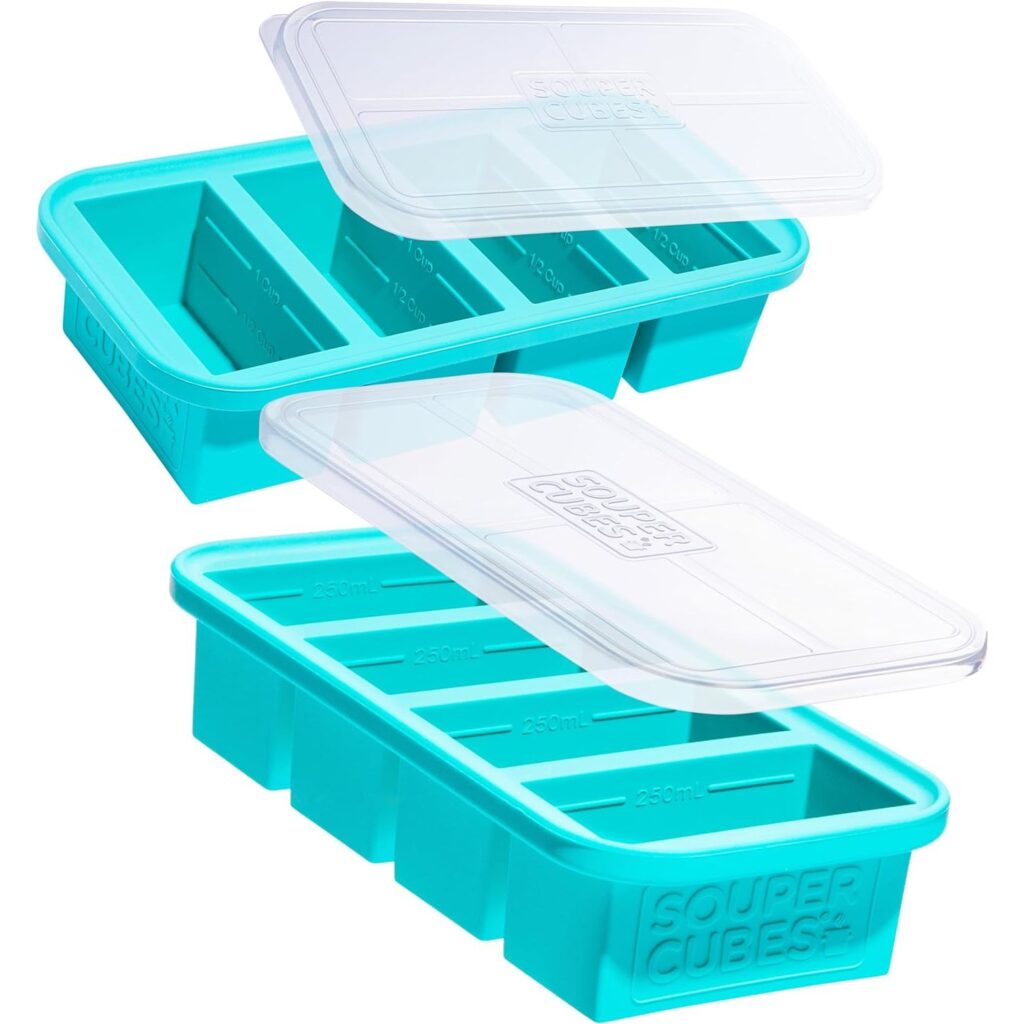
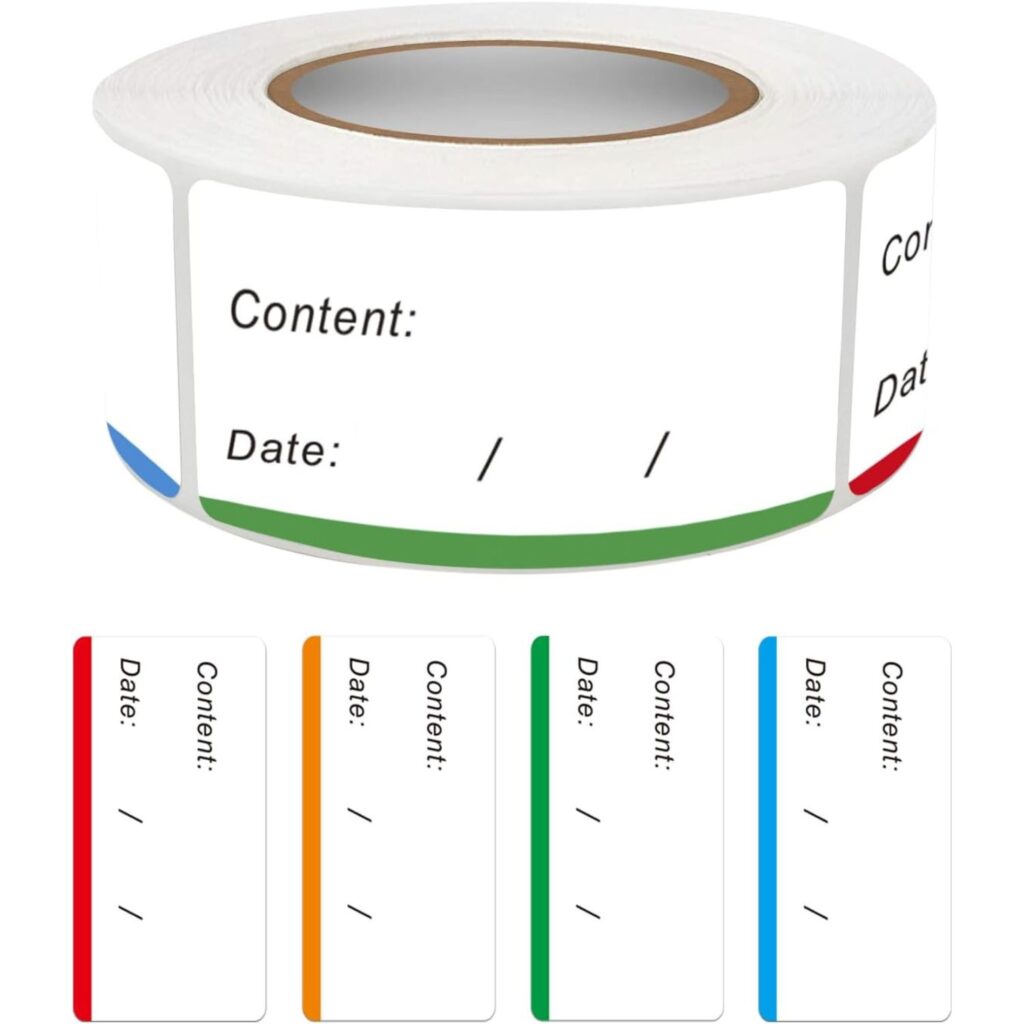
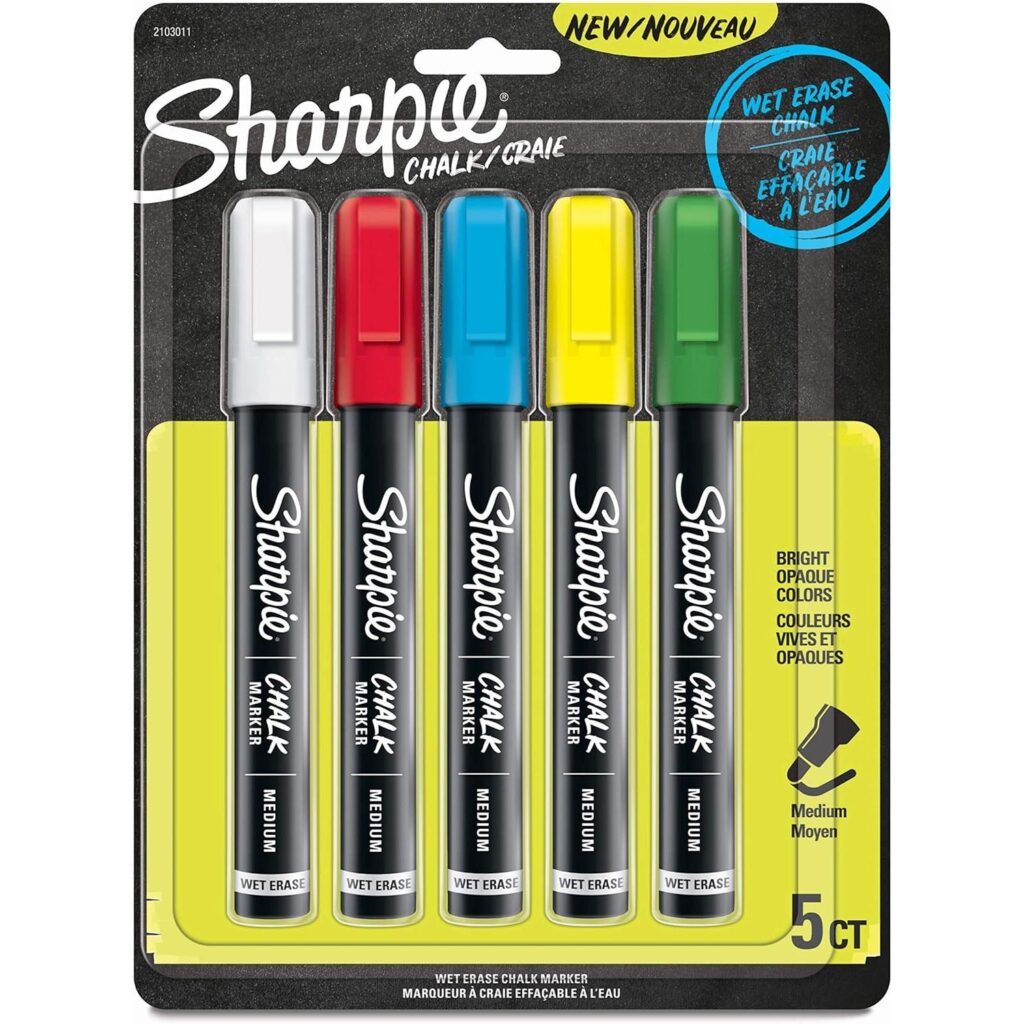
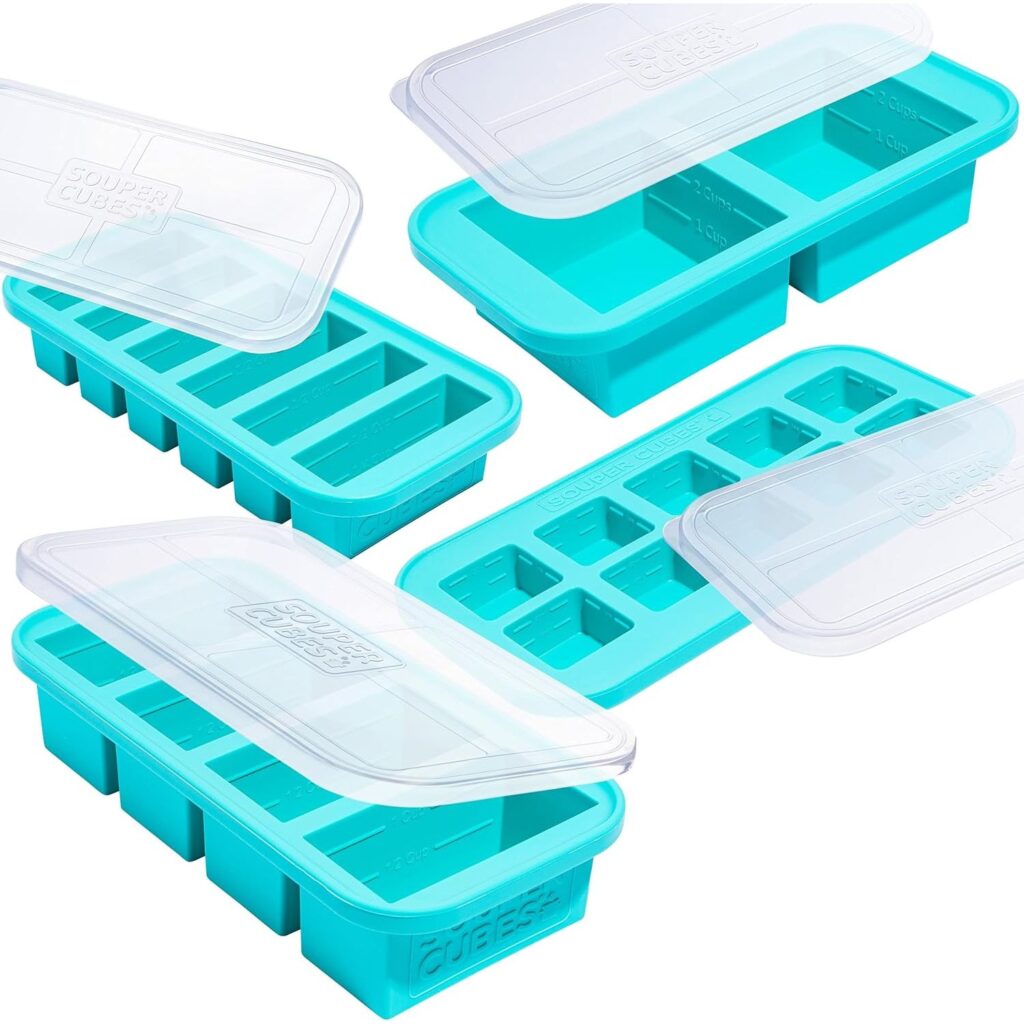
Souper Cubes are my absolute favorite way to freeze individual meals (this isn’t sponsored, I spent my own money on my Souper Cubes trays and absolutely love them!). I recently picked up the 1/2 cup trays and am eyeing the 2-tbsp trays too! When it comes to labeling your meals before they go in the freezer, there are a few options. You can use a permanent marker on a freezer label – regular tape or labels will fall off in the freezer, so be sure to get stuff made to freeze. Tape or pre-cut labels are your best bet. You can also use a water-based, wet erase chalk marker to write directly on your reusable containers. For example, you can write directly on the plastic lid of your Souper Cubes or on a glass mason jar. Just be sure to let it dry before freezing.
Vacuum Sealing Systems
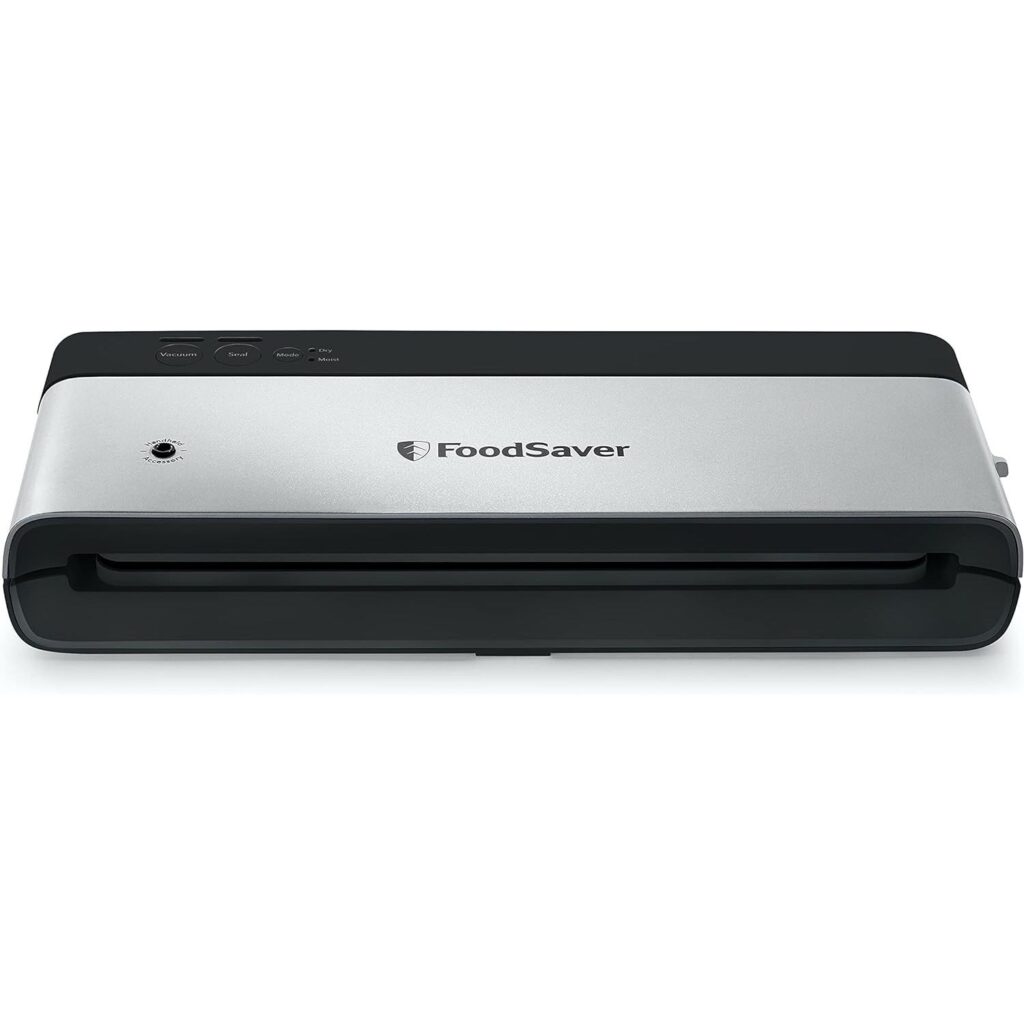
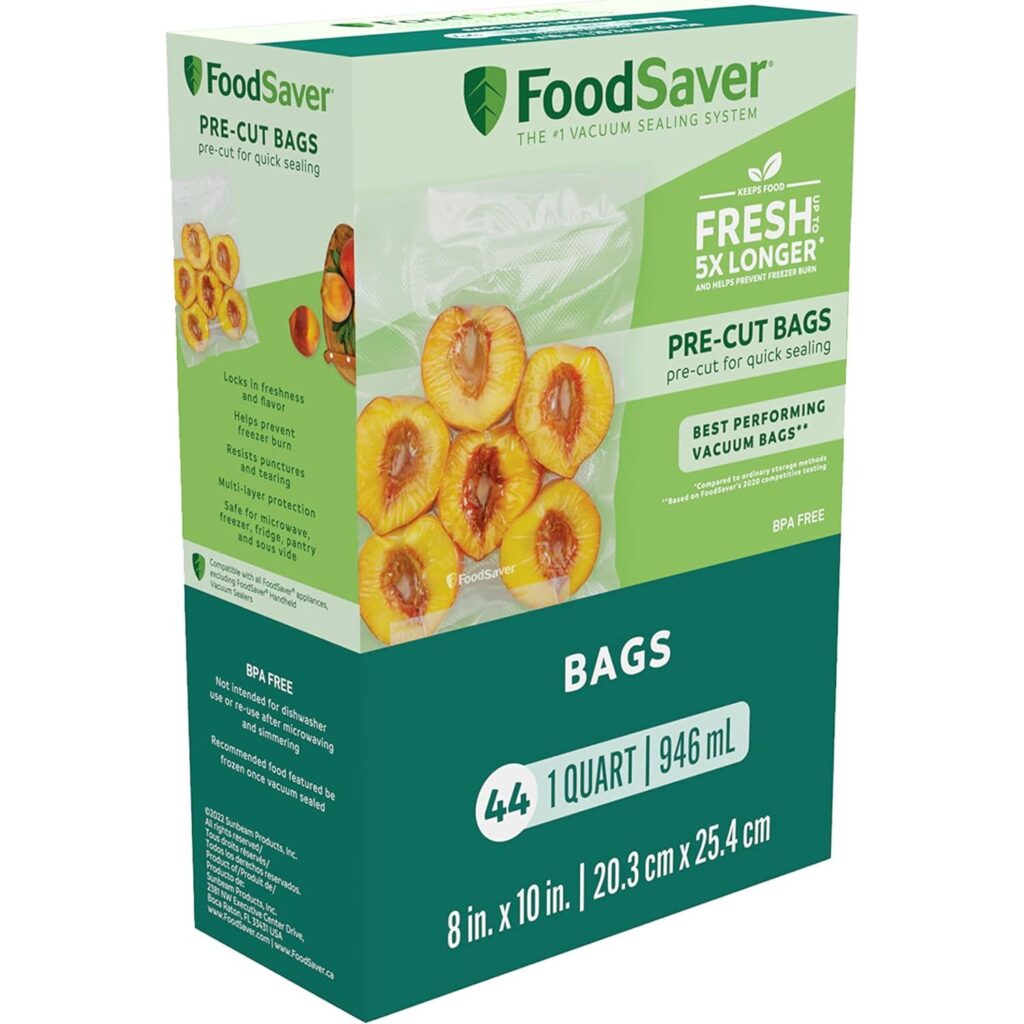
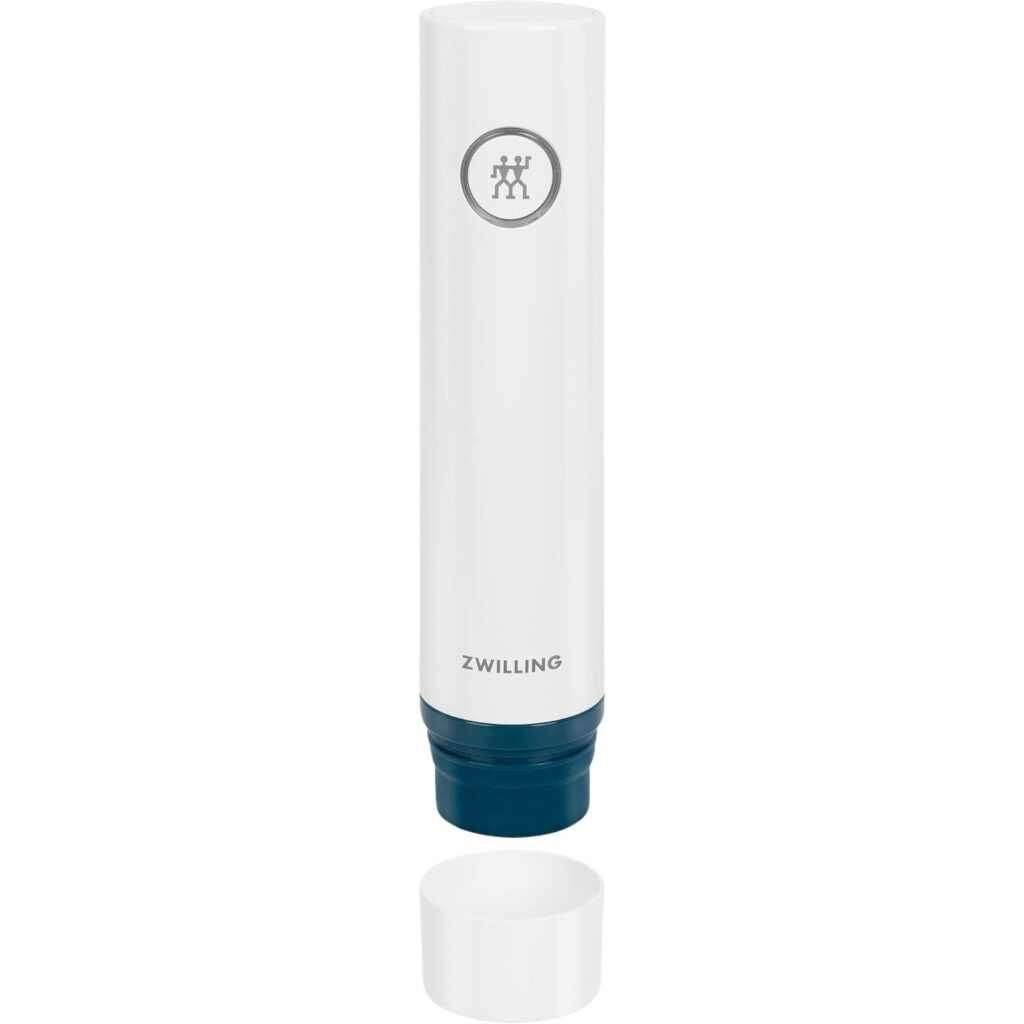
I’m going to categorize home vacuum sealing systems into two categories here – traditional and handheld. I have a traditional vacuum sealer system that’s too big to earn itself a permanent spot on my counter, but that I happily bust out whenever I’m ready to seal up some chicken or individual meals to freeze. This kind of vacuum sealer uses single use plastic bags to seal your food, though if you leave enough room to re-seal the bag after opening it, you can cut it open and then re-seal whatever’s left over inside. A few companies have come out with handheld vacuum sealing systems recently though. These systems have small, handheld vacuum sealer devices that work with reusable plastic bags. I linked the FoodSaver brand below, but Zwilling has a line called Fresh and Save that I love too! You can make great use of these for refrigerated items and dry storage too.
Containers for Thawing and Reheating
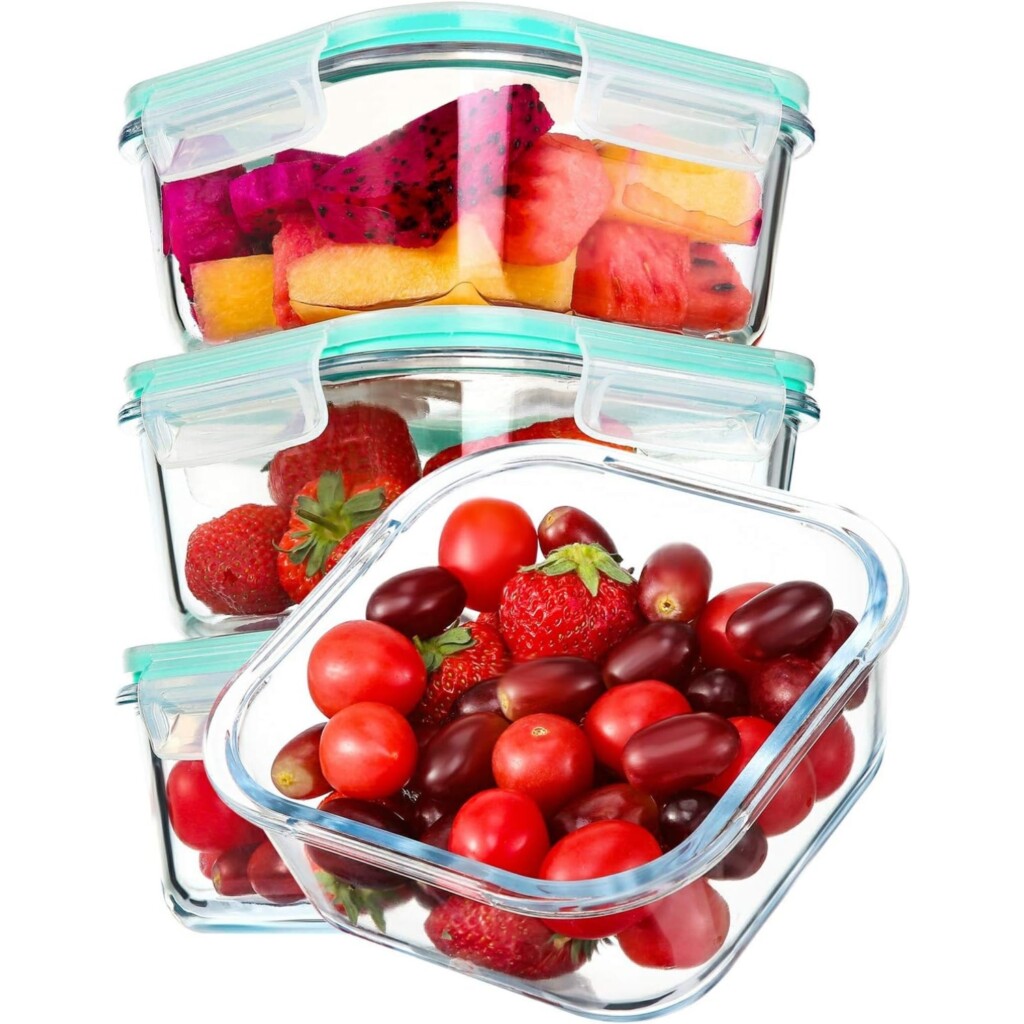
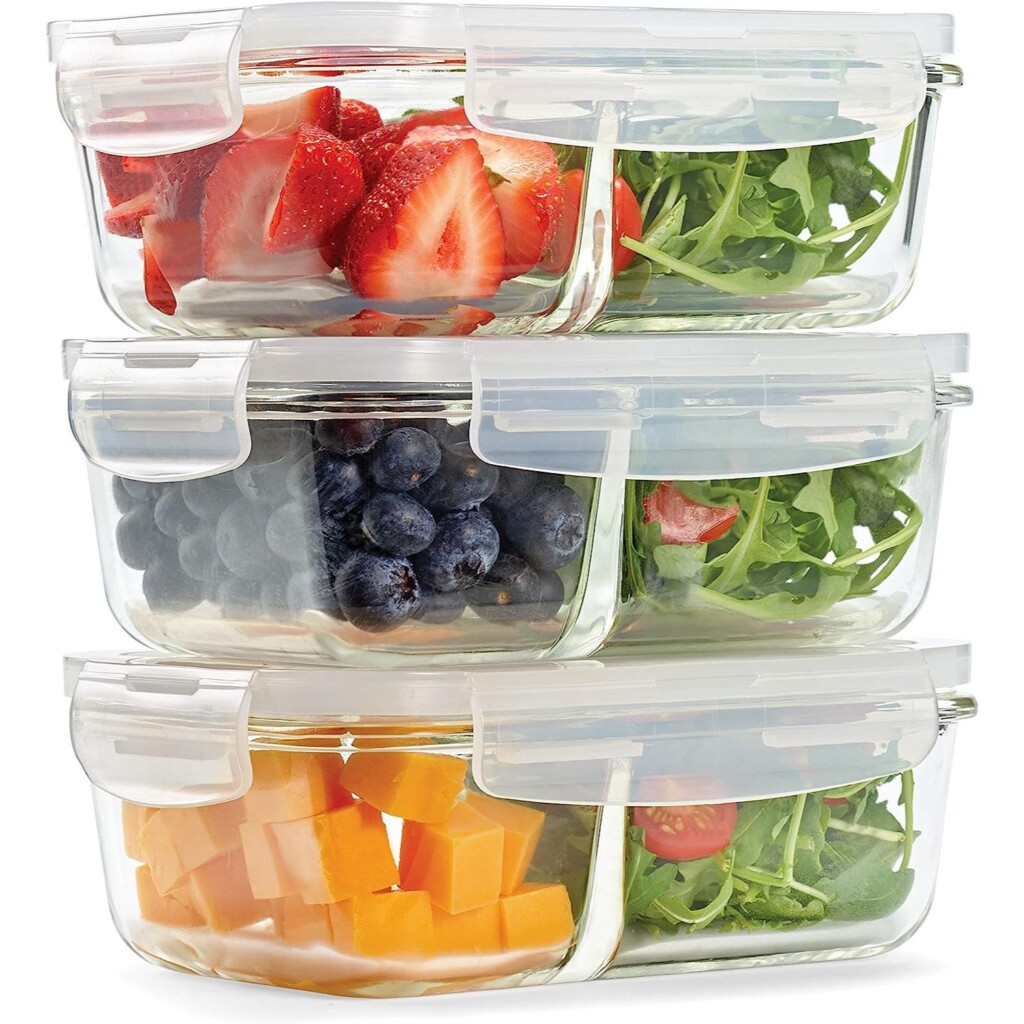
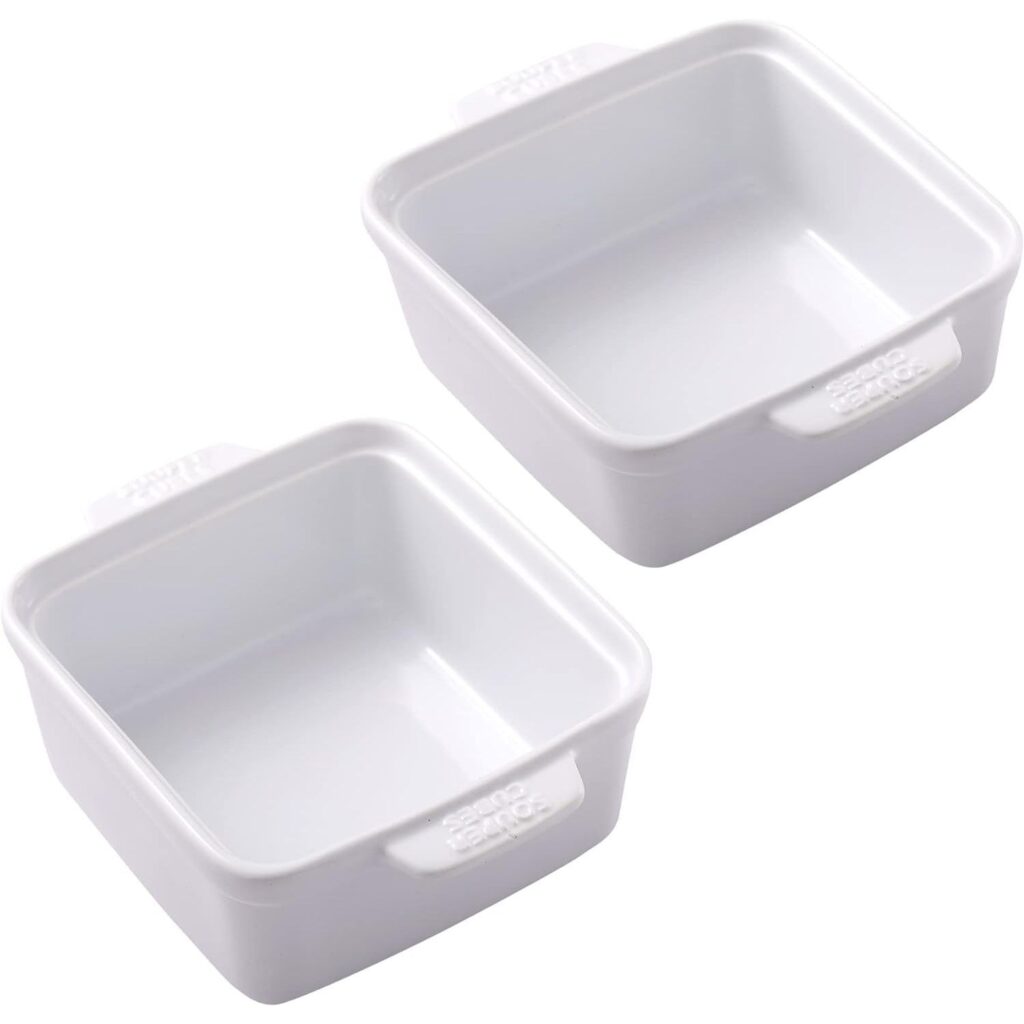
I have a lot of meal prep containers, but when it comes to freezer meals there are some that I prefer. I have to admit, the main reason I prefer these ones is because they so conveniently fit Souper Cubes 1-cup and 2-cup portions! (I swear, they didn’t sponsor this post, I just love them.) The two compartment containers you see here fit 1-cup Souper Cubes in the smaller compartment. Note: The exact square containers that I own are from HEB. However, the containers recommended here have the same characteristics and measurements that I prefer and that fit frozen Souper Cube meals.
Other Helpful Freezer Gear
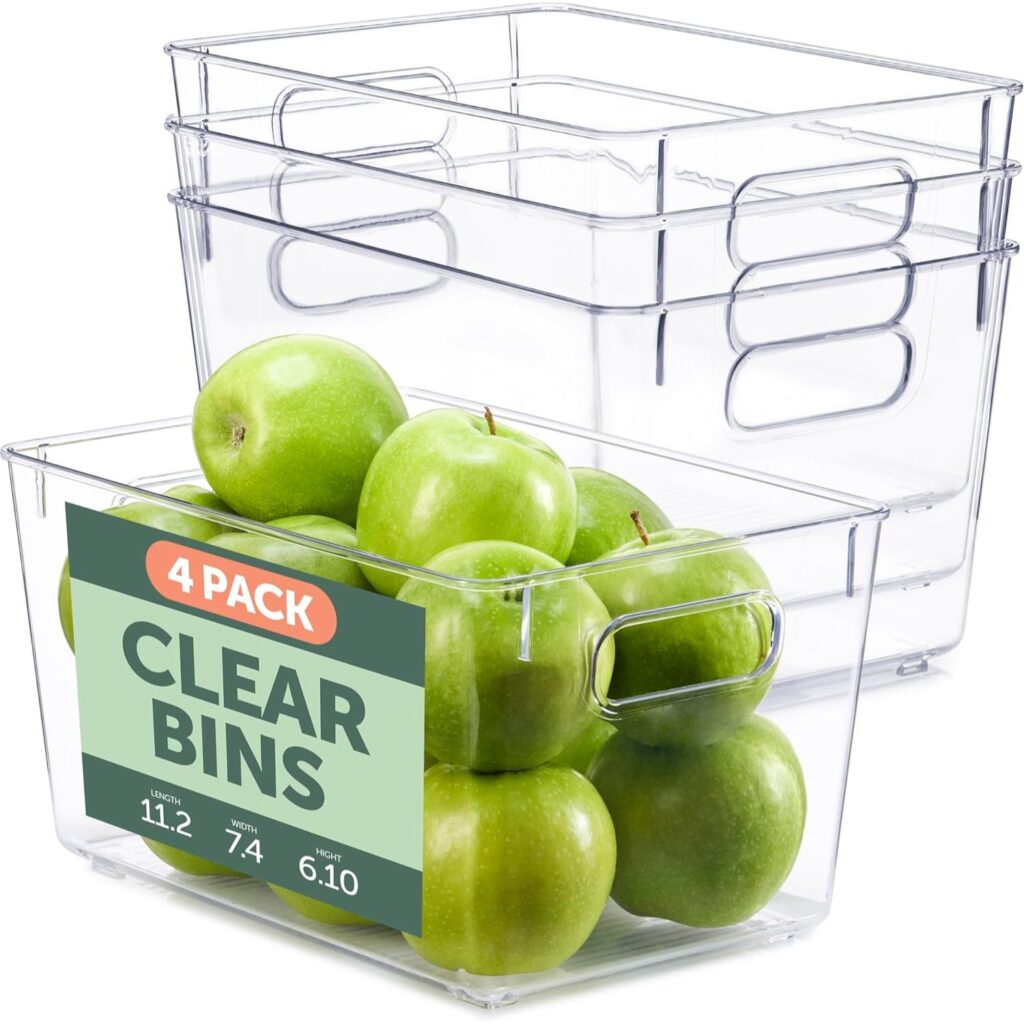
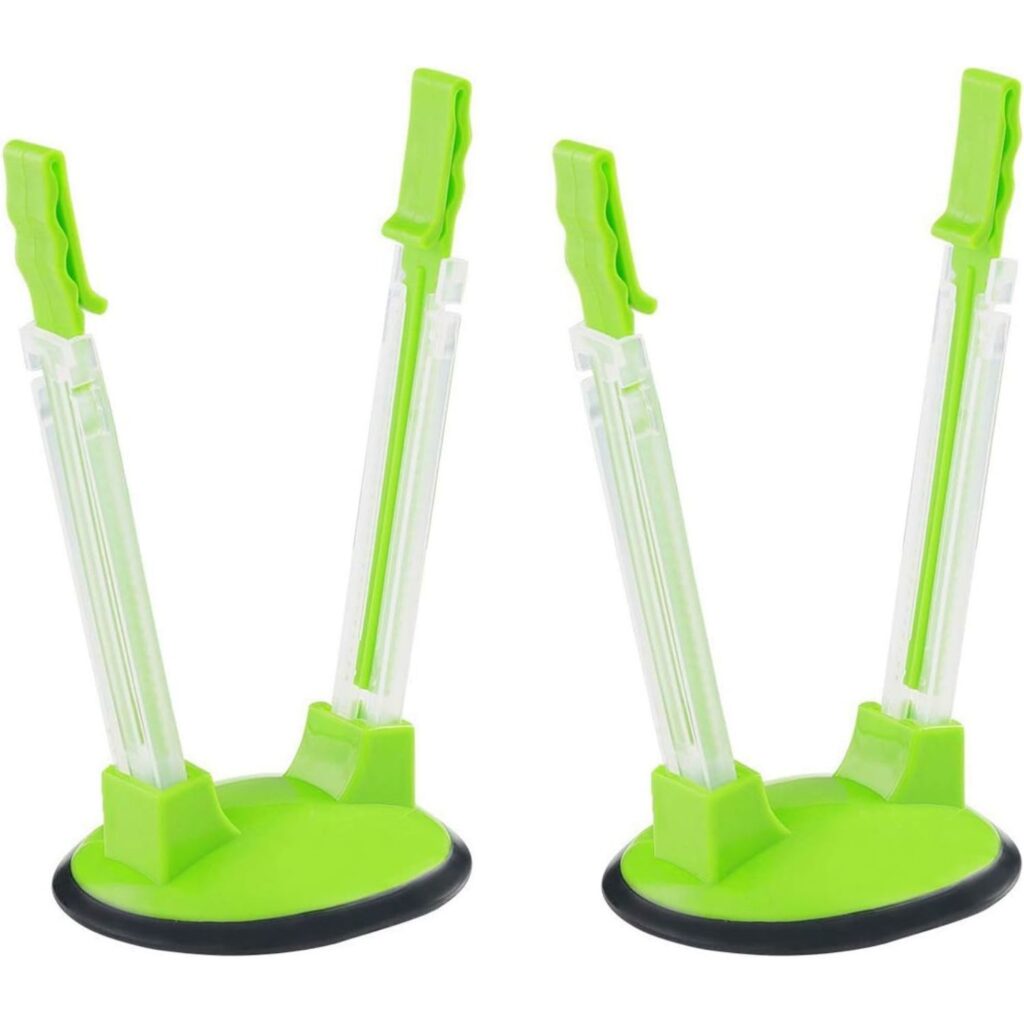
Freezer bins are a great way to keep things organized and neat so it’s easy to see (and find) what you’ve got stashed away. If you decide not to opt for Souper Cubes to freeze individual meals, you can also use bags instead. Bag holder racks are really helpful for loading up meals into bags. Remove any excess air, then lay them flat to freeze before standing them up in a freezer bin for easy organization!
Freezer-Friendly Recipes





Leave a Reply