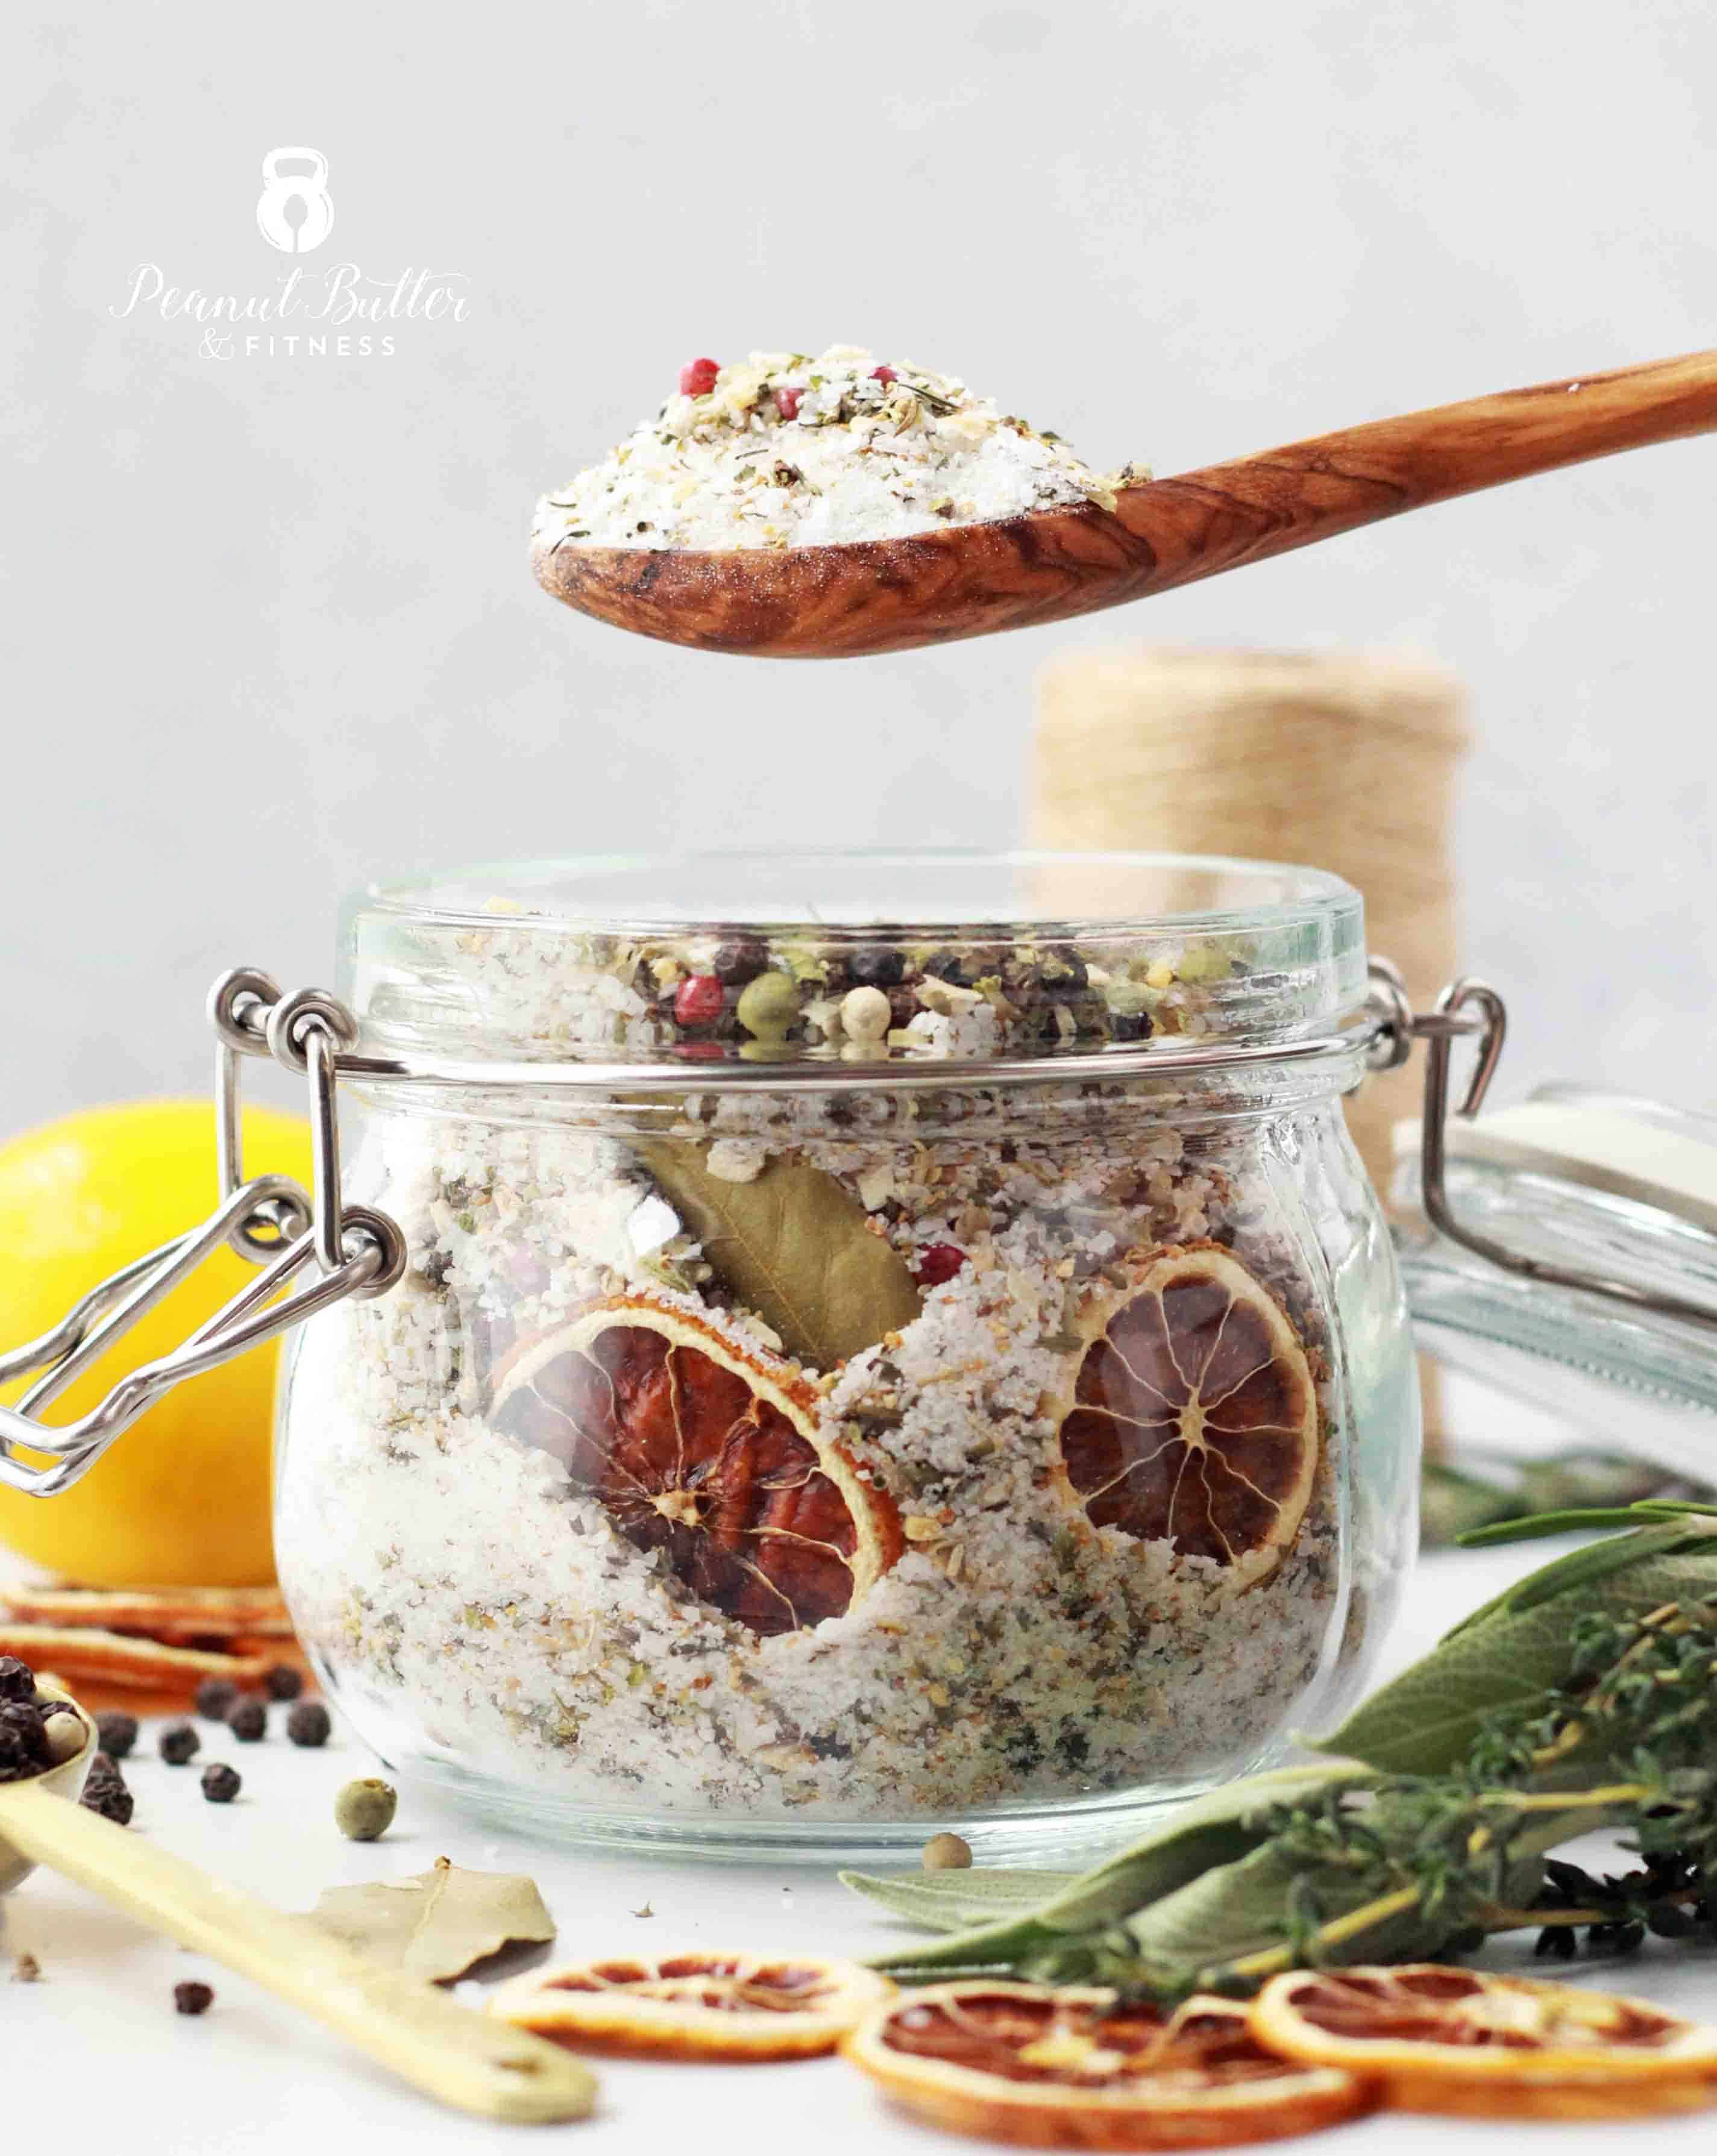
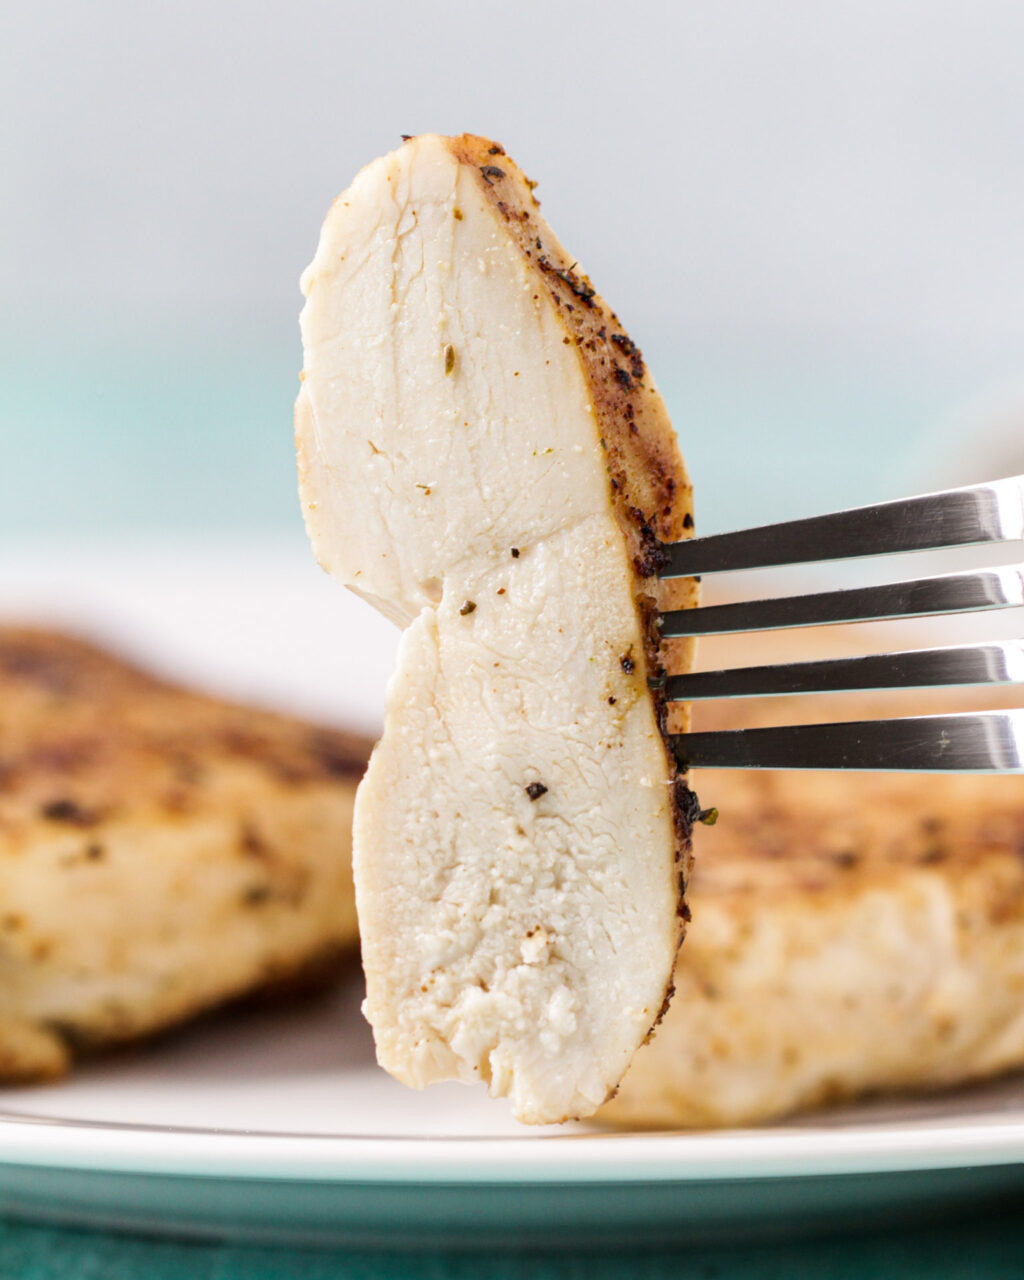
Here’s the thing about chicken breast – it’s so easy to overcook and lose any semblance of the juicy chicken you crave. And for my meal preppers out there, you know what that means…the chicken that’s passable on day 1 becomes horrible and dry by day 4. Chicken thighs are easier to work with but they have a higher fat content that make them a tough sell for a lot of people who would prefer less fat. But guess what? You can have the low fat chicken breast but still get juicy, perfect chicken breast EVERY TIME. (I feel like I’m cueing up an infomercial right now, btw.) The not-so-secret secret? BRINE!
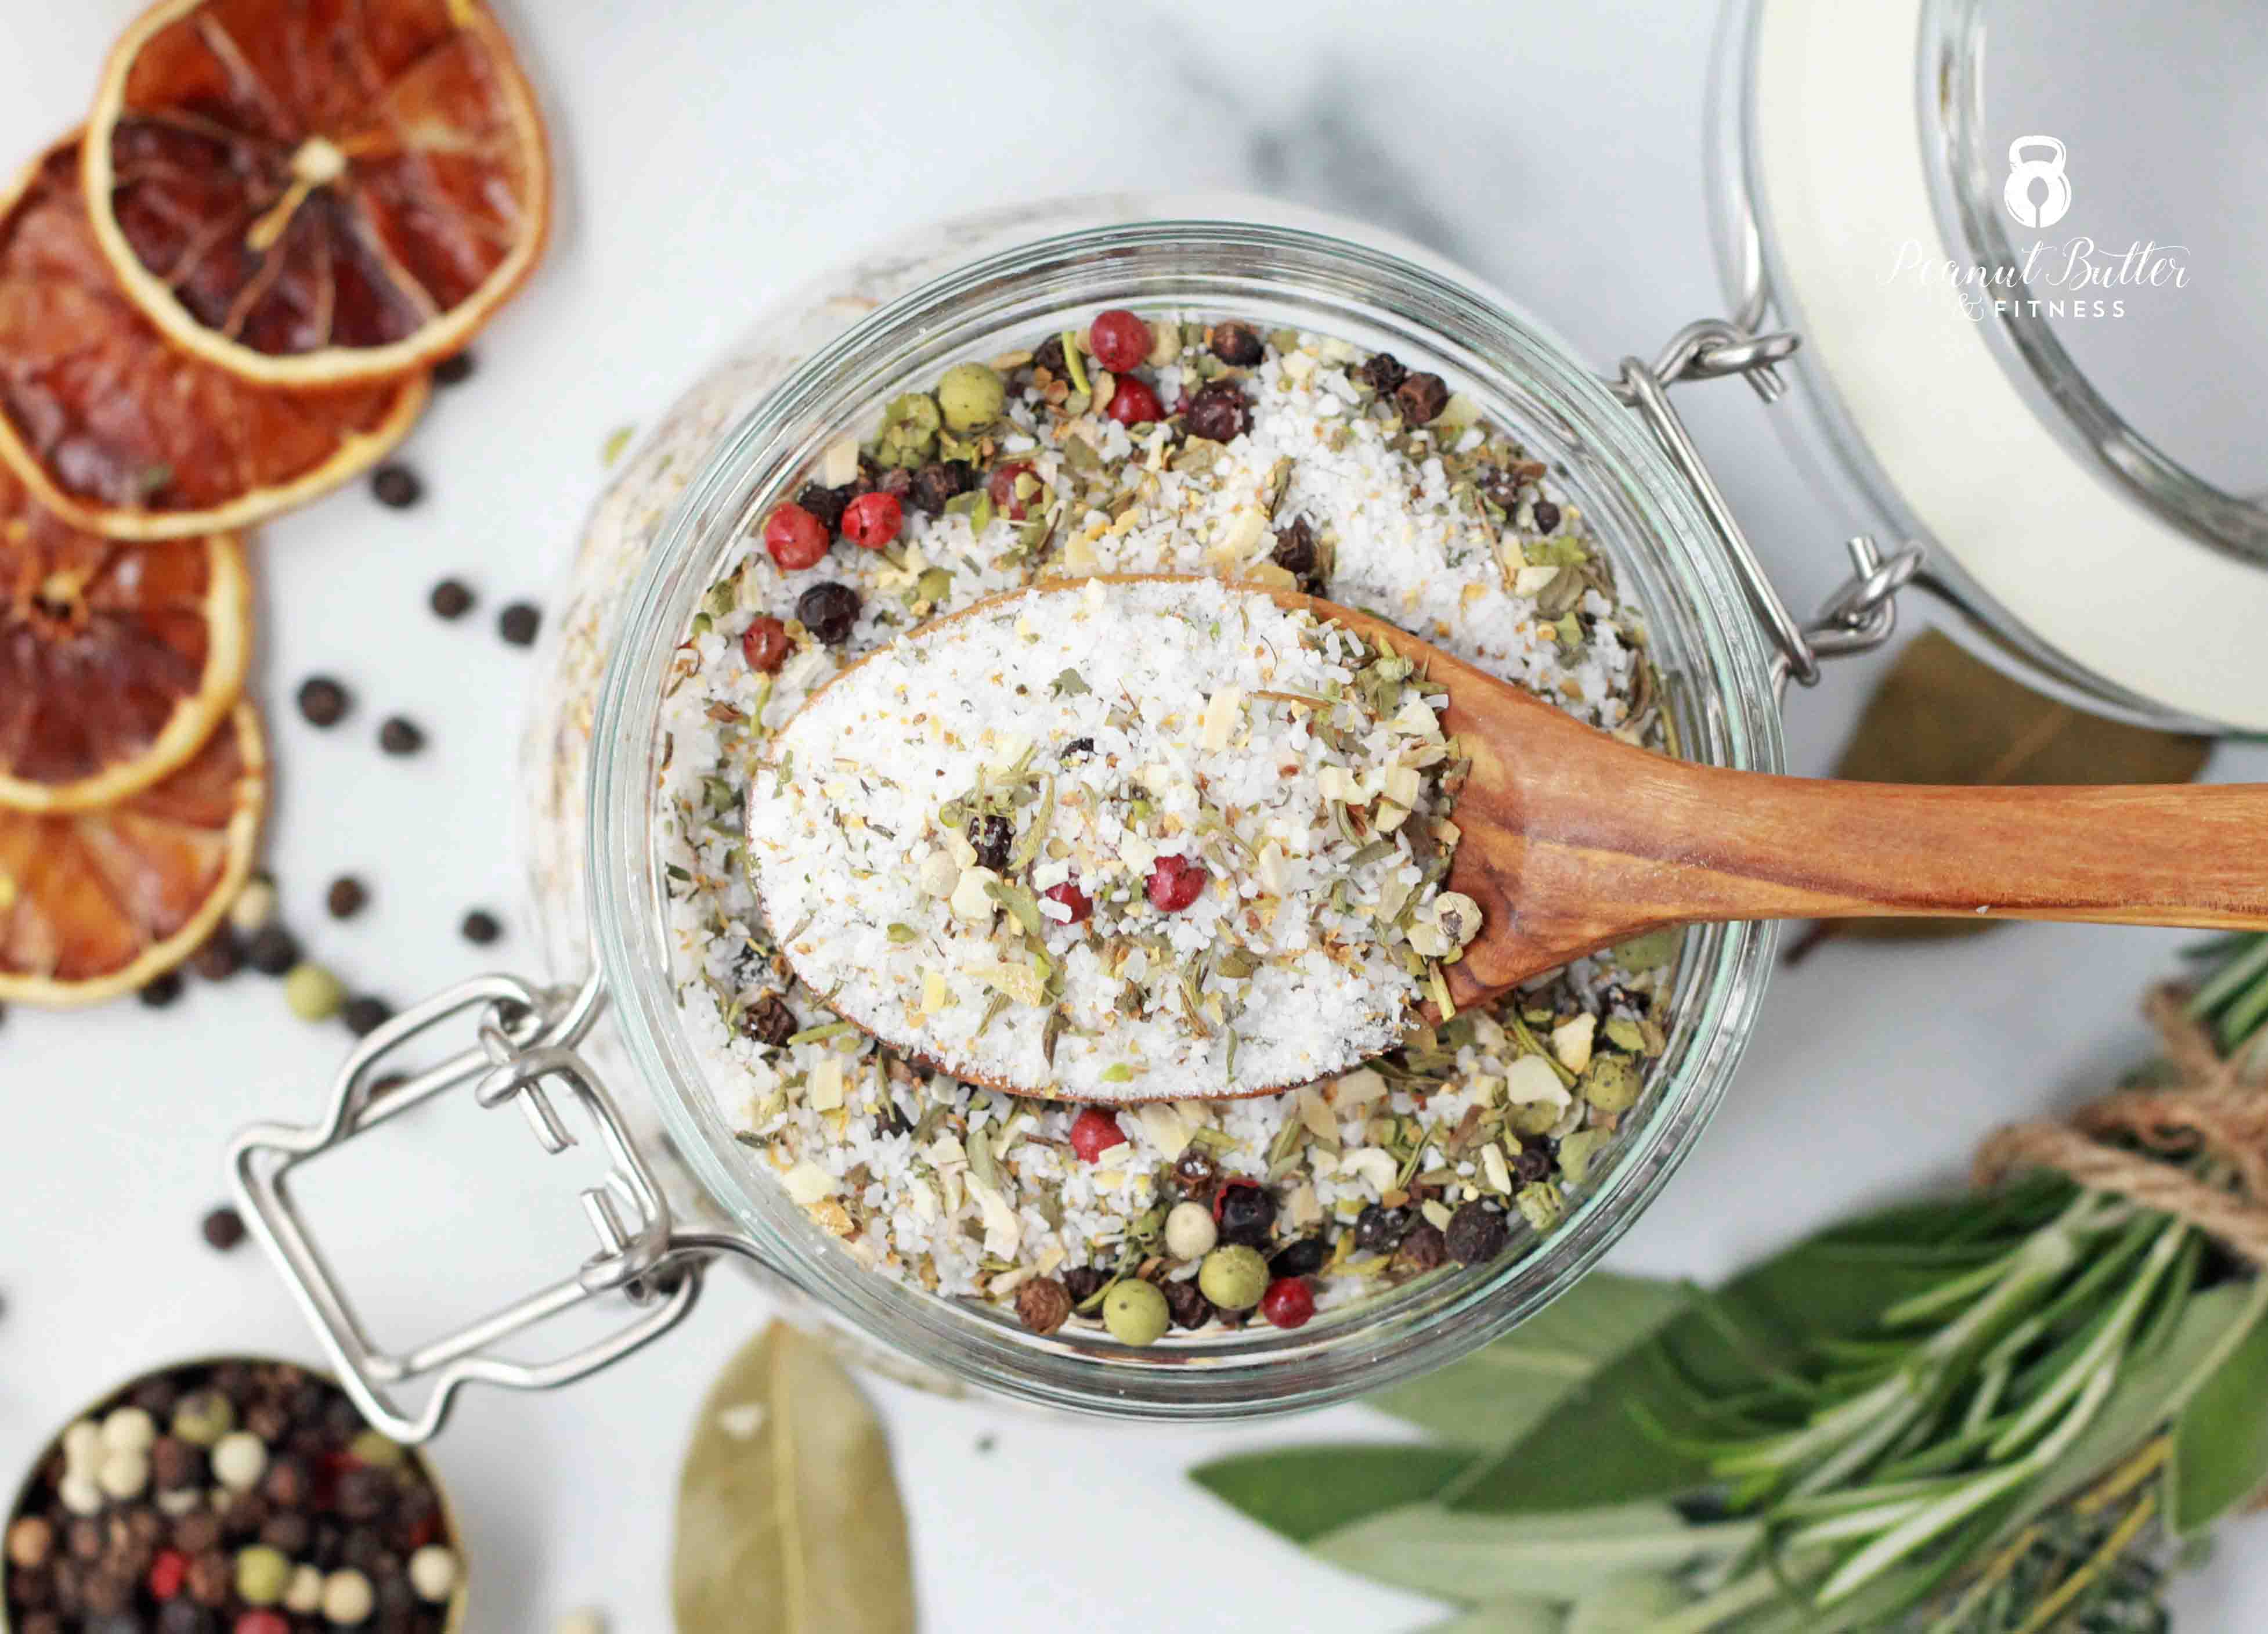
If you’ve ever watched one of those cooking shows on the Food Network like DDD, you’ve heard of the concept. The crazy thing is that brining chicken breast is incredibly easy but not a lot of people do it (or even think to do it) at home. Today I want to change your mind, so I’m bringing you a recipe for an easy Homemade Brine Mix. Of course you can go buy a brine mix in the store or on Amazon, but the more brining I’ve done, the more I realize that I want my own blend of spices in there. A lot of the brines you’ll find in store are made for Thanksgiving turkeys (this one is my fave), but I wanted my own anytime-of-the-year kind of brine. Side note – I’ve also tried this brine from Amazon and wasn’t a big fan.

So please, use my recipe as a starting point and customize it based on the flavors you like. Want less pepper? Use less peppercorns. Want more garlic? Use more garlic. Easy. You can even go spiceless and just use a simple salt solution, but I prefer the extra flavors you get with spice.
Can I brine AND marinate chicken?
Yes! If the spices in your brine and your marinade don’t match (think: Italian spices in the brine but Asian flavors in the marinade), you’ll want to go for a simple salt and water (and maybe a little sugar) brine solution instead. Once the chicken is done brining, rinse it off and throw it in the marinade. Brining is what gets the inside of your chicken juicy and flavorful…that’s because the salt solution changes the chicken on a cellular level, leaving you with tenderized meat that holds its moisture. Marinades mostly just flavor the surface of the meat.


Is brining really worth the trouble?
YES, YES, and YES. Please do yourself a favor and just try it. On Sunday mornings whenever I wake up, I usually get my chicken in to brine first thing, then by the time I meal prep later that day, it’s good to go. It’s takes maybe 10 extra minutes. Tops. And it’s worth every second.
How do you cook chicken after brining?
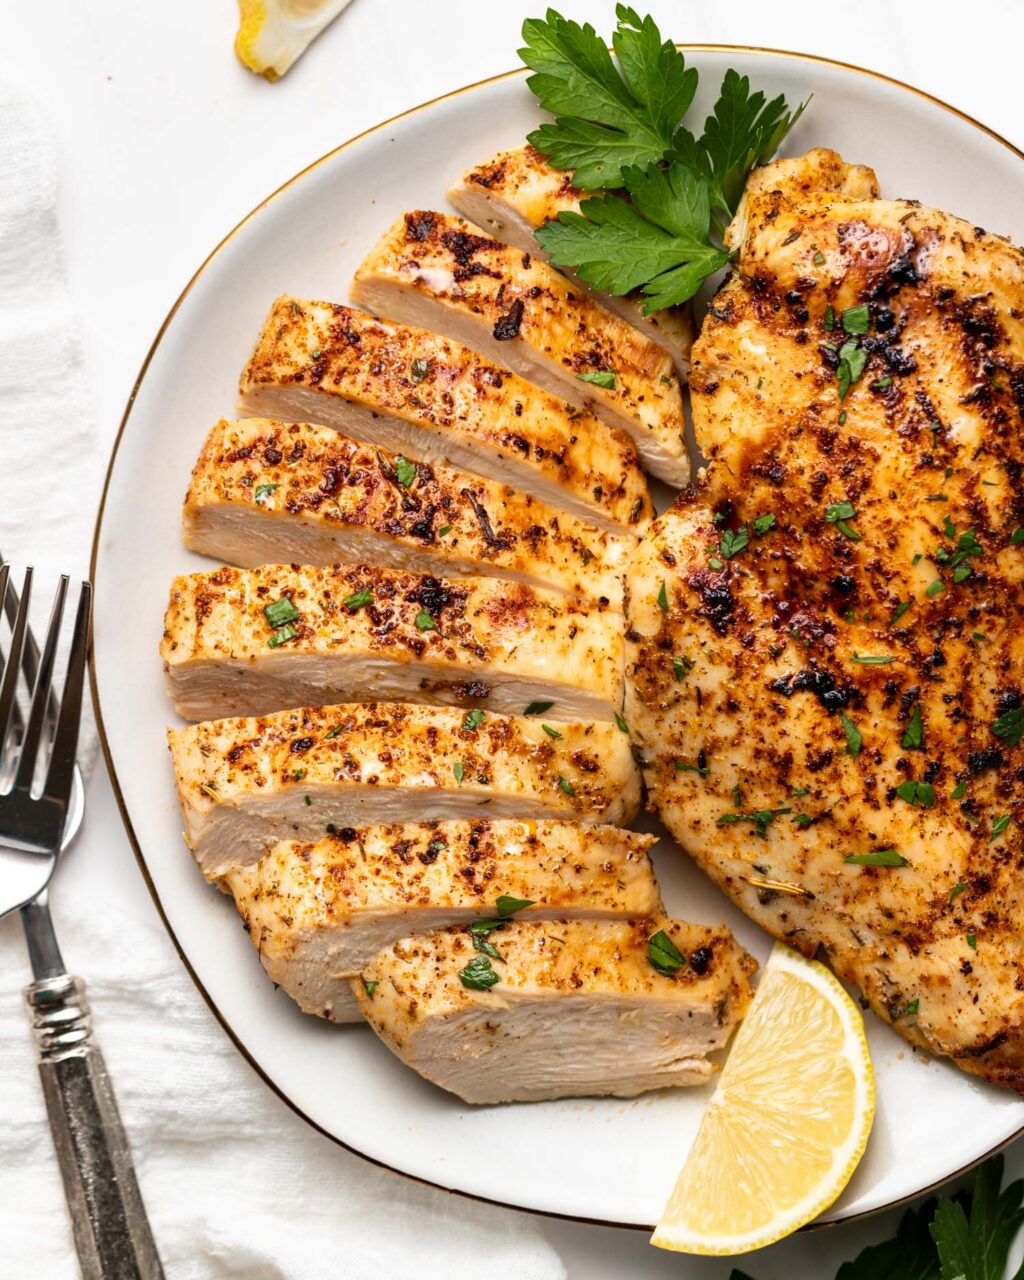
However you want! I personally love to air fry or grill mine. Check out my recipe along with step-by-step brining instructions here:

Homemade Brine Mix Recipe

Homemade Brine Mix
Ingredients
- 1 cup kosher salt, (be sure to use kosher salt, not table salt)
- 1/2 cup granulated sugar
- 2 tbsp rosemary
- 2 tbsp thyme
- 2 tbsp peppercorns
- 2 tbsp minced garlic (dried, from the spice aisle)
- 2 tbsp dried lemon peel (or dried lemon slices – see notes)
- 1 tbsp sage
- 6 bay leaves
Instructions
- I recommend dissolving 3 tbsp of brine mix into 2 cups of water per pound of protein.
- Depending on the type and size of protein, submerge the protein in the cooled brine solution for 2 hours for something like chicken tenderloins or up to overnight for something like a pork butt. I aim for 5-8 hours for thick chicken breast.
- See my recipe for Juicy Air Fryer Chicken for more detailed, step-by-step instructions with photos of how to brine chicken.
Tips & Tricks
- If you’d prefer to avoid buying all the spices individually, you can also use pre-mixed spices. I used an Italian seasoning blend containing rosemary, thyme, and sage instead of buying them all separately.
- To make your own dried lemon slices:
- Line a baking sheet with parchment paper or SILPAT.
- Slice a lemon thinly (about 1/8″) and arrange in a single layer on the prepared baking sheet.
- Bake at lowest temperature setting your oven will accommodate (usually between 170 degrees to 200 degrees) for 5-8 hours or until lemons are dry and no longer tacky to the touch. Flip once about 3 hrs through baking.





Leave a Reply