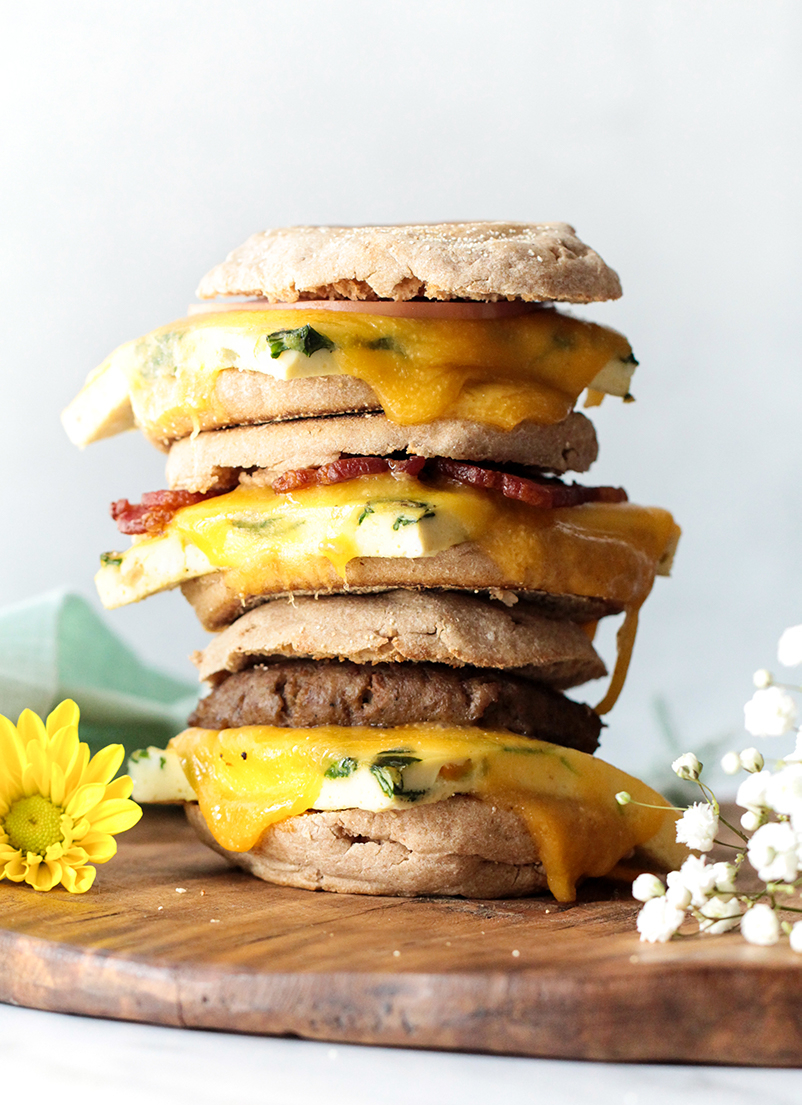
We’ve made it to another hump day! Which means that it’s time for another recipe, and this one is an easy meal prep idea: Freezer Breakfast Sandwiches! I know everyone has their own favorite way to make a breakfast sandwich, but I’m here to share with you some of my faves AND I’ll tell you all about the extensive tests I did for wrapping, storing, and reheating these bad boys. Lemme tell ya, not all methods are successful! So even if you don’t follow my exact recipe, you’ll almost definitely pick up a tip or two after I sacrificed myself testing 18 of these yummy sandwiches to find just the right wrapping, storing, and reheating methods 😉
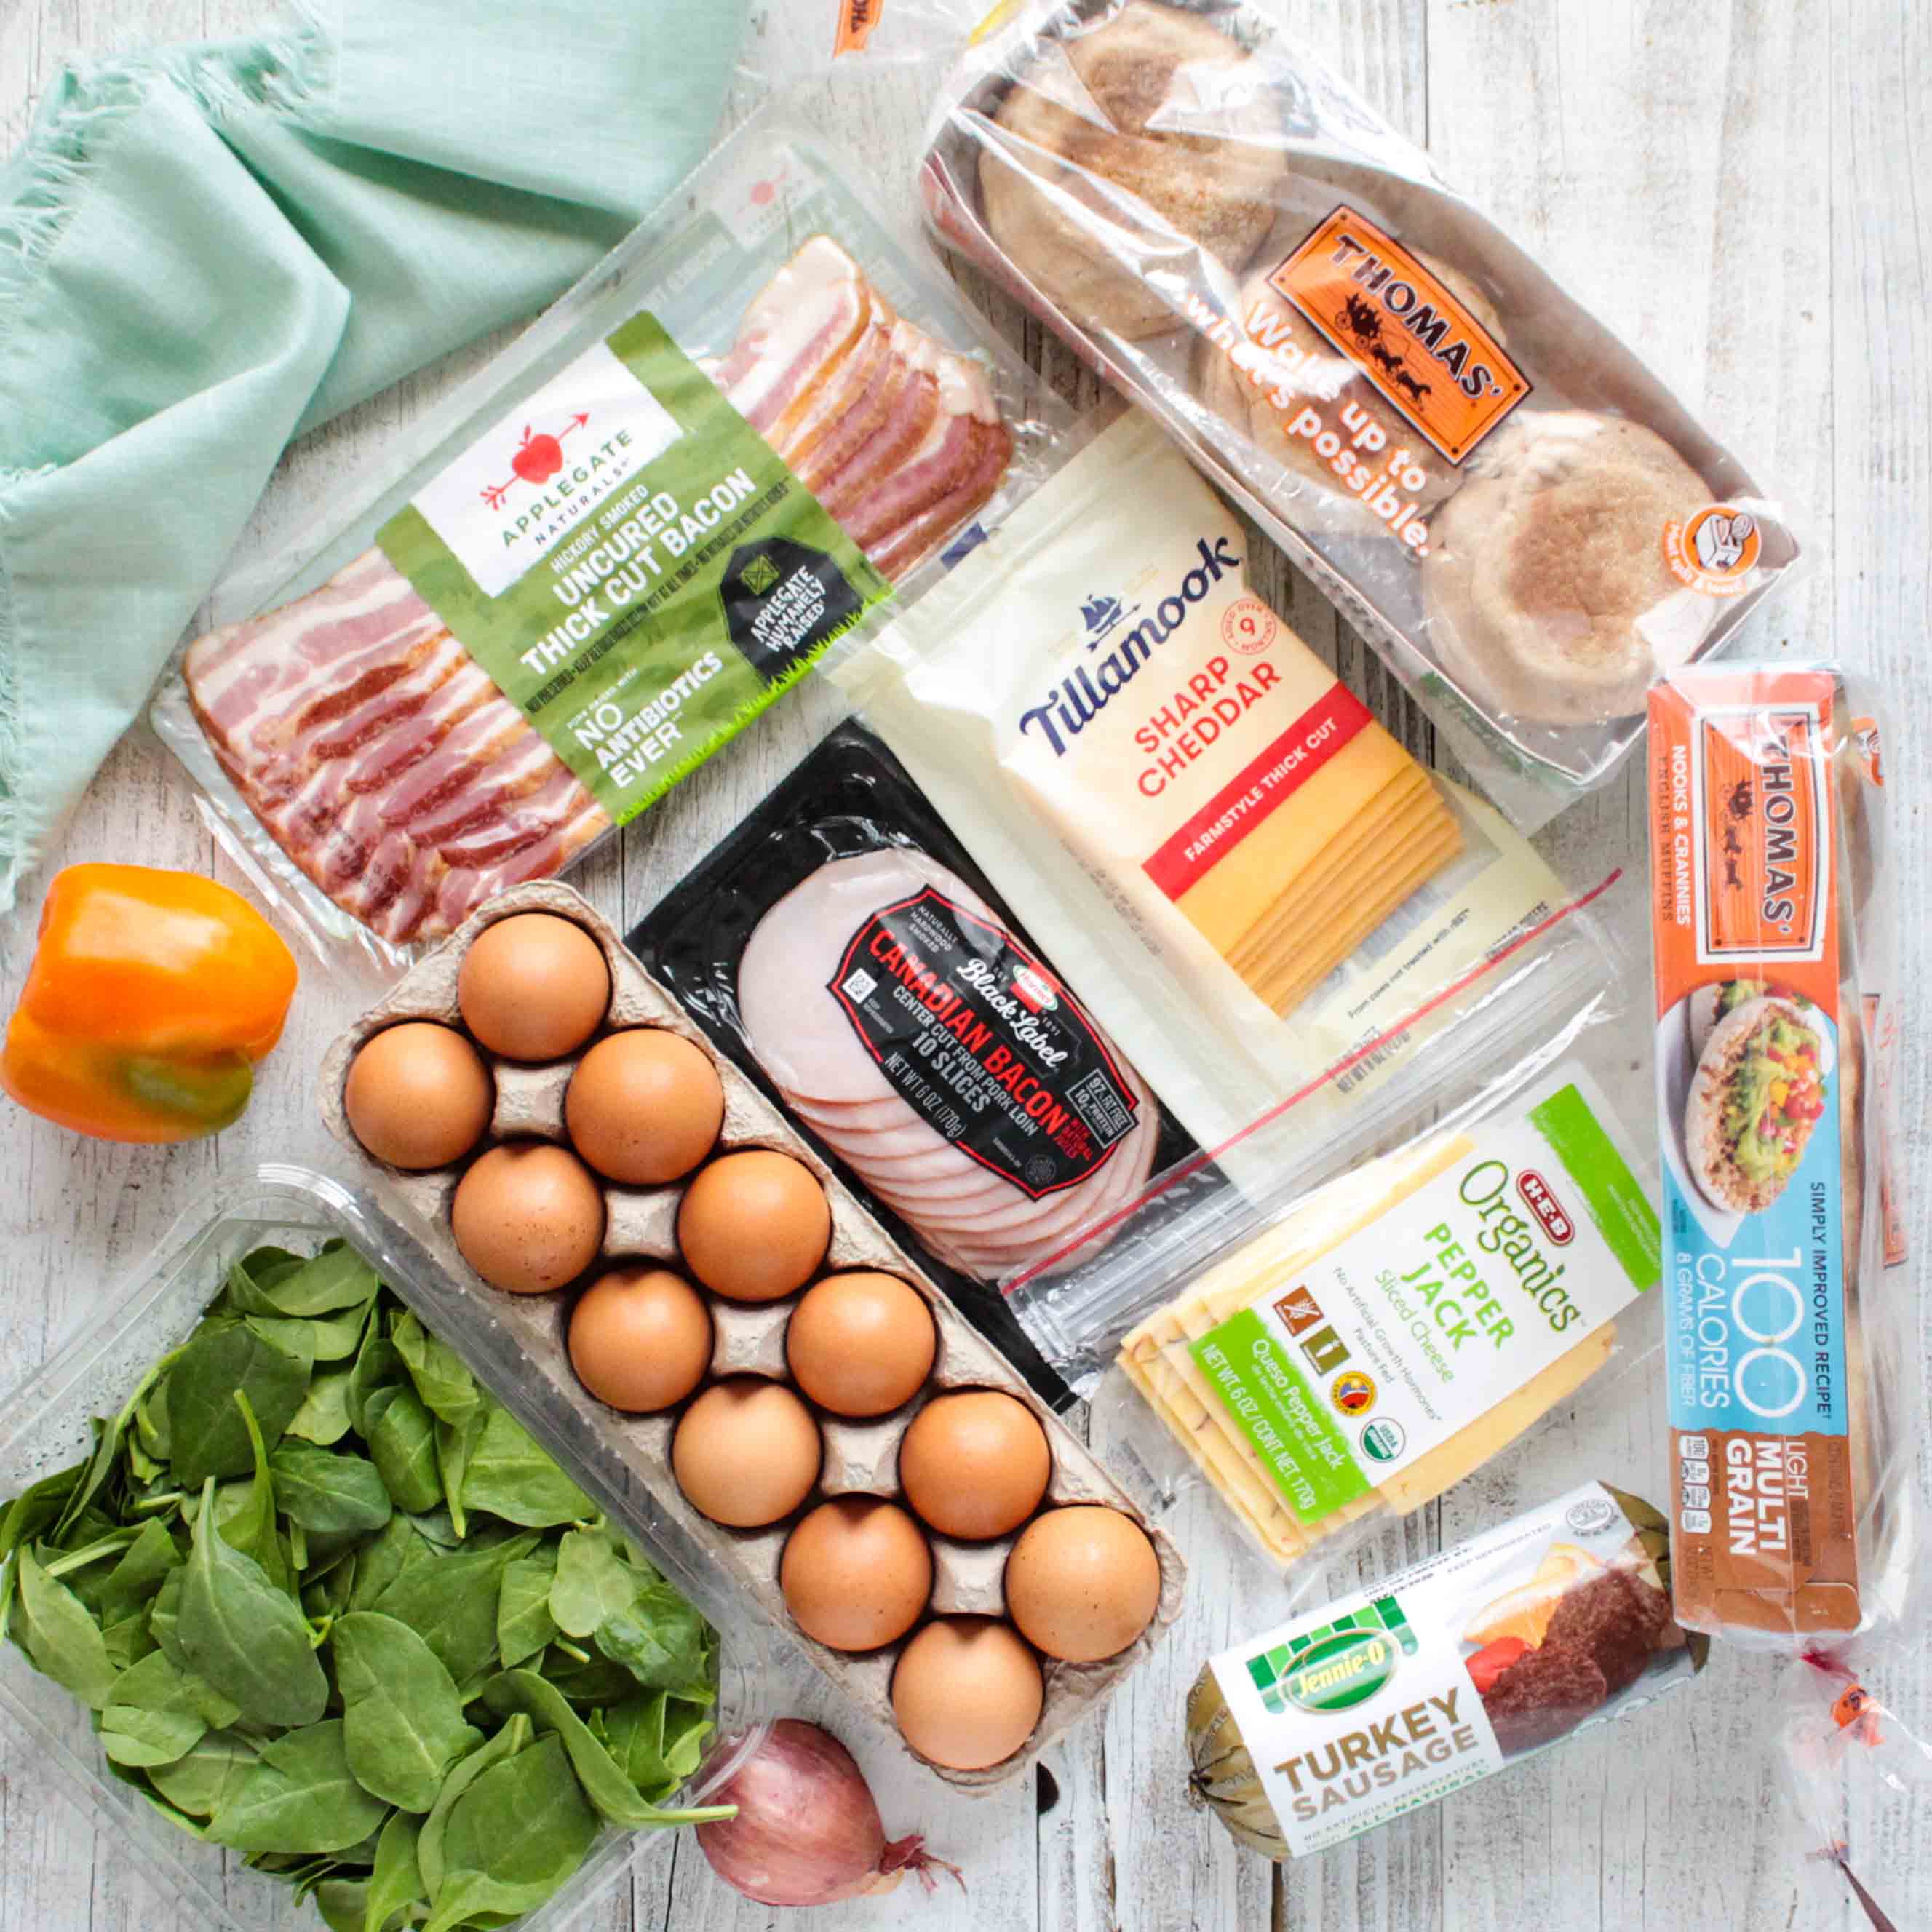
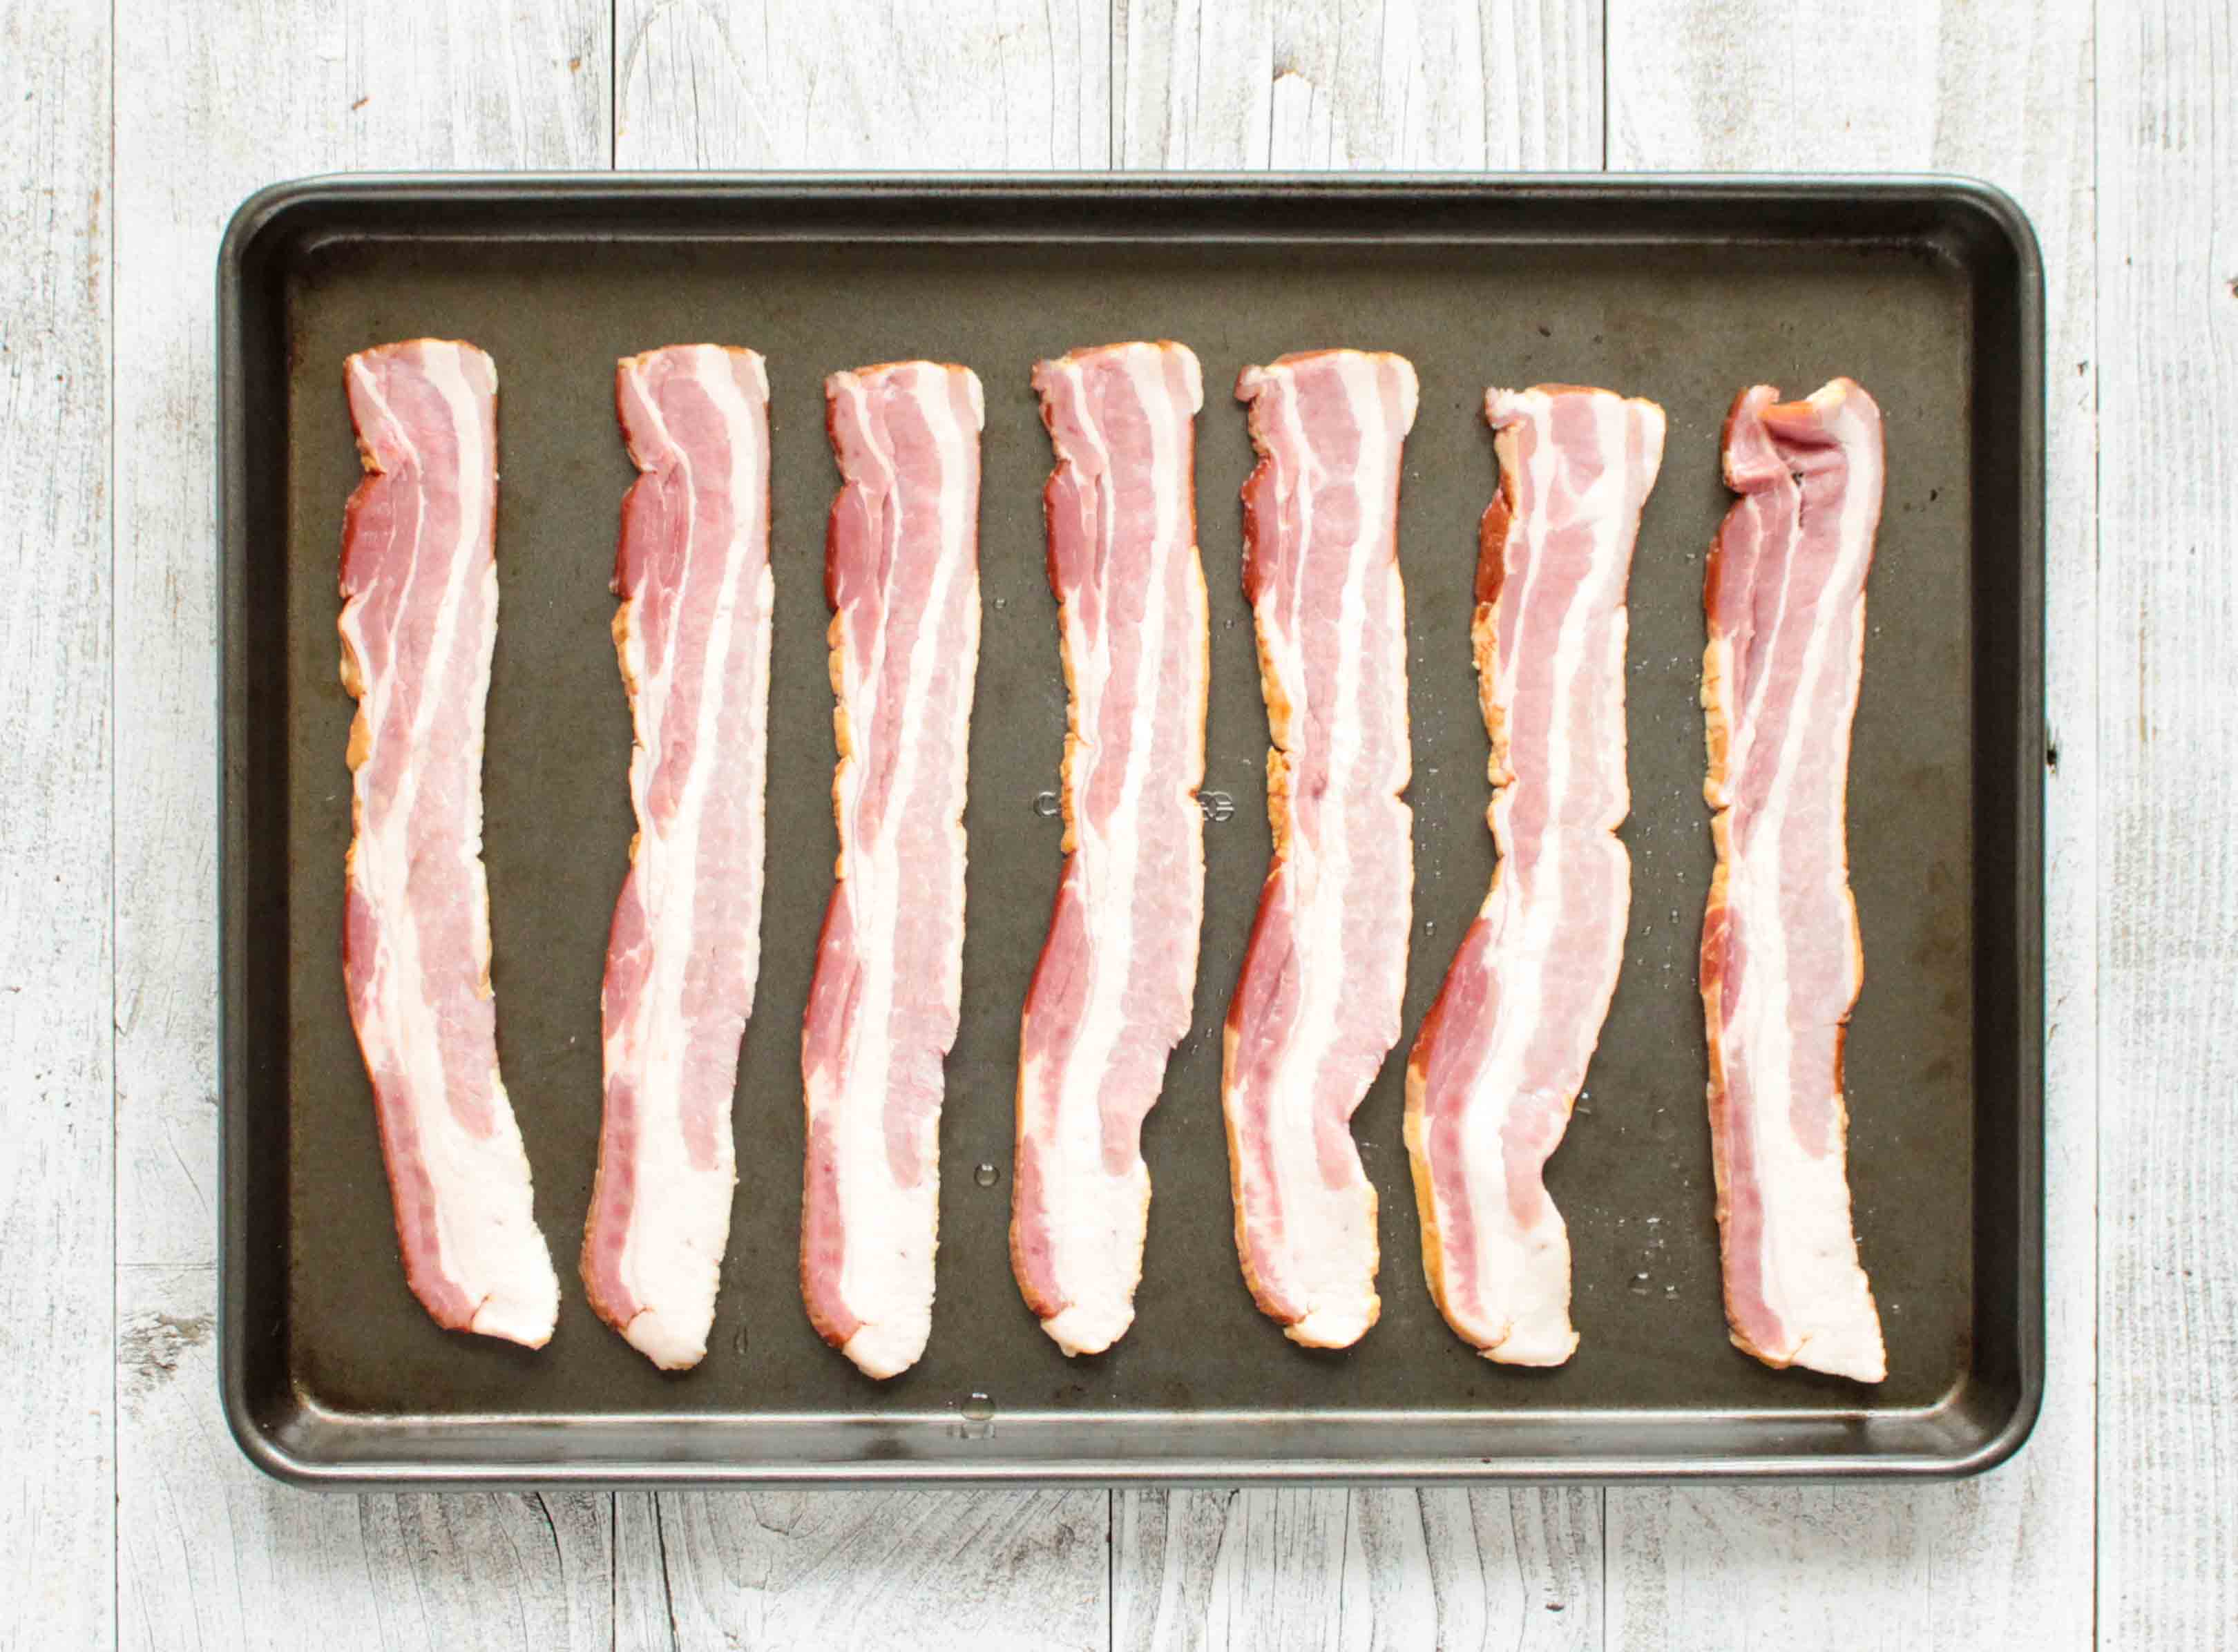
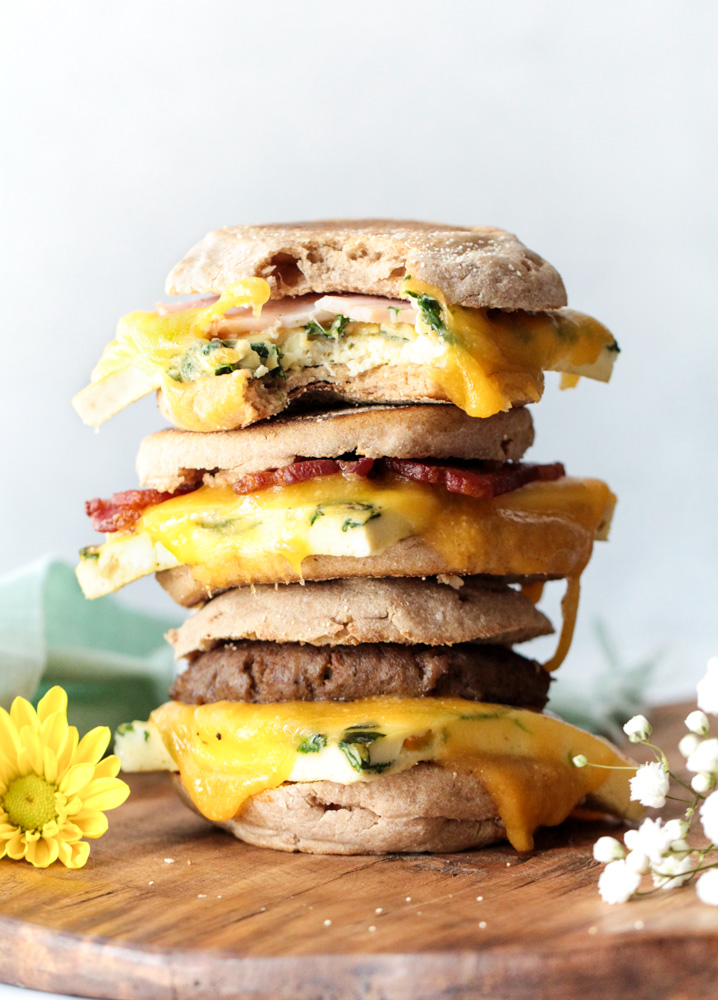
There’s something about a breakfast spread that’s just so pleasing, right?! I made my bacon using the oven method, but really you can do whatever you like best. In a pan, on a griddle, in the air fryer…it’s dealer’s choice!
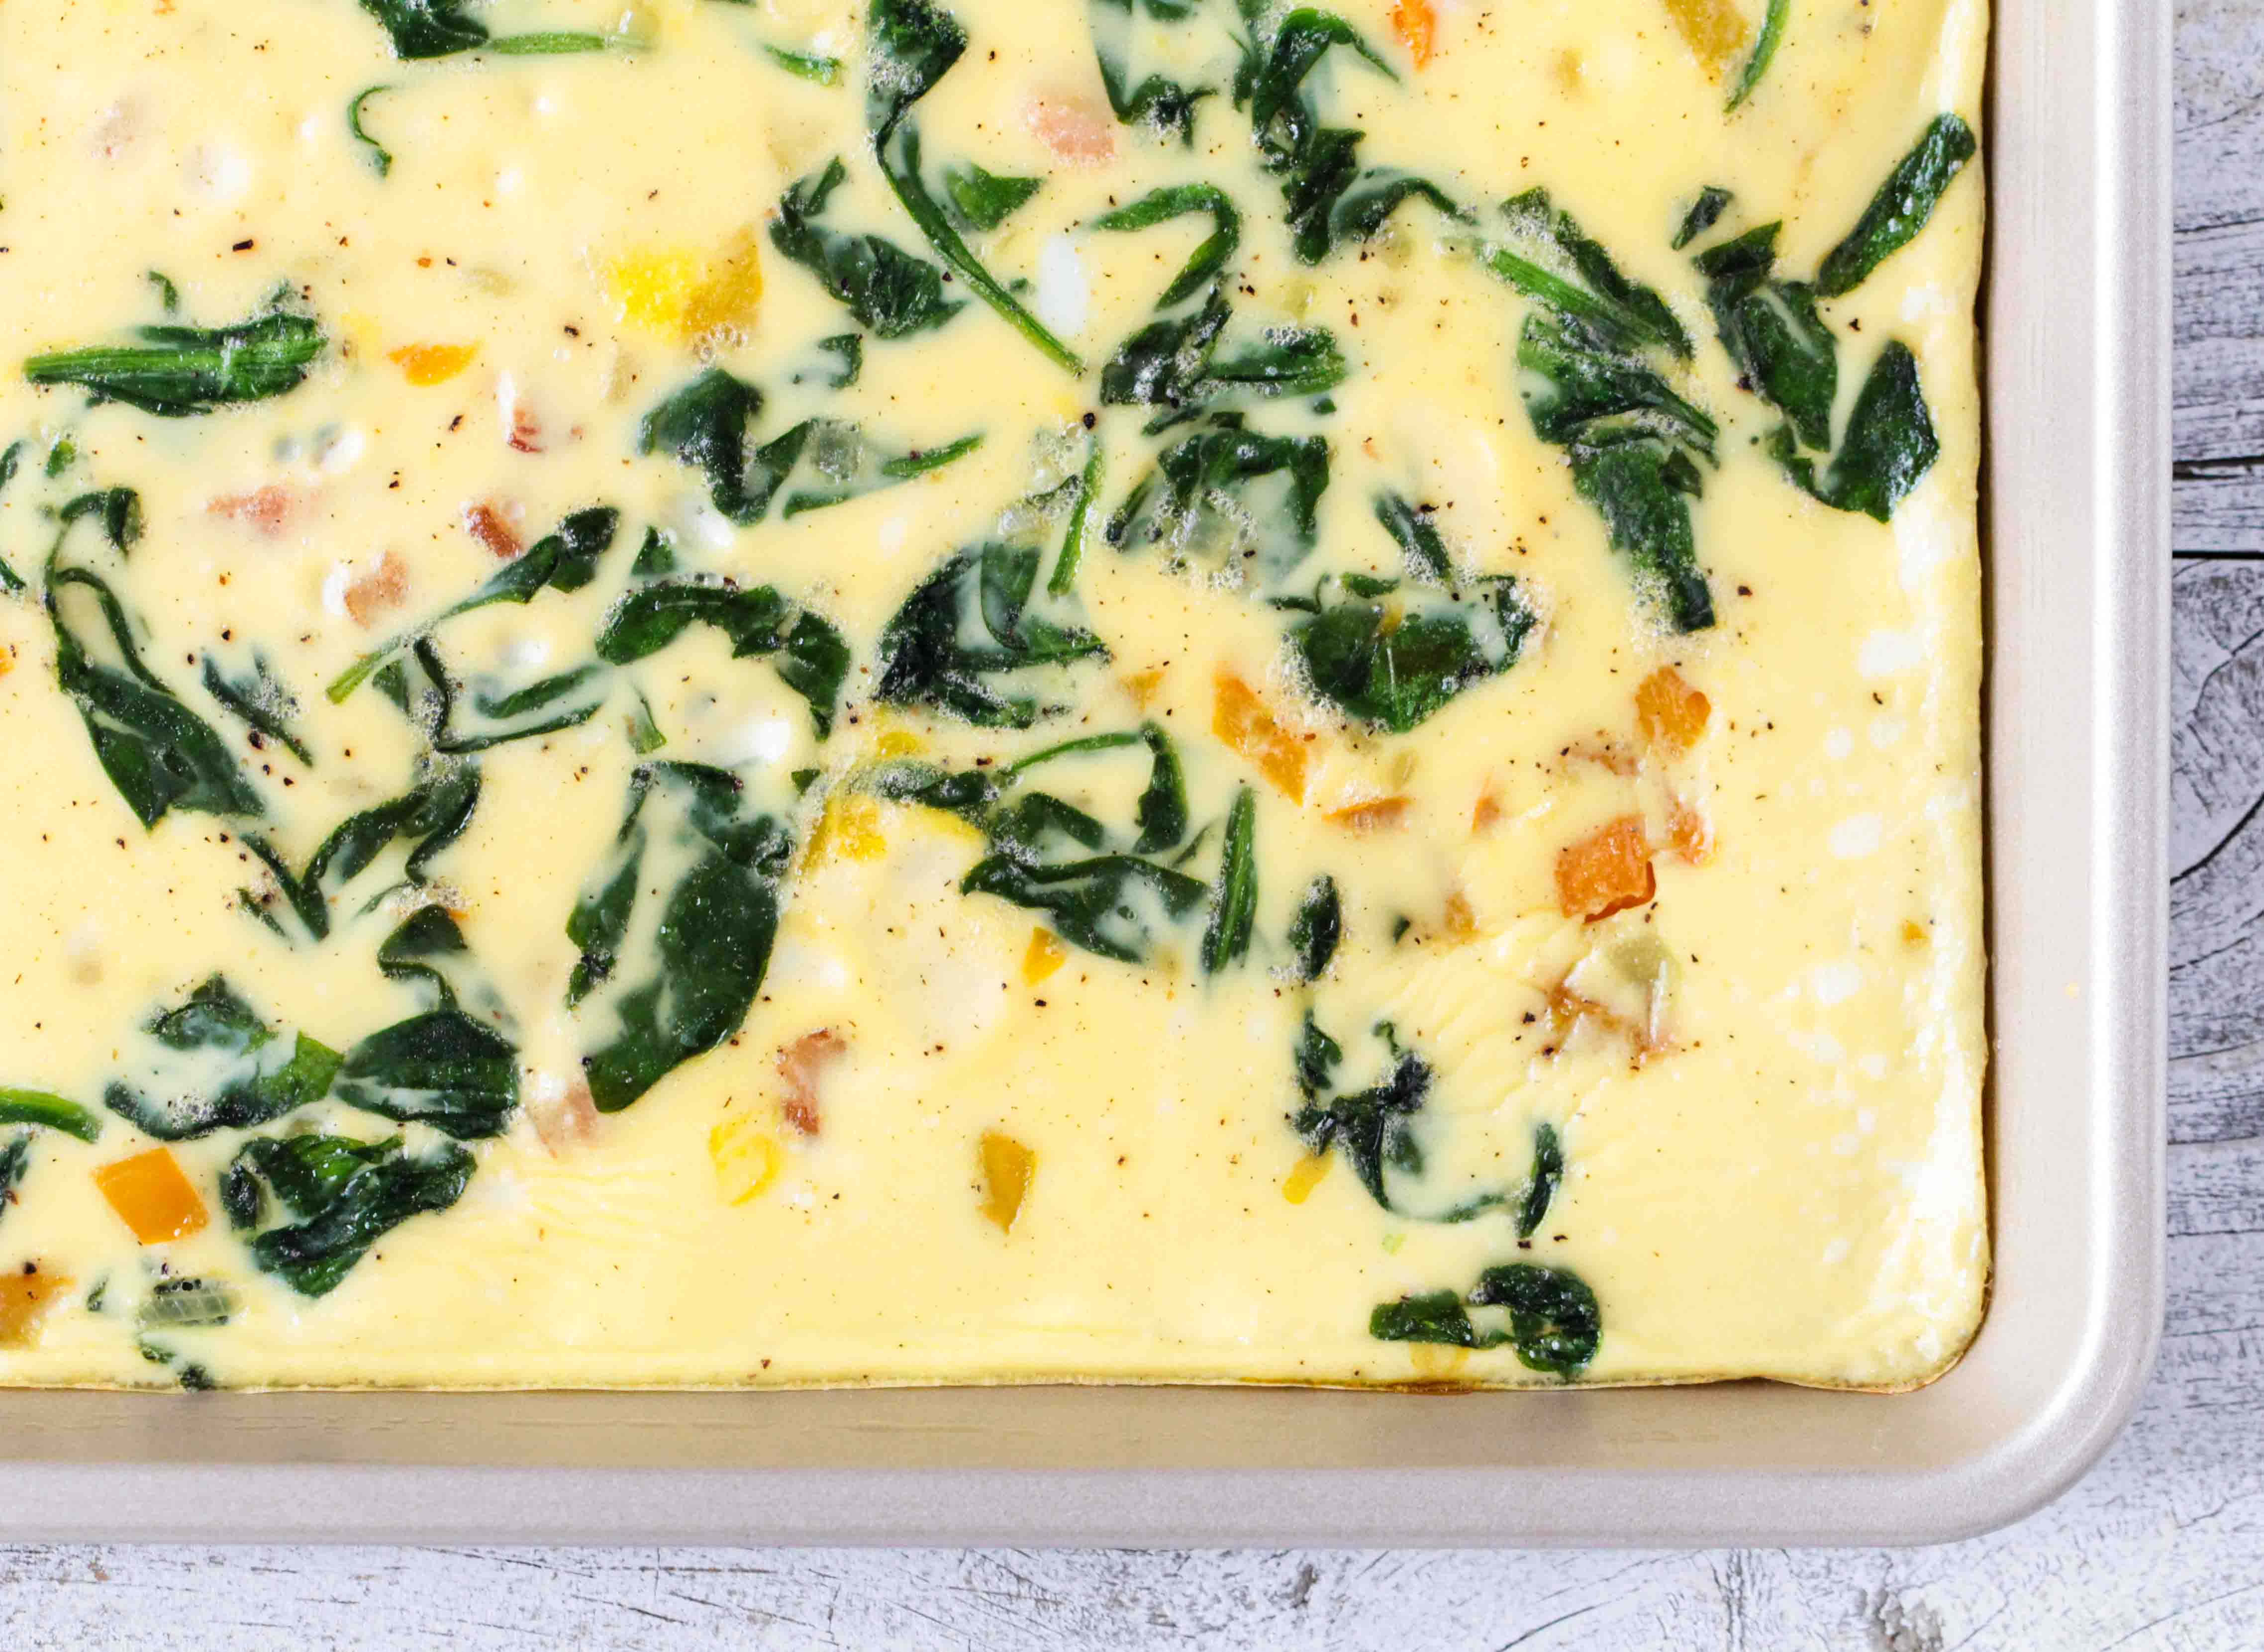
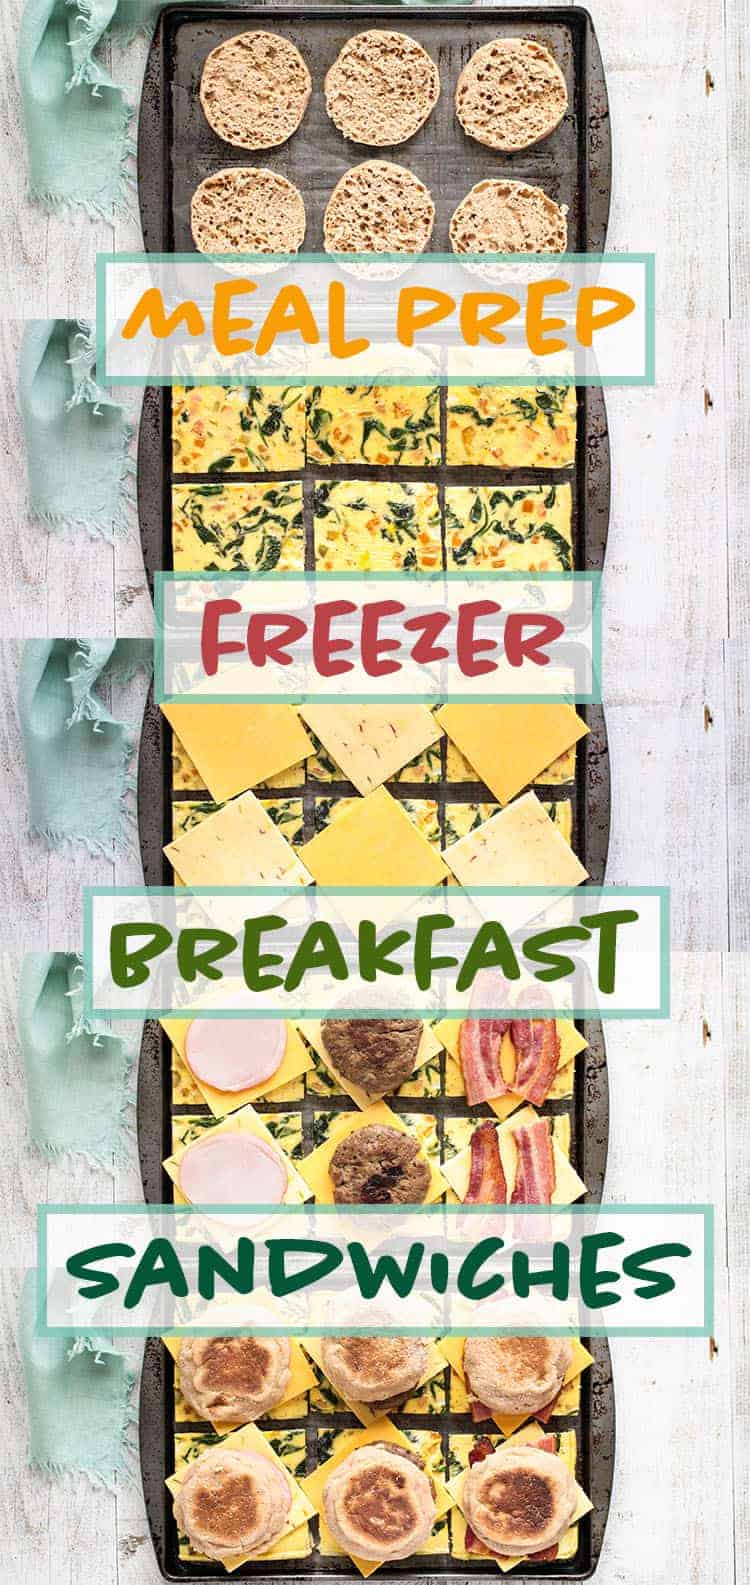
I have seen some other bloggers who cut out the perfect little sandwich sized circles from their eggs and you can totally do that too if you’d like! I personally didn’t want to waste any eggs and just went for the square egg slice method. It actually works out really well if you have a square piece of cheese that you can line up perfectly on top! (Not like how I rotated the cheese in my pictures..that’s for the benefit of the photography, not the eating ;).)
Assembling
You want the cheese to be sandwiched between the egg and meat – this will make reheating much easier and less messy!

Storing
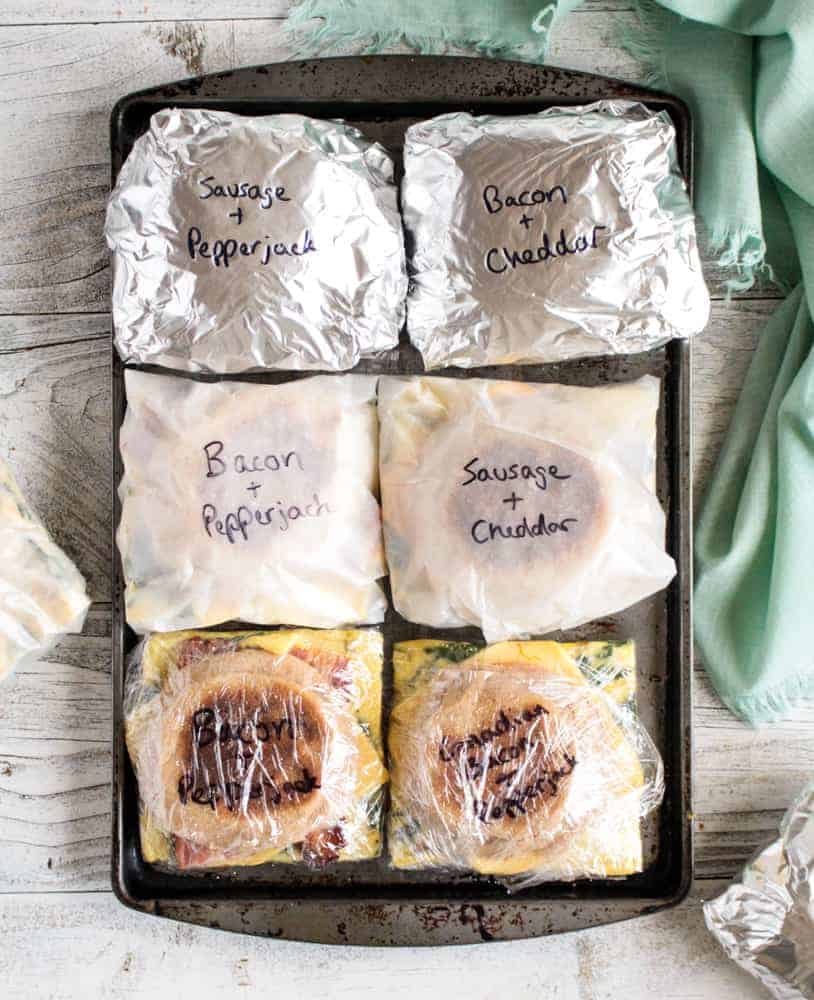
I tried out 5 different ways of storing the sandwiches in the freezer. I’ll be honest, I was a little surprised at the winner: plain old wax paper wrapped tightly around the sandwich. Ice crystals are the enemy here – they will lead to a soggy sandwich when you reheat, especially with certain reheat methods. So, make sure that your eggs and meats are completely cooled before wrapping them up. Condensation now leads to ice later. You also want to allow as little air as possible inside your wrapper. Gotta get that sandwich wrapped up tight like a diaper! Here are the notes on my storage tests:
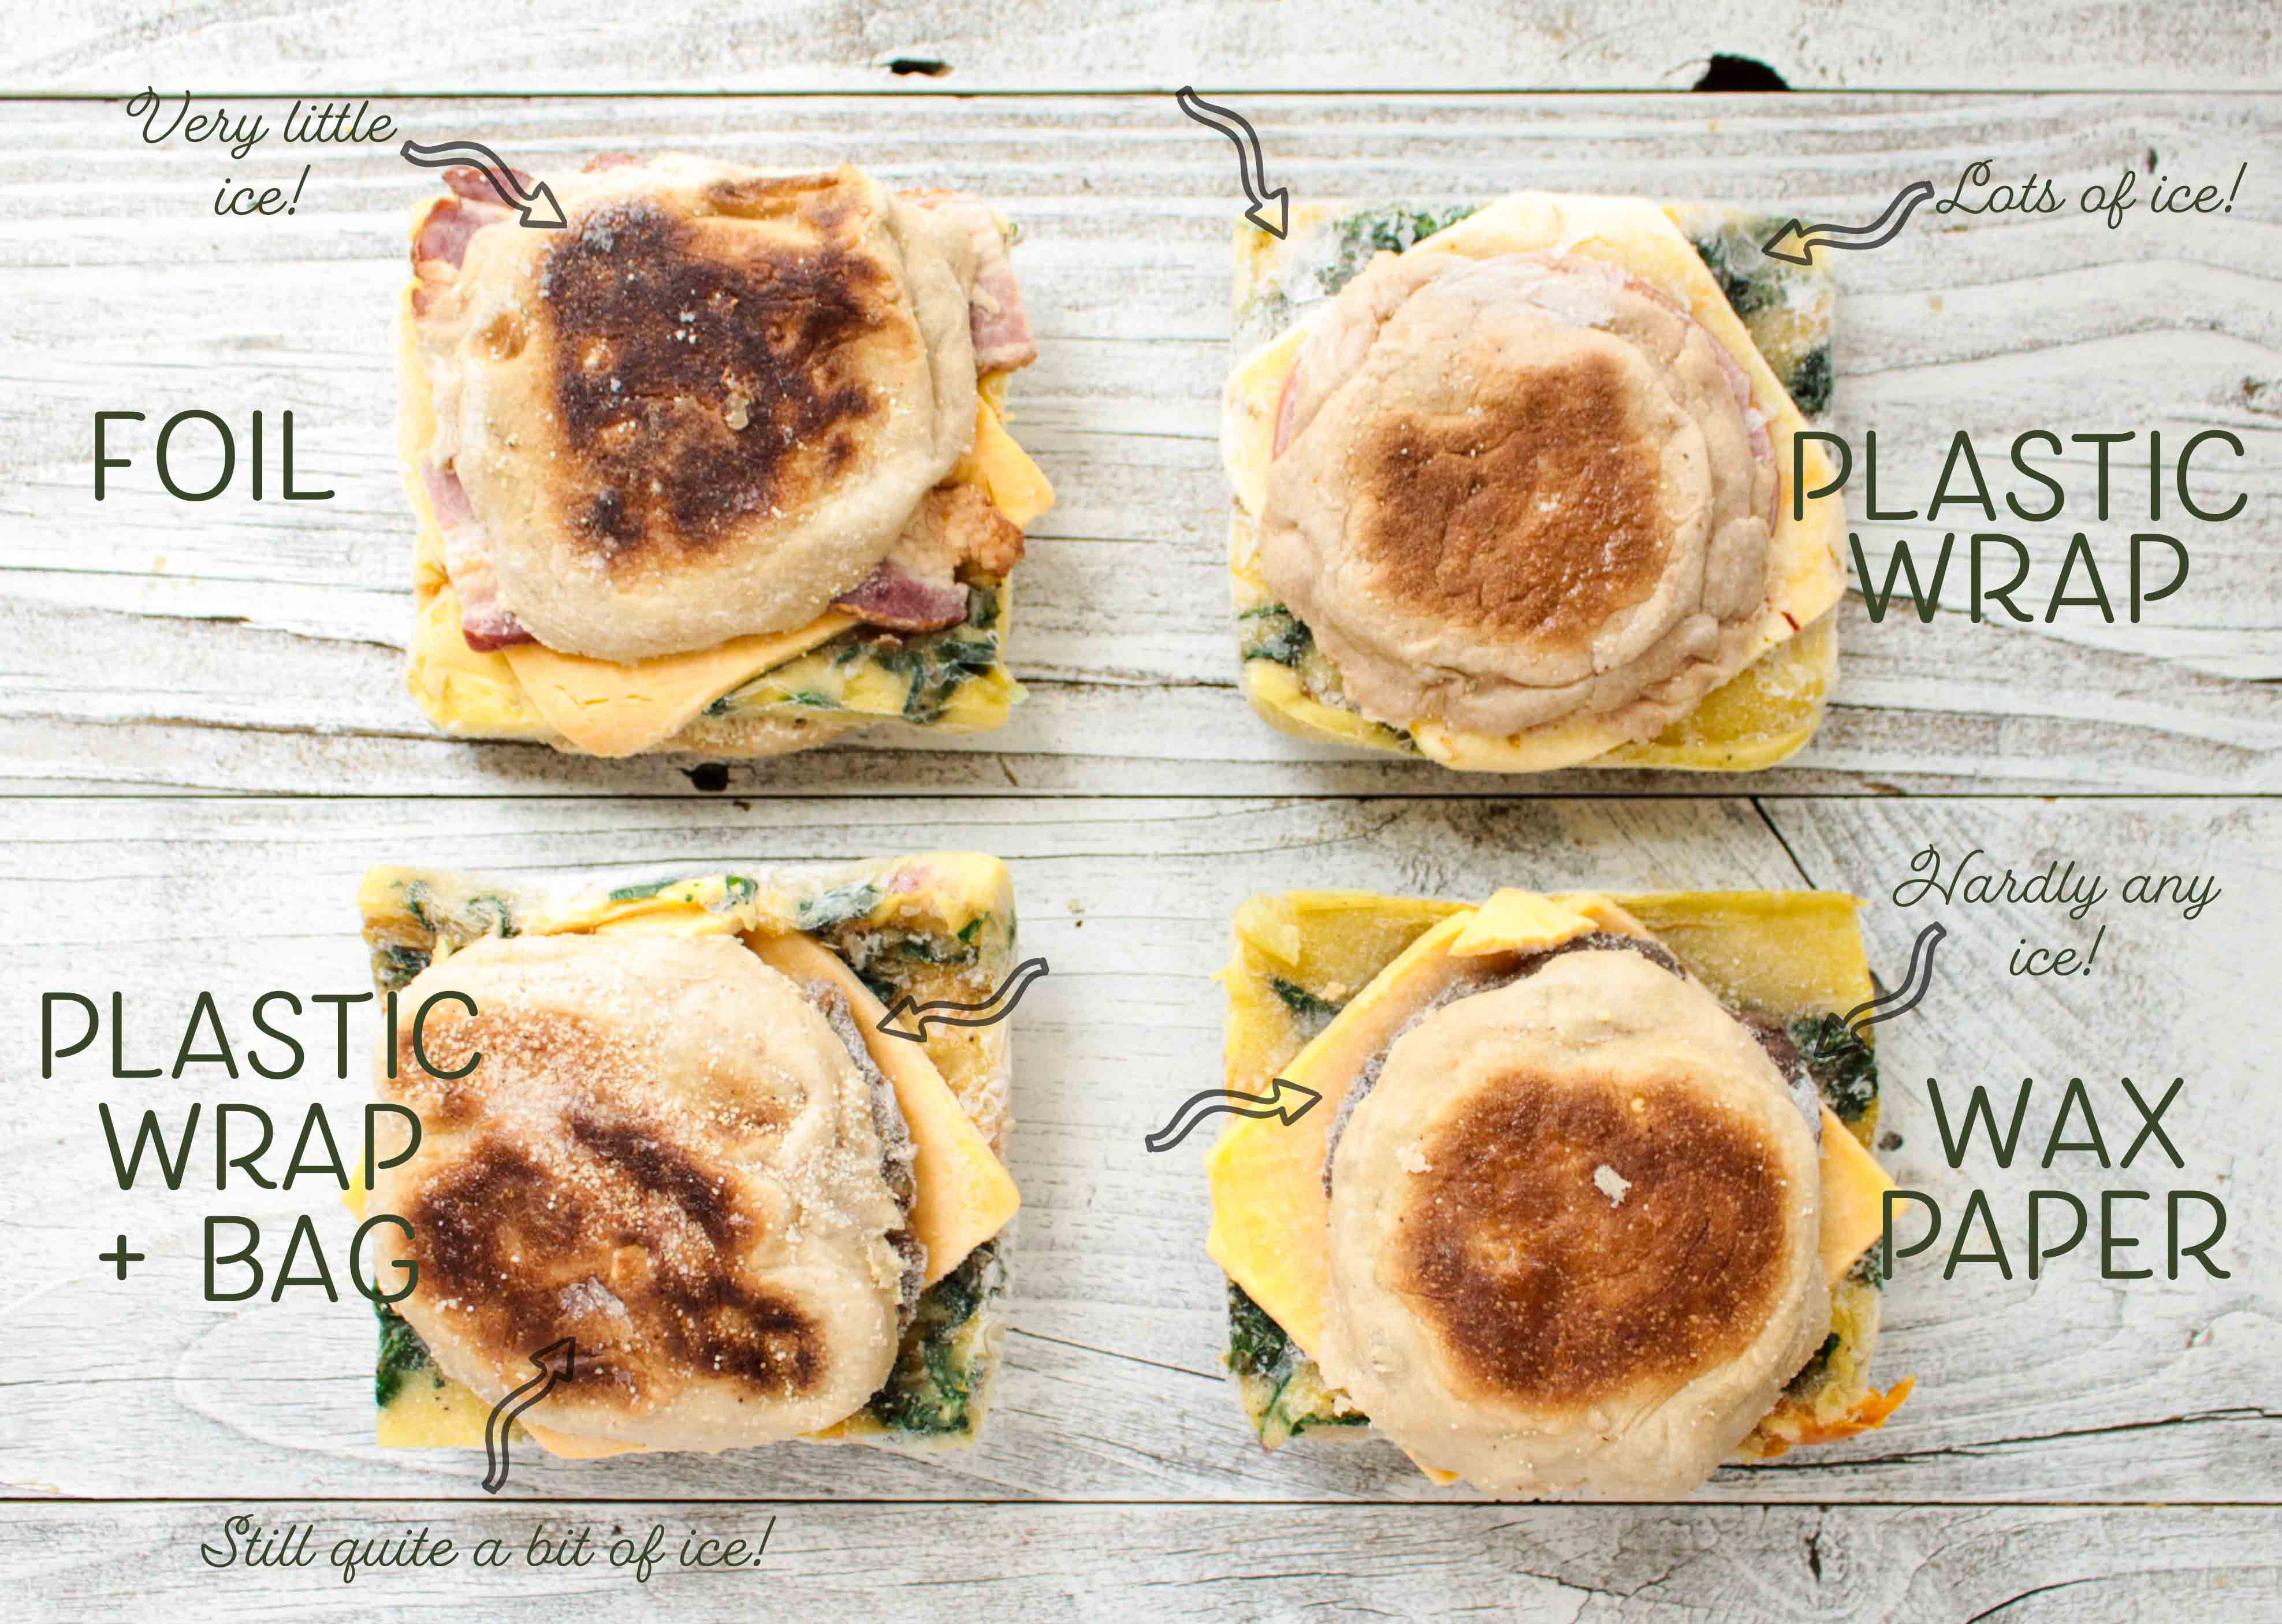
- Wax paper: I kept the wax paper closed with a small piece of tape and stored this one near the front of my freezer. After a week in there, there was almost no ice on the sandwich!
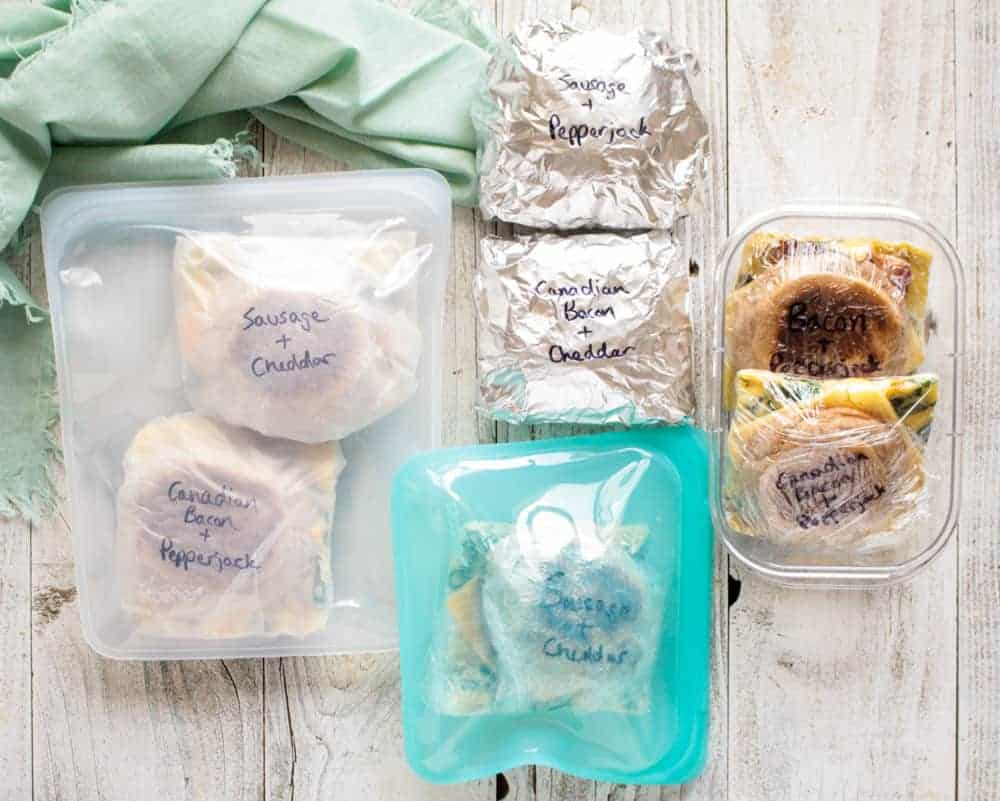
- Wax paper in a reusable silicone bag: Surprisingly I did notice some ice on the sandwiches with this method, though it was minimal. I will say that if you plan to keep the sandwiches in the freezer for more than a couple weeks, a secondary air tight container like a bag is advisable to avoid freezer burn or leaching of any smells into your sandwich through the wax paper.
- Aluminum foil: There was minimal ice when using foil (though there was some), and it’s super easy to wrap/label the sandwiches with this method. This is another great option for storing the sandwiches for >2 weeks without needing another container.
- Plastic cling wrap in reusable silicone bag: Lots of ice on the sandwich with this method, even though I wrapped the sandwiches tightly in the cling wrap.
- Plastic cling wrap in an air tight container: I don’t think the air tight container really did much here since the sandwich was about the same level of iciness as the test in #4.
Reheating
The biggest struggle with reheating these sandwiches straight out of the freezer is making sure you get it reheated to the core and avoid any cold egg/cheese situations. I tested out TEN different methods of reheating to find the best one. I won’t bore you with all the test notes, but I will share details on the top 3 methods.
WINNER: AIR FRYER OR TOASTER OVEN METHOD
I tried using 5 different methods of reheating these sandwiches straight out of the freezer in my air fryer. As much as I wanted to love those methods (helloooo crispy edges!), I didn’t find a method that would successfully get the egg heated through and cheese melted in the middle without over toasting the edges. BUT, if you have the forethought to take a sandwich out of the freezer and stick it in the fridge overnight, the air fryer becomes my favorite reheating method. Note that for this method, I used a little pan insert in my air fryer so that the cheese would be contained if it melted over.
- After thawing in the fridge overnight, remove the muffin top and stick the rest of the sandwich in the air fryer. Cook at 200 degrees for 10 minutes, then replace the muffin top, flip the sandwich over, and cook at 300 degrees for another 5 minutes. This resulted in a crisply toasted muffin and melty cheese, with the eggs and meat warmed all the way through the middle.
RUNNER UP: MICROWAVE + TOASTER METHOD
If you’re in a hurry in the morning and don’t have an air fryer or toaster oven (and didn’t take your sandwich out of the freezer the night before), I found that a combo of using the microwave and toaster was the most reliable and convenient way to get the sandwich from frozen solid to completely heated-through while avoiding a soggy muffin situation. Remember that using the right the storage method really helps avoid sogginess too! Less ice crystals = less soggy muffins. Here are the 2 microwave methods worth using – the 1st requires the least fuss and the 2nd requires only slightly more effort with your microwave buttons:
- Wrap the frozen sandwich in a paper towel and microwave on high for 1 minute. Take the sandwich out, the remove the muffins and stick them in a toaster (I had mine set to about 4 out of 5). Place the egg, cheese, and meat “innards” back onto the plate and heat in the microwave on high for 30-45 seconds or until heated through. This method was the most hassle-free microwave method that led to a sufficiently toasty muffin with the inside of the egg heated through. Note that if the shape of the egg and cheese are the same, you’ll have less mess when reheating like this (e.g. a square piece of cheese lined up with the edges of a square egg “patty” or a round piece of cheese atop a round egg “patty.”)
- Wrap the sandwich in a paper towel and microwave using the defrost setting, flipping halfway through the defrost time (mine took 4 1/2 minutes total using setting 3 at 0.5 quantity – I literally only ever guess on the defrost settings with my microwave, but this felt appropriate). After the defrost cycle, remove the muffins to toast in the toaster while heating the sandwich “innards” on high for 30-45 seconds. Just keep a close eye on the innards while you’re heating them to avoid a melty, cheesy mess!
BTW, I highly recommend this OXO Good Grips non-stick baking sheet. It worked like a charm with the eggs and didn’t stick at all!! (Note: these are Amazon Affiliate links.)
Recipe

Freezer Breakfast Sandwiches
Ingredients
- 12 Thomas 100-Calorie Light Multigrain English Muffins, (57 grams per muffin)
- 12 slices Tillamook Sharp Cheddar Cheese, (1 oz per slice)
Meat (quantities listed make 4 servings of each type)
- 4 slices Applegate Hickory Smoked Uncured Thick Cut Bacon, (48 grams cooked weight)
- 4 slices Hormel Black Label Canadian bacon, (17 grams per slice = 68 grams)
- 1 lb Jennie-O Turkey Breakfast Sausage, prepared according to package directions
Eggs
- 8 large eggs
- 2 1/2 cups egg whites
- 1/4 cup whole milk
- 2 cups baby spinach, (2 1/2 oz / 71 grams)
- 1/2 medium red bell pepper, chopped, (54 grams)
- 1/2 medium shallot, diced, (25 grams)
- 1 tsp olive oil or rendered bacon fat
- 1/4 tsp salt
- 1/4 tsp black pepper
Instructions
Eggs
- Pre-heat oven to 325 degrees. Spray a 13×18" baking sheet with non-stick cooking spray and set aside.
- Heat olive oil or rendered bacon fat in a pan over medium high heat. Once hot, add shallot and bell pepper and sauté until softened and fragrant, 3-4 minutes. Add baby spinach and toss with shallot and bell pepper. Sauté for 2-3 minutes, continuously moving around the pan, until spinach is softened and bright green. Dump spinach mixture onto a paper-towel lined plate and set aside.
- Add whole eggs into a bowl with milk, salt, and pepper. Whisk until yolks are broken down and combined into the whites. Then add remaining egg whites and cooled spinach mixture and whisk until combined. Pour into greased baking sheet.
- Bake at 325 degrees for 18-22 minutes or until the tops of the eggs are no longer jiggly. Set aside to cool.
Bacon
- If using bacon, pre-heat the oven to 400 degrees. Arrange slices of bacon on a smaller baking sheet in a single layer.
- Bake for 6 minutes, then rotate the pan in the oven so that the side that was in the front of the oven is now in the back. Continue baking for 8-10 minutes, then remove to a paper towel lined plate to cool. Pat off any excess grease.
Assemble
- *Note: ensure all components are completely cooled before assembling the sandwiches!
- Slice the cooled eggs into 12 pieces and break bacon slices in half so they fit onto the sandwiches.
- Place the english muffin bottoms on the counter (or onto a large baking sheet for easy cleanup). Add the cooled egg whites, then the cheese slices, then the meats. Add the muffin tops and tightly wrap the sandwiches in wax paper or foil. Freeze for up to 1 month.
Tips & Tricks
- English muffins and cheese: use whatever kinds you like! The nutrition info was calculated using these specific brands.
- Meat: Try all 3 varieties or pick one. To make all the same variety, you’ll need to triple the amount listed above. The nutrition info included in the recipe card is for the bacon variety.
- Wrapping: I tried wrapping and freezing these sandwiches in plastic wrap, wax paper, and aluminum foil. The ones wrapped in wax paper fared the best in the freezer in the short term, and foil did better over time.
- Storing: I also tried sticking some wrapped sandwiches in sealed plastic containers or reusable plastic bags. If using foil or using wax paper for short term (<1 week) freezing, the extra container or bag is totally unnecessary.
- Reheating: I tested a variety of reheating methods – air fryer, oven, microwave, microwave + toaster. My favorite was letting the sandwich thaw in the fridge overnight, then topless into the air fryer at 200 degrees for 10 minutes. Then replace the top, flip it, and go at 300 degrees for 5 minutes.
Nutrition Information

Bacon + Cheddar

Canadian Bacon + Cheddar

Sausage + Cheddar






Leave a Reply