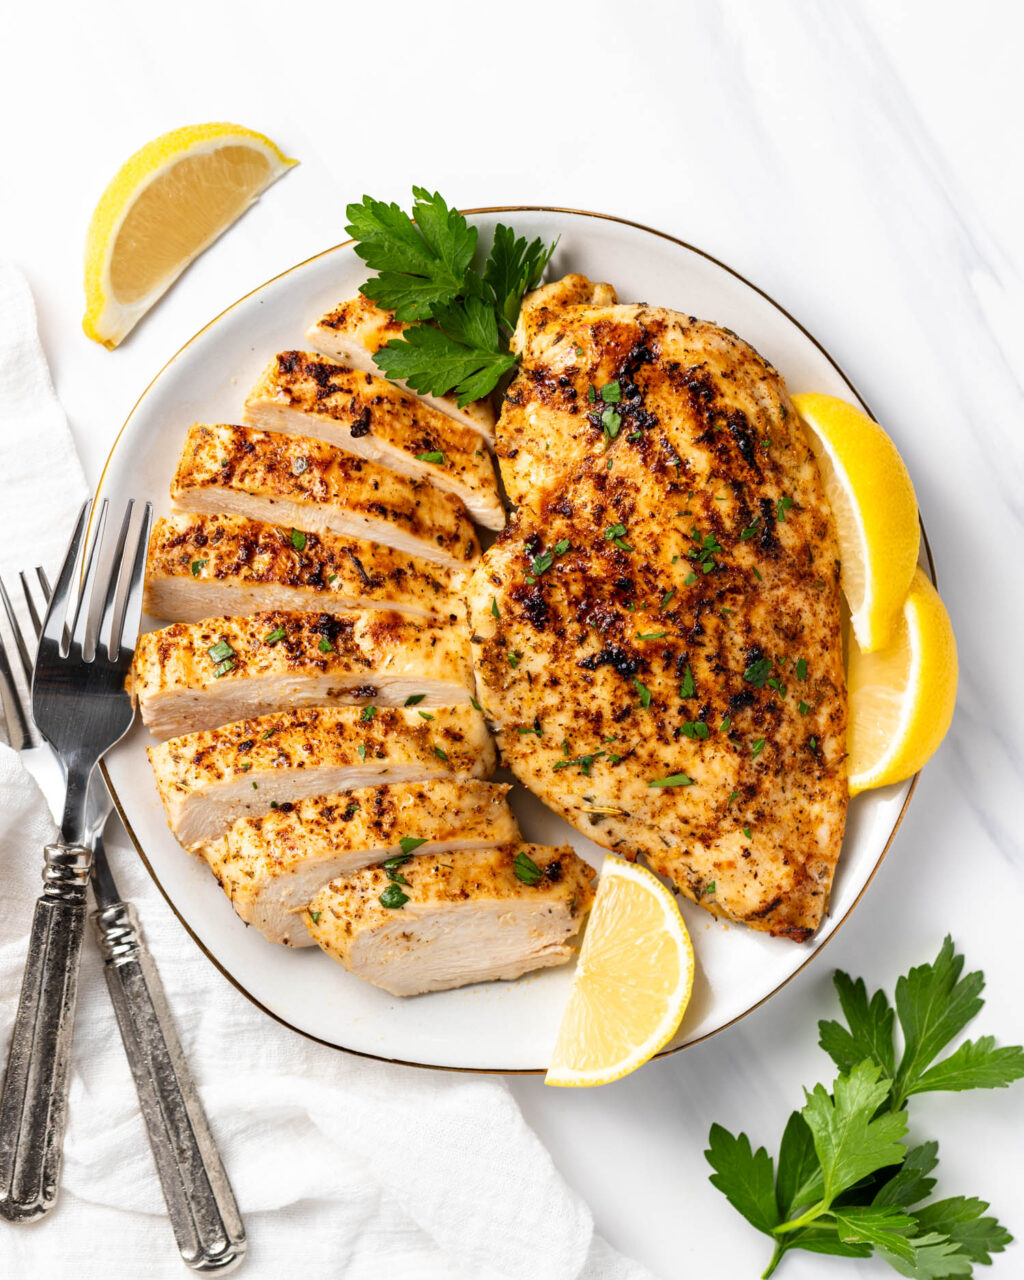
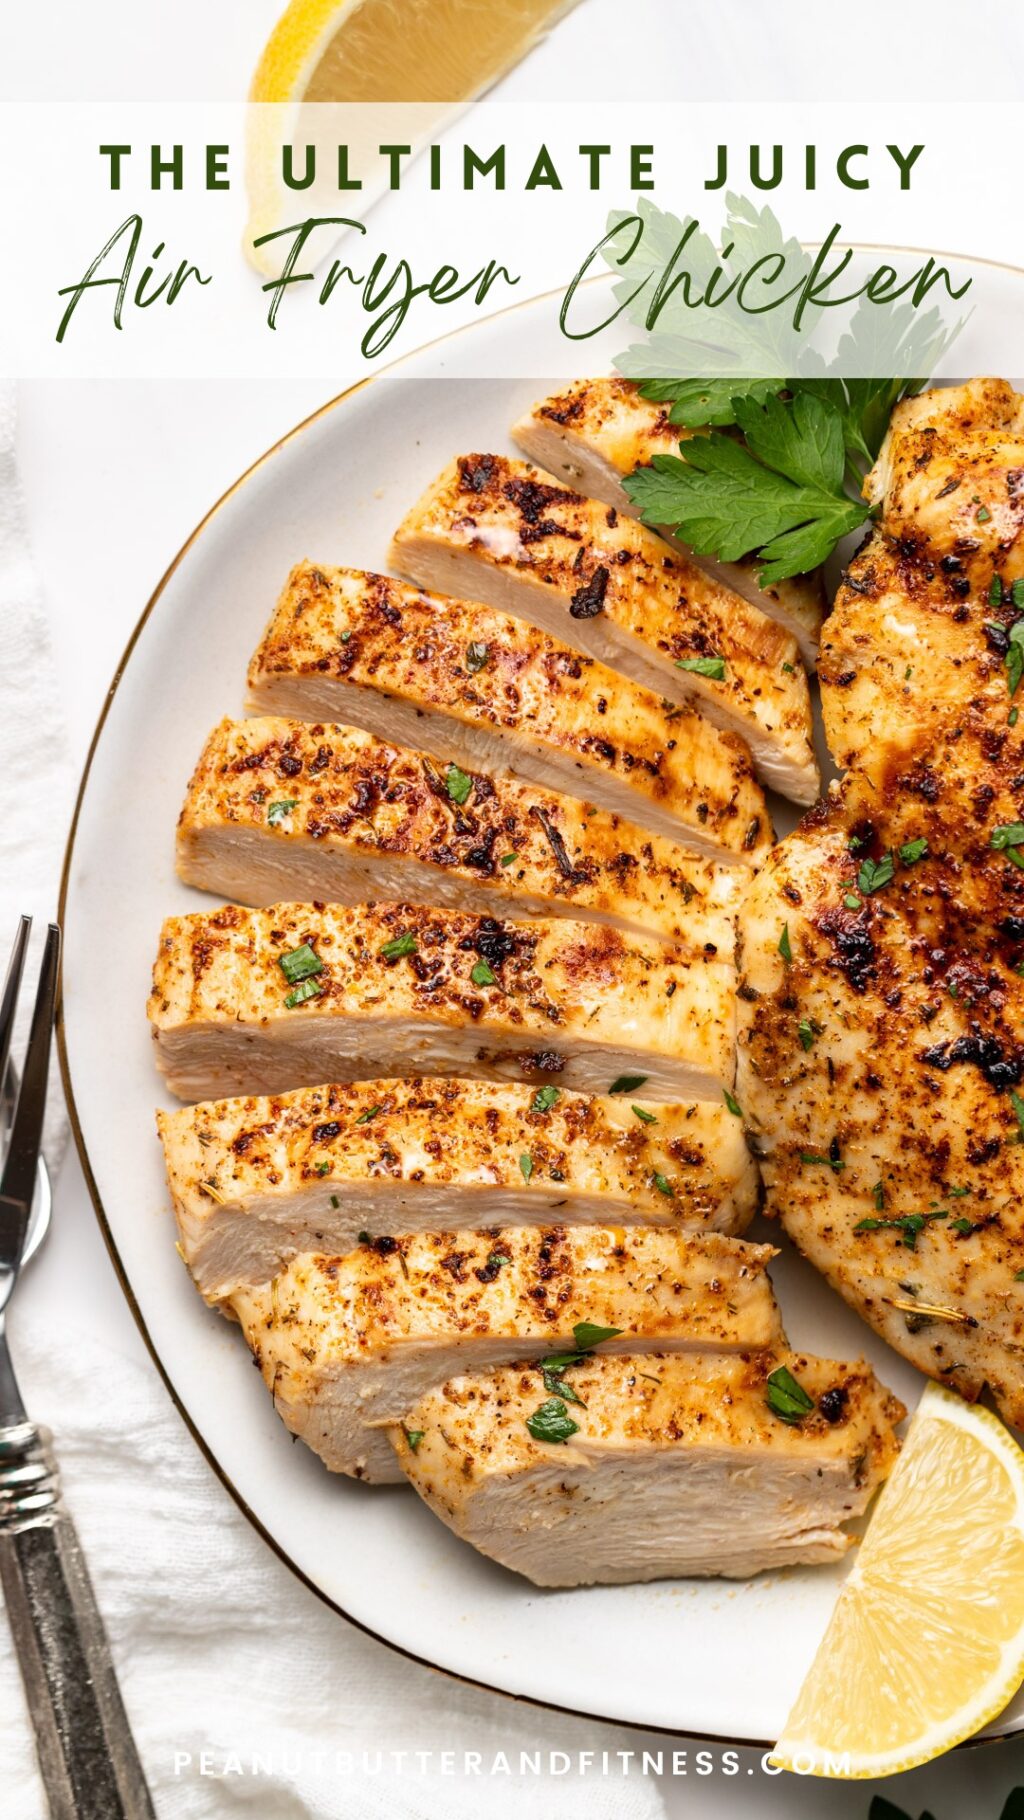
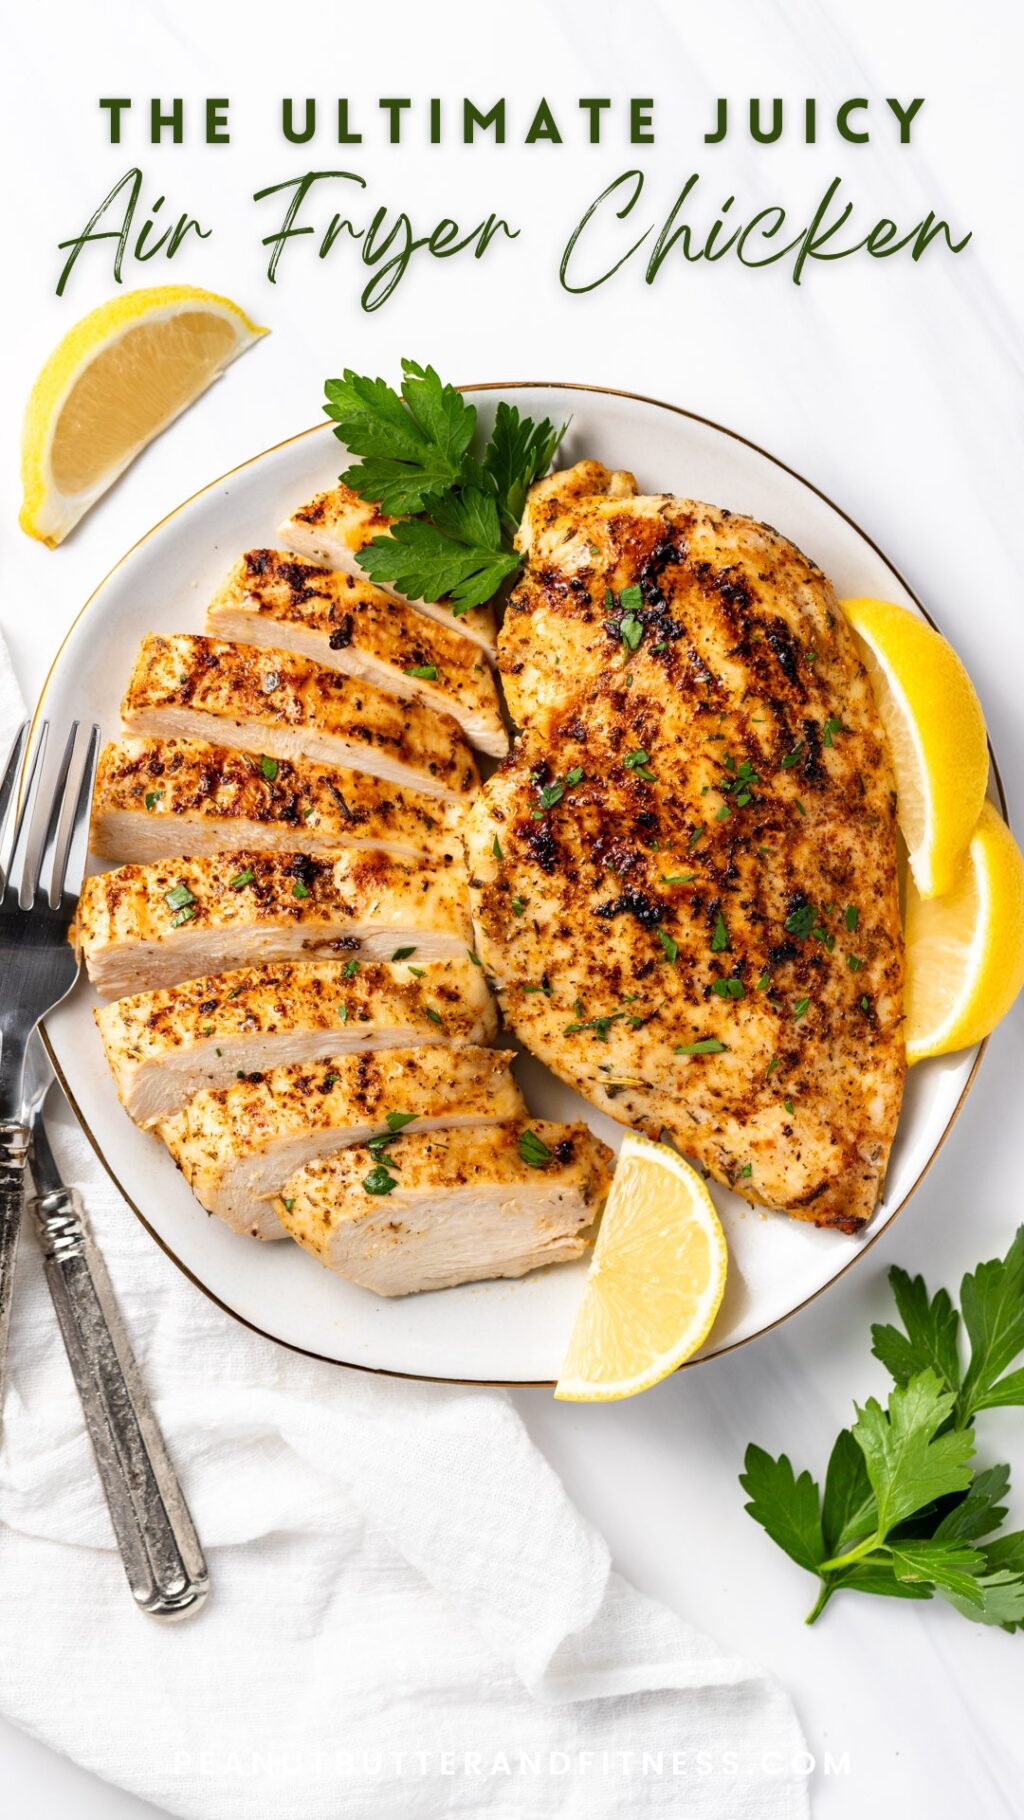
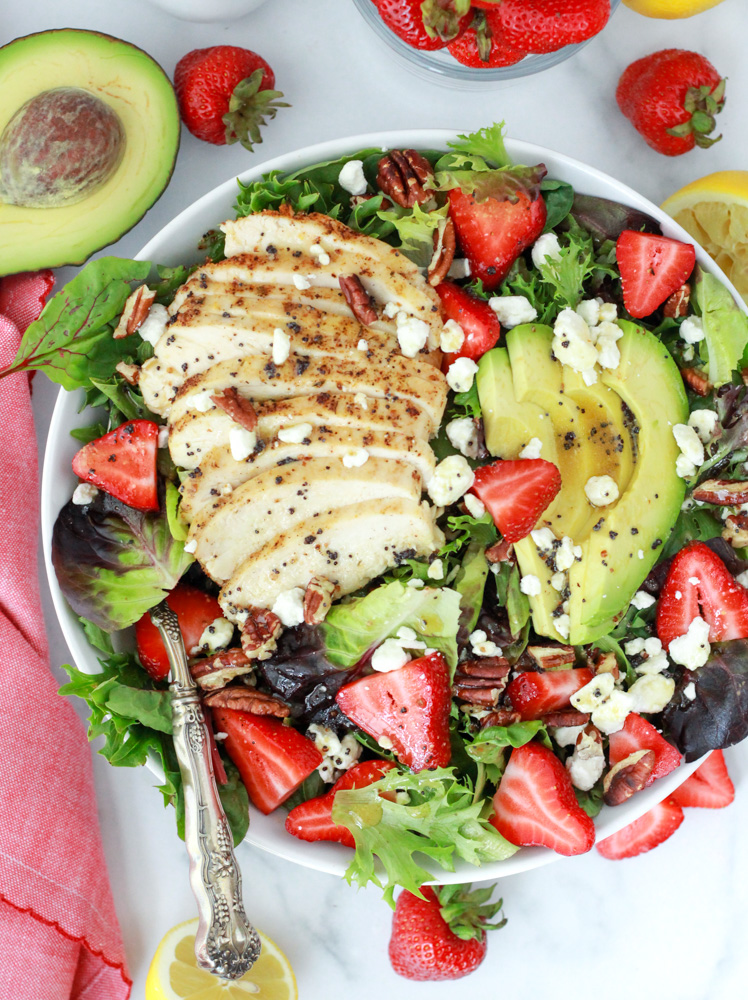
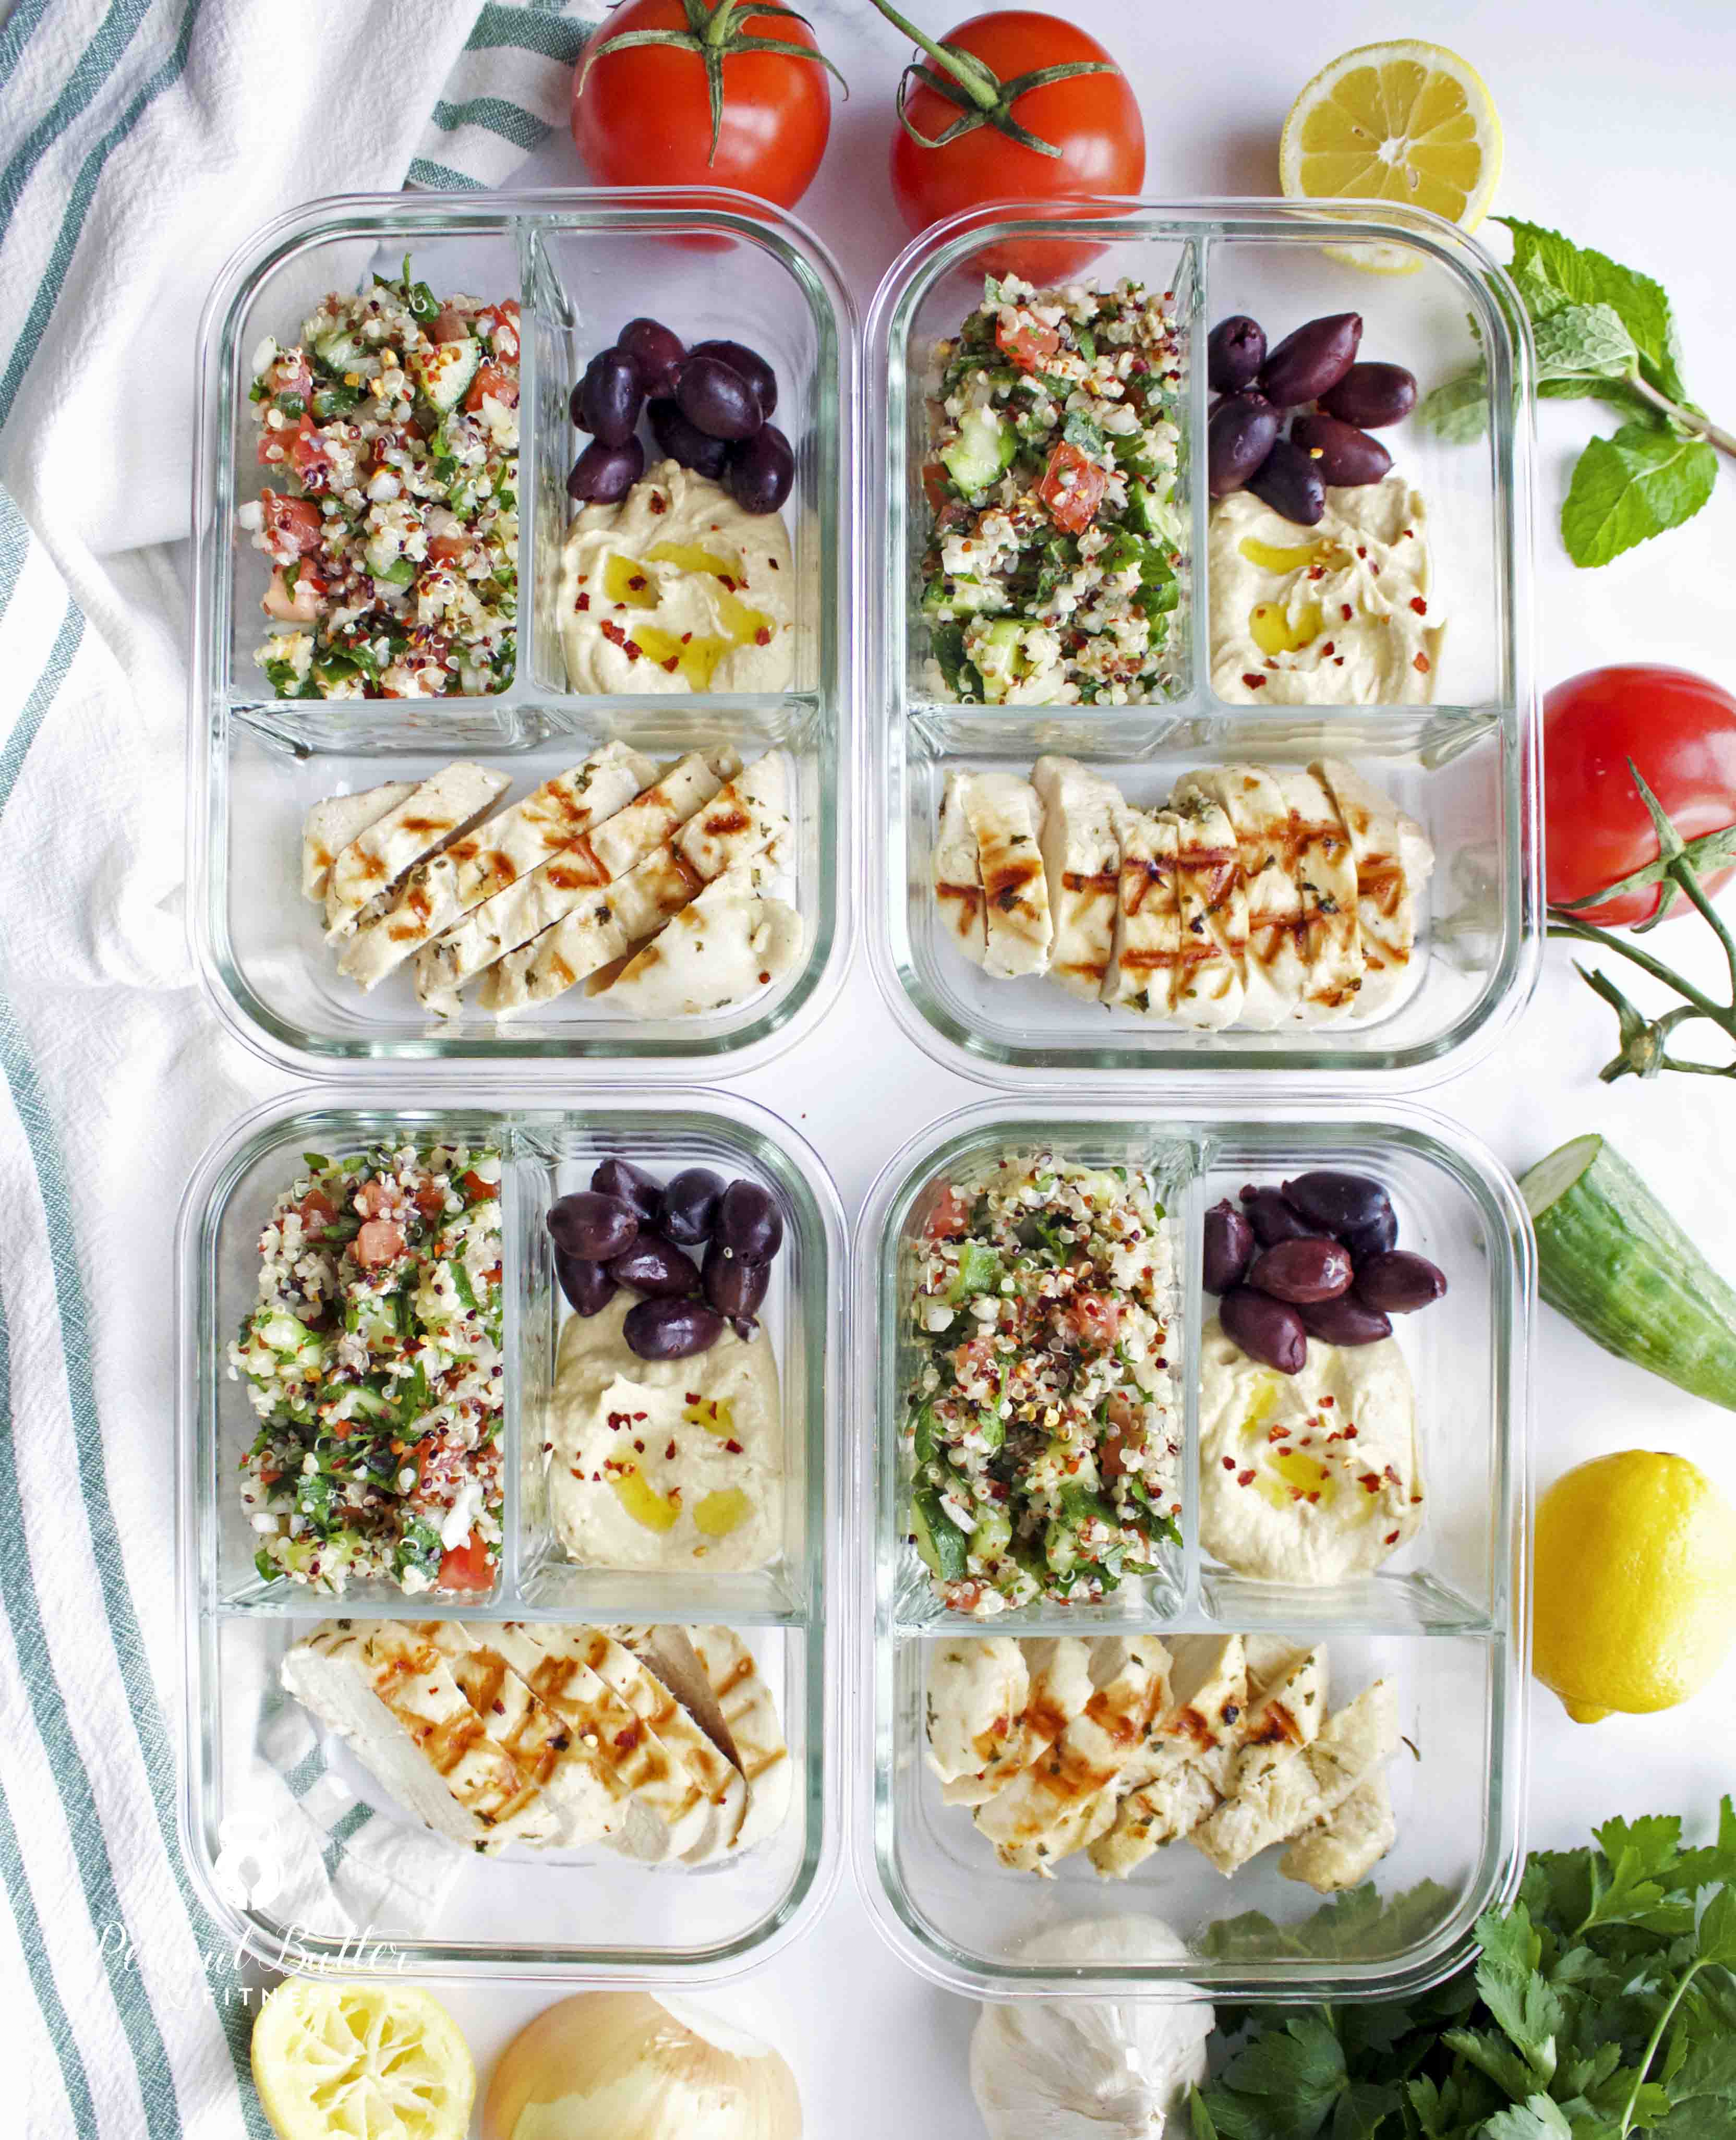
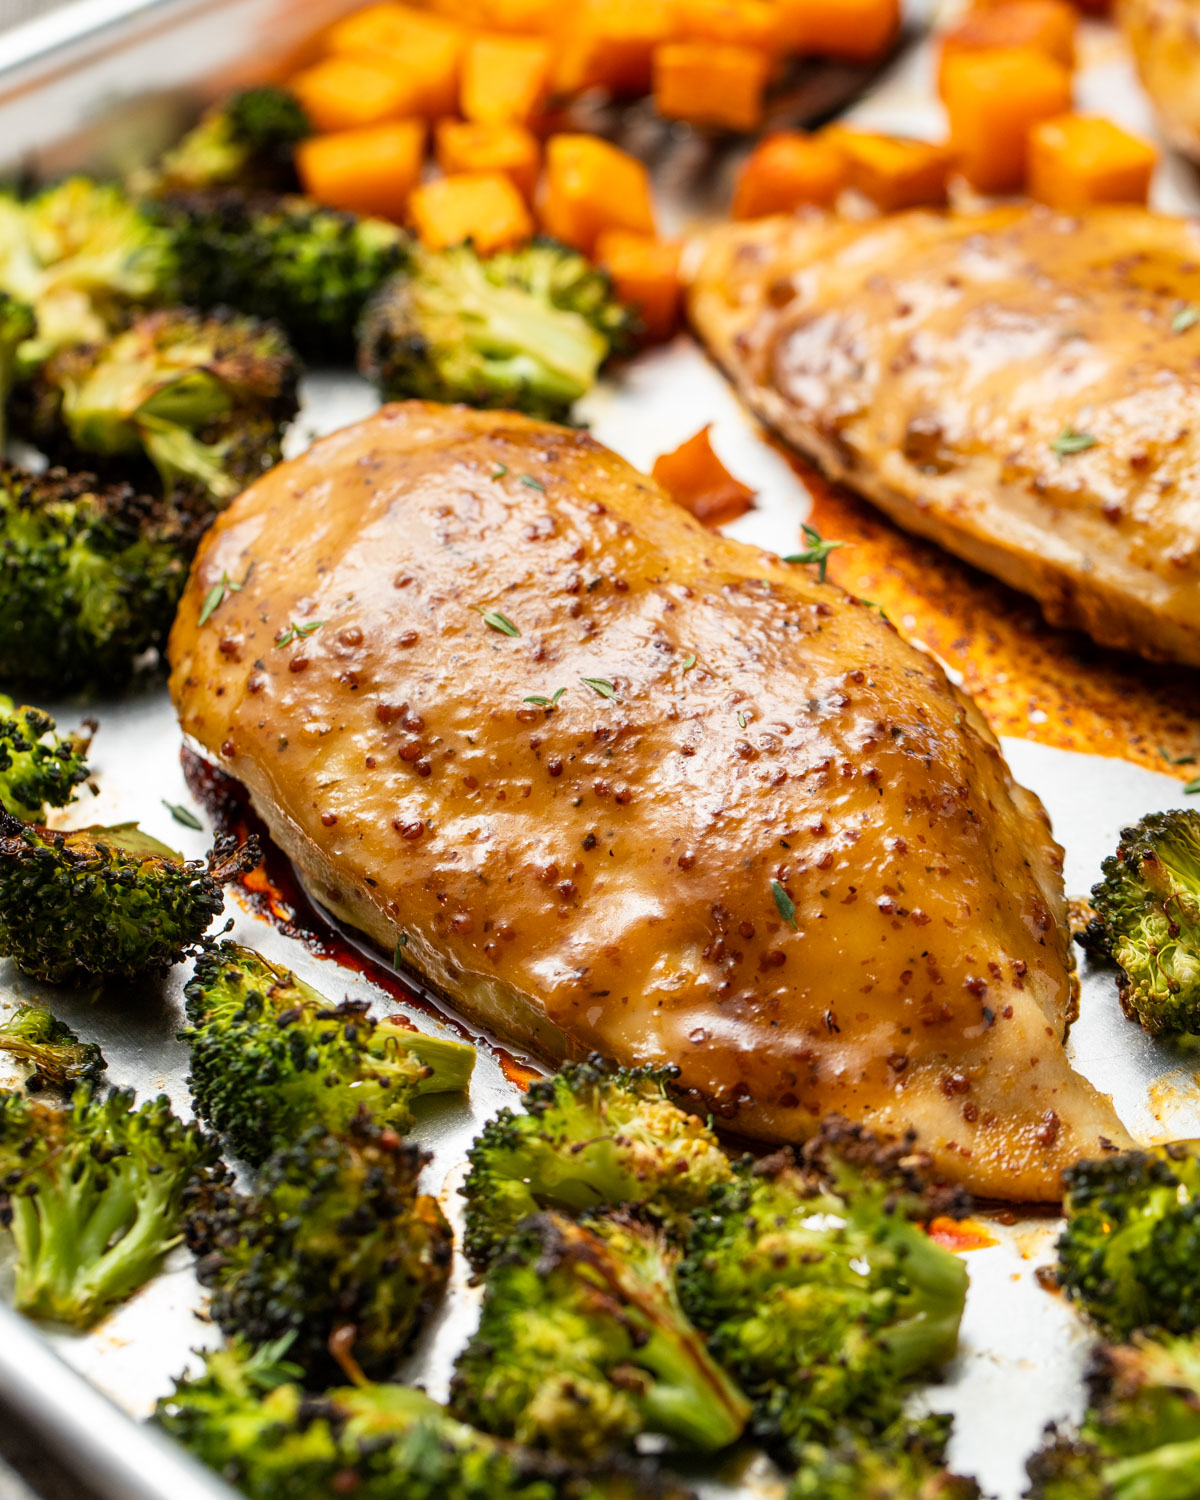
It’s Day 2 of Air Fryer Week here at PBF and I’m coming at you with a classic recipe that you’ll see in a lot of my meal preps – Juicy Air Fryer Chicken! I absolutely love this chicken because it’s so juicy and flavorful, with plenty of seasoning outside and inside. If you’re wondering how to get seasoning and flavor inside the chicken breast, read on my friend!
Here’s the thing about chicken breast – it’s so easy to overcook and lose any semblance of the juicy chicken you crave. And for my meal preppers out there, you know what that means…the chicken that’s passable on day 1 becomes horrible and dry by day 3. Chicken thighs are easier to work with but they have a higher fat content that make them a tough sell for a lot of people who would prefer less fat. But guess what? You can have the low fat chicken breast but still get juicy, perfect chicken breast EVERY TIME. (I feel like I’m cueing up an infomercial right now, btw.) The not-so-secret secret? BRINE!
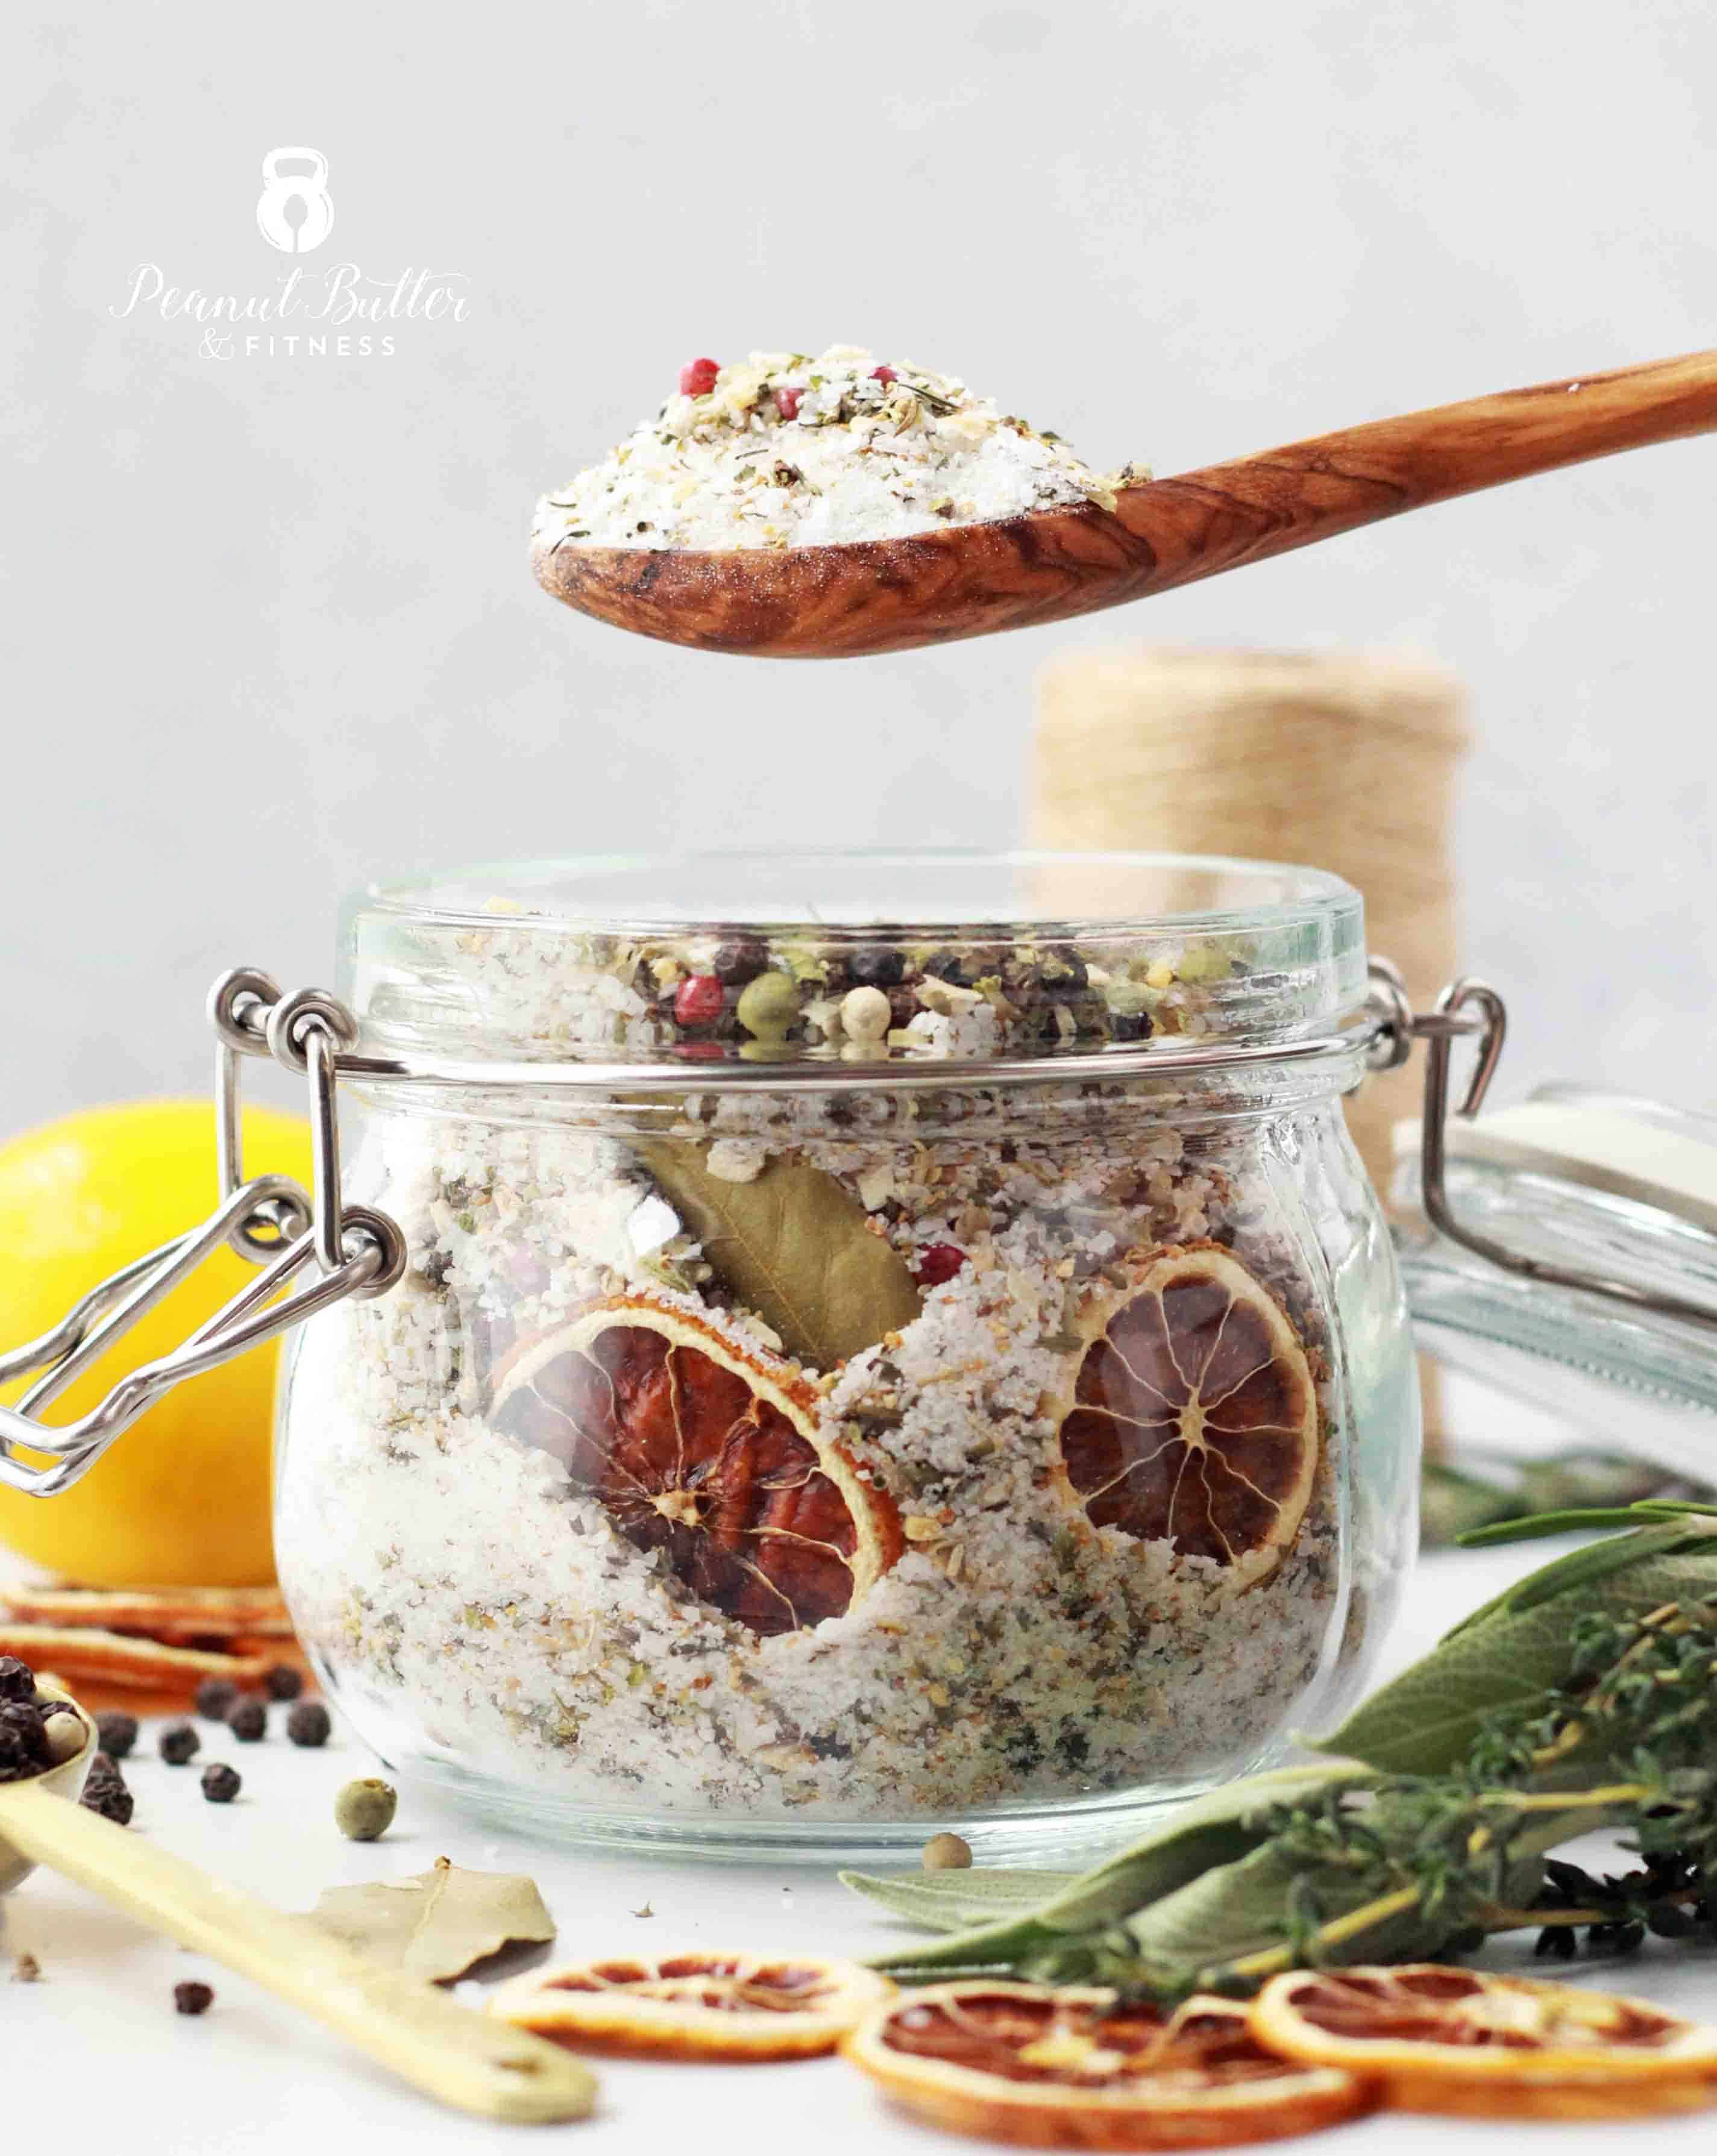
What is Brining?
Brining is a total game changer for chicken! It involves soaking the chicken in a salt solution for several hours. This changes the structure of the cells in the chicken so that they hold onto more liquid. When that liquid is flavored with salt and spices, the chicken gets incredibly flavorful and juicy! This is especially great for chicken breast that’s low in fat and more prone to drying out during cooking.
P.S. If you’ve been around PBF for a while, you know that this recipe has previously lived within my Homemade Brine Mix post. I decided to pull this recipe out and give it some dedicated space since it’s a classic, landmark of a recipe here now. Plus, the brine mix is so versatile with any kind of poultry or pork, so I want to make sure it has it’s own space too. Anywho, just a little behind the scenes info for anyone interested 🙂
What Temperature Should I Set My Air Fryer To?
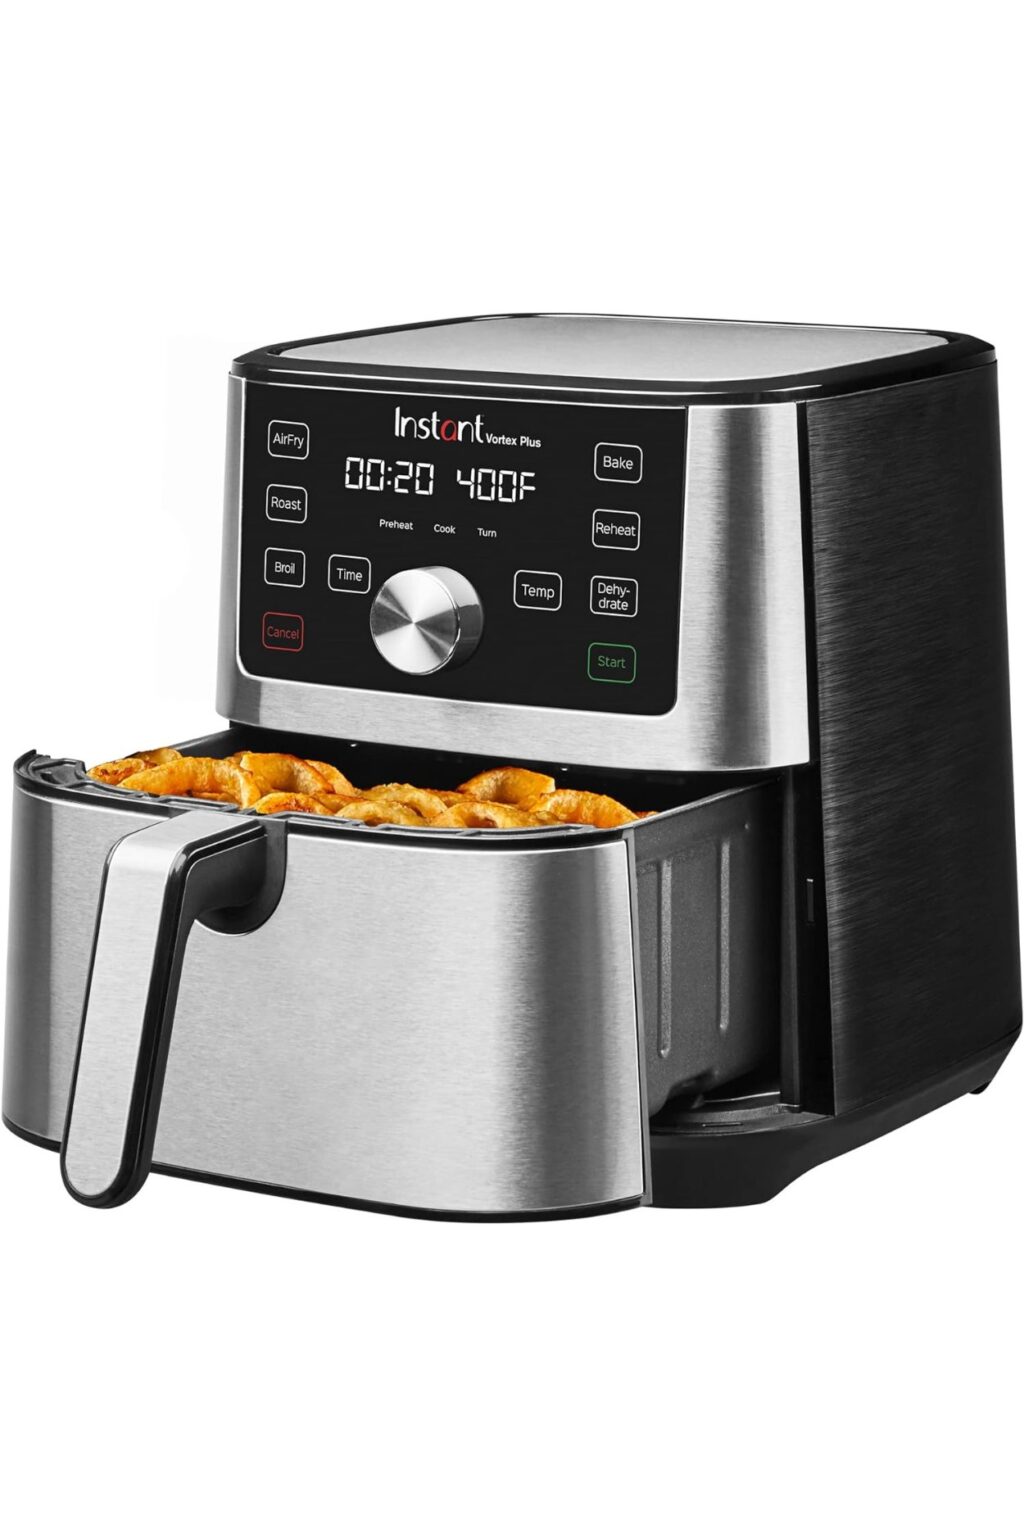
I’ve owned 2 air fryers and in my experience, even when they’re set to the same temperatures, they cook a bit differently. I don’t know if my last one ran hot (I never checked the temps), but something that I used to cook at 370° on my old air fryer, I now find myself cranking up the temps to 390-400° for the same results with my new Instant Pot Air Fryer.
Please don’t interpret this as me bashing my Instant Pot Air Fryer – quite the opposite actually! My old air fryer was a cheap model that I bought years ago without much research. I researched heavily before buying the Instant Pot one that I now own, plus I counted on the testers and reviewers over at America’s Test Kitchen for their expert opinions too.
All that to say…you may need to play with the temperatures a bit until you get to know your air fryer. As far as chicken goes, I personally love to crank up the temp as high as my air fryer will allow because I love the little crispy edges you get that way. So if you have one that goes above 400°, give this chicken a try at 450°. Obviously you’ll need to play with the cooking time a little so it doesn’t get overcooked, but somewhere between 9 and 12 minutes should get you there when cooking between 400-450°.
For more info on air fryer temps and oven conversions, check out the guides from Taste of Home and


How to Know When Chicken is Perfectly Cooked
I’m proud to say that I’ve been cooking chicken breasts during my weekly meal prep for long enough to know by feel when they are done. It took me years to get this method down to perfection, so the “poke test” is probably not the first method you should try (or the most scientific) to make sure your chicken is cooked through.
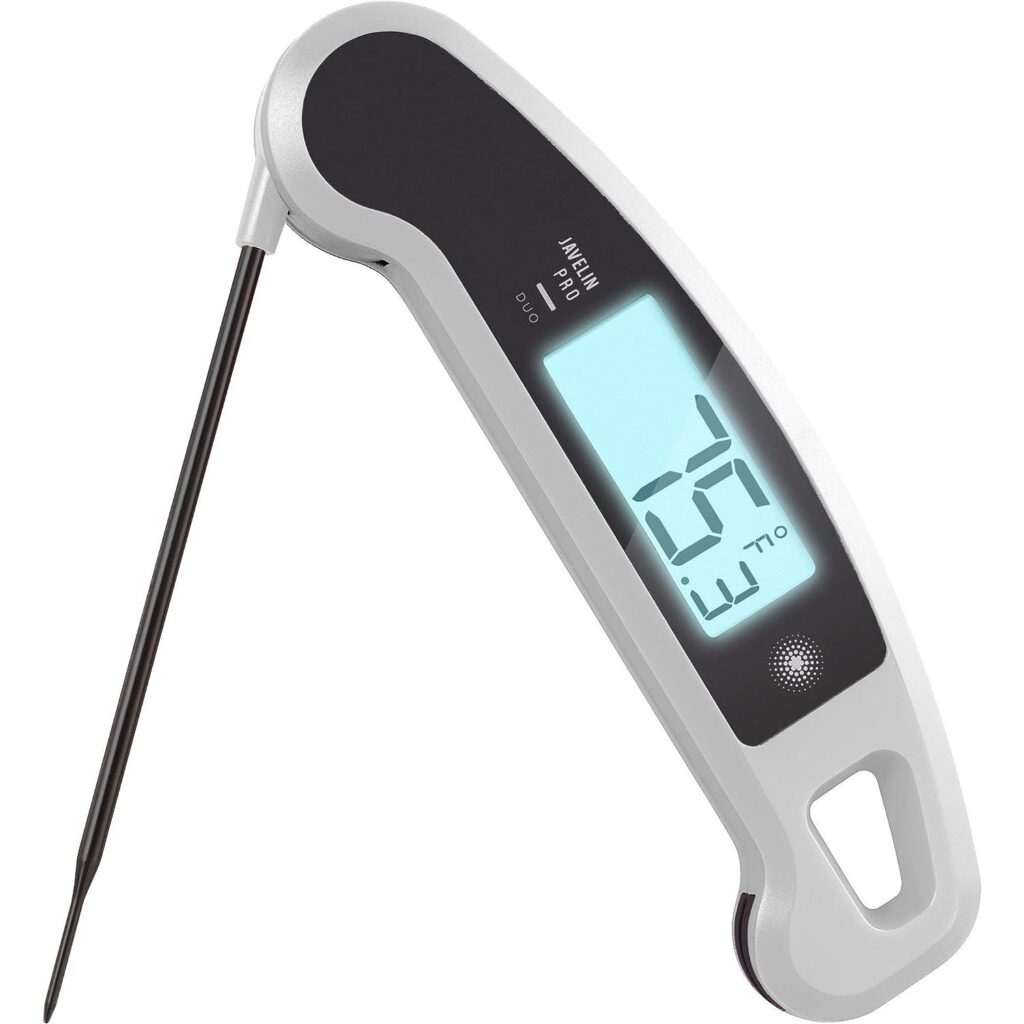
Chicken breast is generally considered cooked through when it reaches 165°F internally with a thermometer placed in the thickest part of the breast. HOWEVER, the problem with waiting until your thermometer reads 165° is that even if you remove the chicken from the heat source immediately when it reaches that temp, the carry through heat will continue cooking the chicken and raising the internal temp. Instead, remove the chicken from the heat source when it reaches about 160° in the thickest part of the breast and rest it for 3-5 minutes before slicing into it. This will ensure the chicken reaches a safe temperature and that you don’t lose all the juices when you cut into it!
Did you know? It’s also worth noting that although everyone says chicken breast must be cooked to 165° to be safe, chicken is actually considered safe to eat (ie. all salmonella killed) when it reaches 165° for 1 second OR 160° for 10 seconds OR 154° for 1 minute (and so on). So it’s really not as simple as forcing the chicken to 165° and calling it good. Check out the time/temperature tables here for more info, then go pick up a digital meat thermometer!
Shop for this Recipe
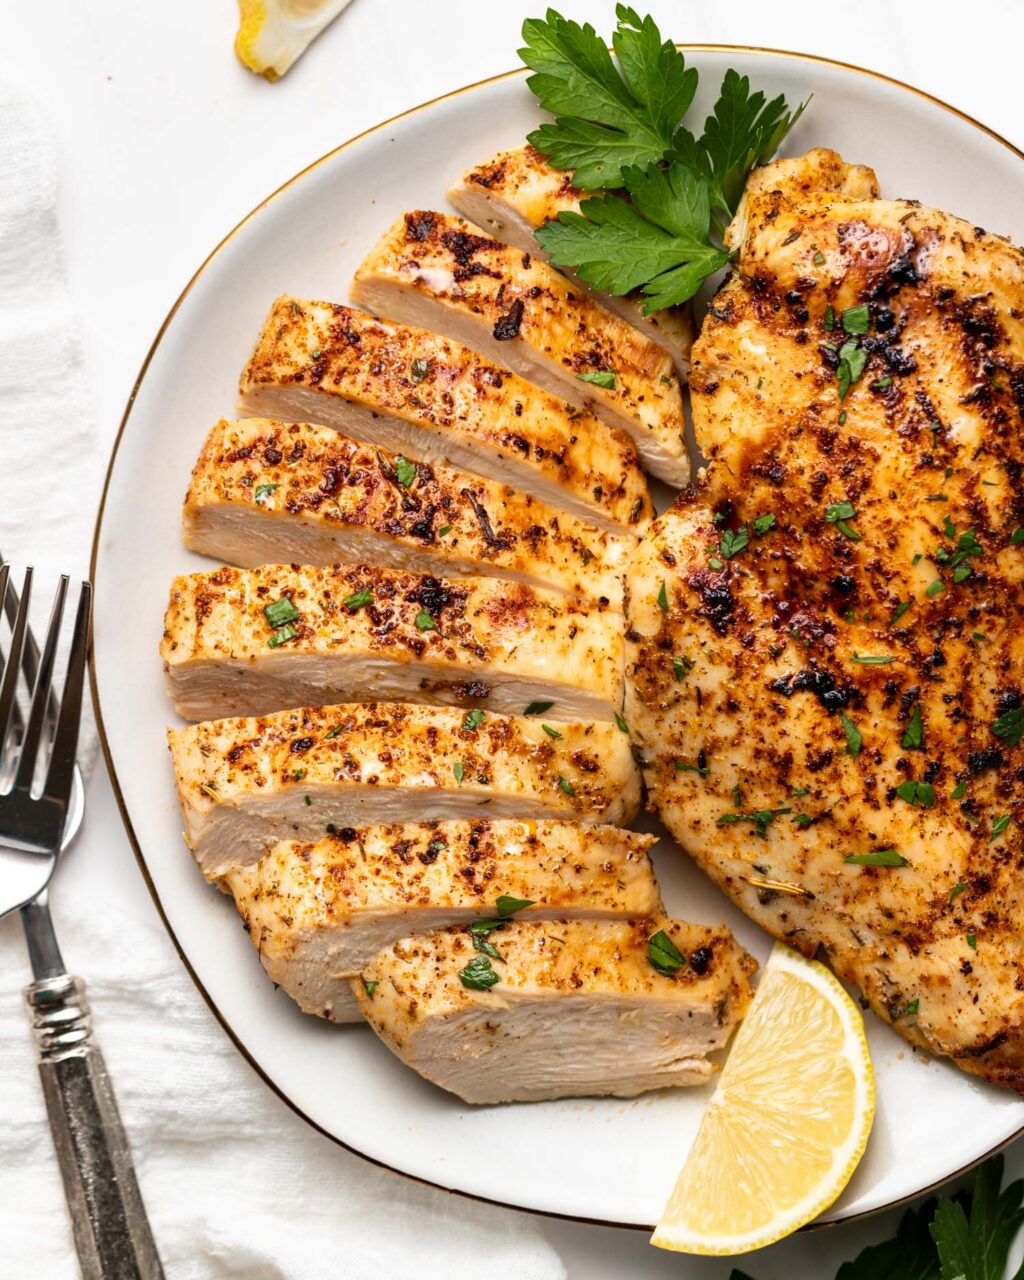
Juicy Air Fryer (or Grilled) Chicken
Ingredients
- 1 lb chicken breast, raw
- 2 cups water
- 3 tbsp Homemade Brine Mix
- 1 tsp olive oil
- 1/2 tsp Oh My Spice! Lemon Pepper Seasoning
- 1/4 tsp chili powder
- salt and pepper to taste
- water
Instructions
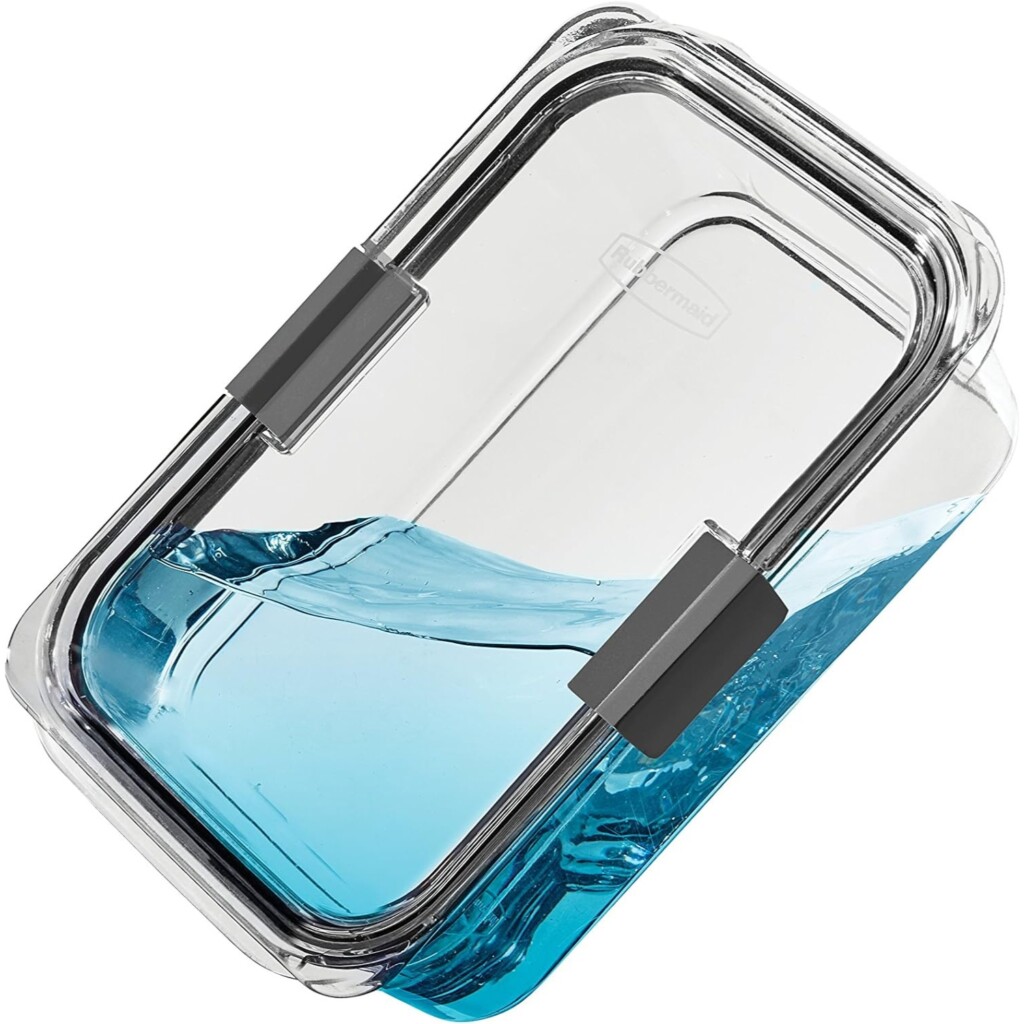
- Bring 2 cups water to a boil. Add brine mix and stir until dissolved. Pour over ice in a flat bottomed resealable container. Add chicken, then add additional water until chicken is submerged. Brine for at least 5 hours or up to 12 hours.

- Remove chicken from brine and rinse with cold water. Pat dry on a paper towel, then pound down the thicker end of the chicken breast until they are even thickness across.
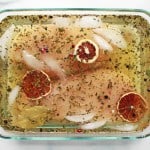
- Rub the chicken with 1 tsp olive oil until evenly coated. Season with salt, pepper, chili powder, and Oh My Spice! seasoning.

- Pre-heat the air fryer to 400°F.
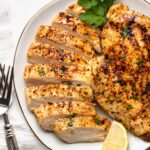
- Air fry the chicken at 400°F for 11-12 minutes, or until chicken reaches 160° in the thickest part of the chicken, flipping the chicken halfway through. Set aside to rest for about 3-5 mintes before slicing.
Tips & Tricks
Nutrition Information




Leave a Reply