Why You’ll Love This Recipe
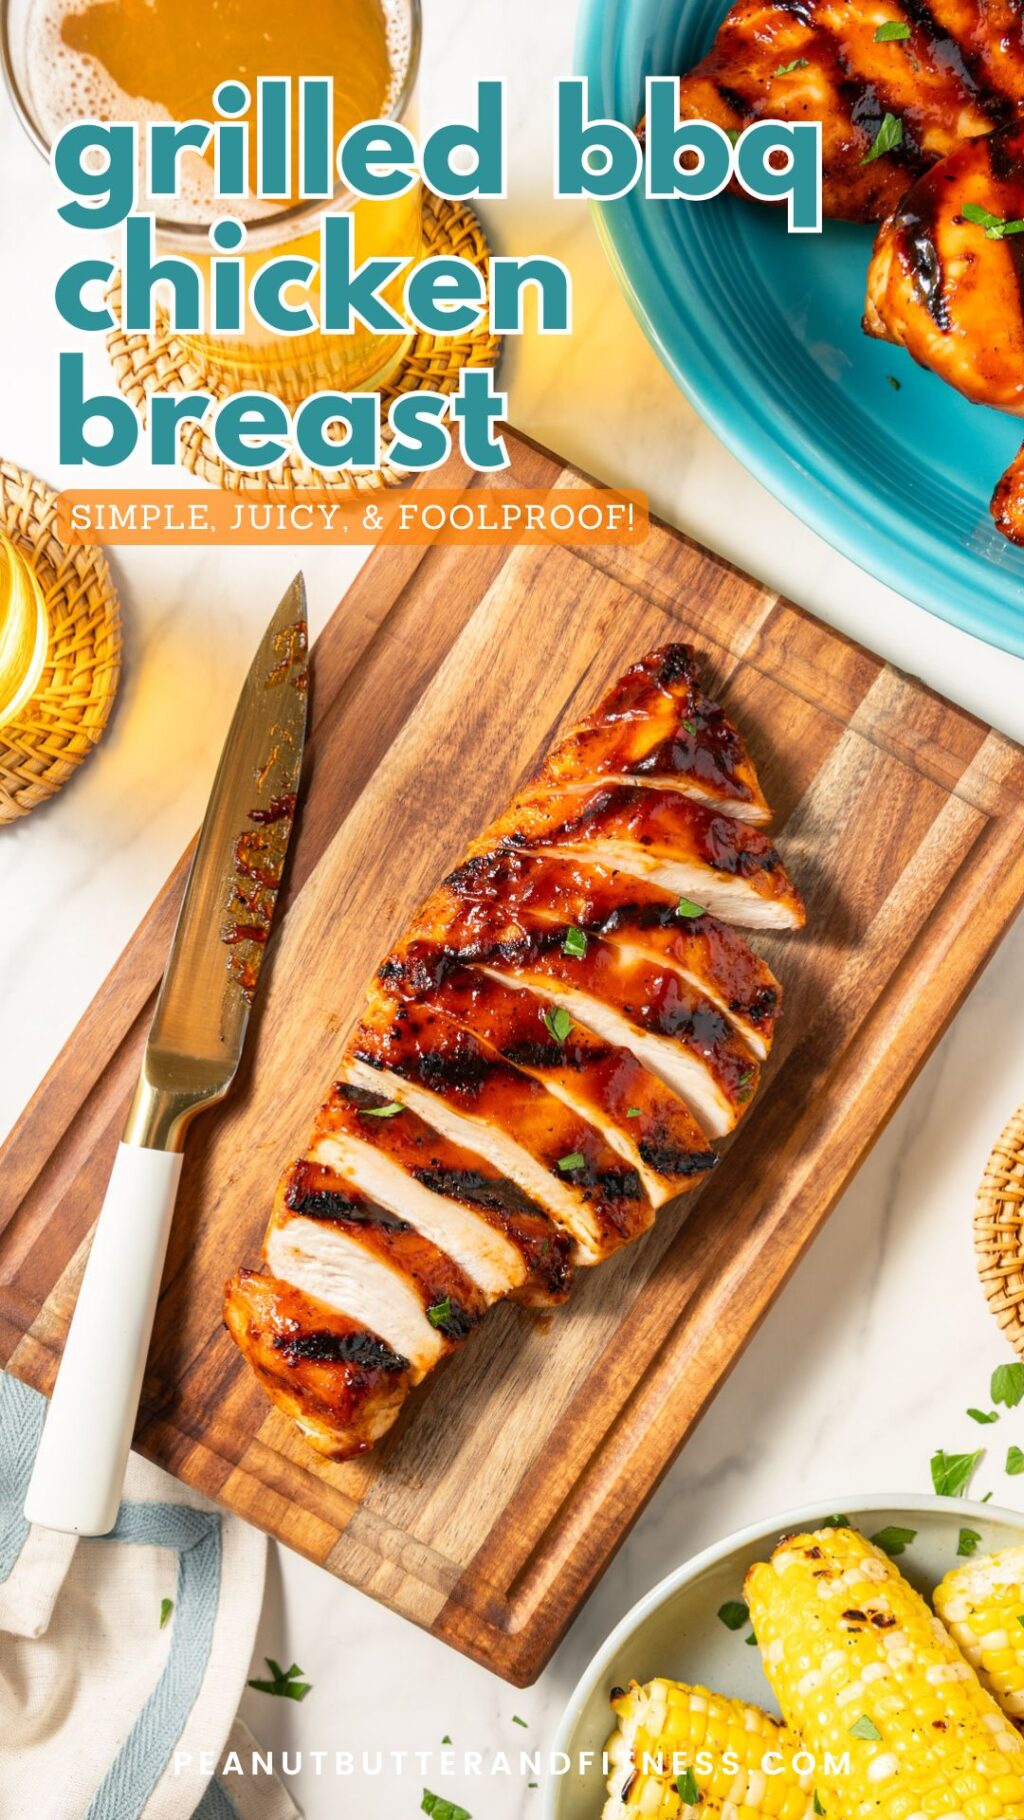
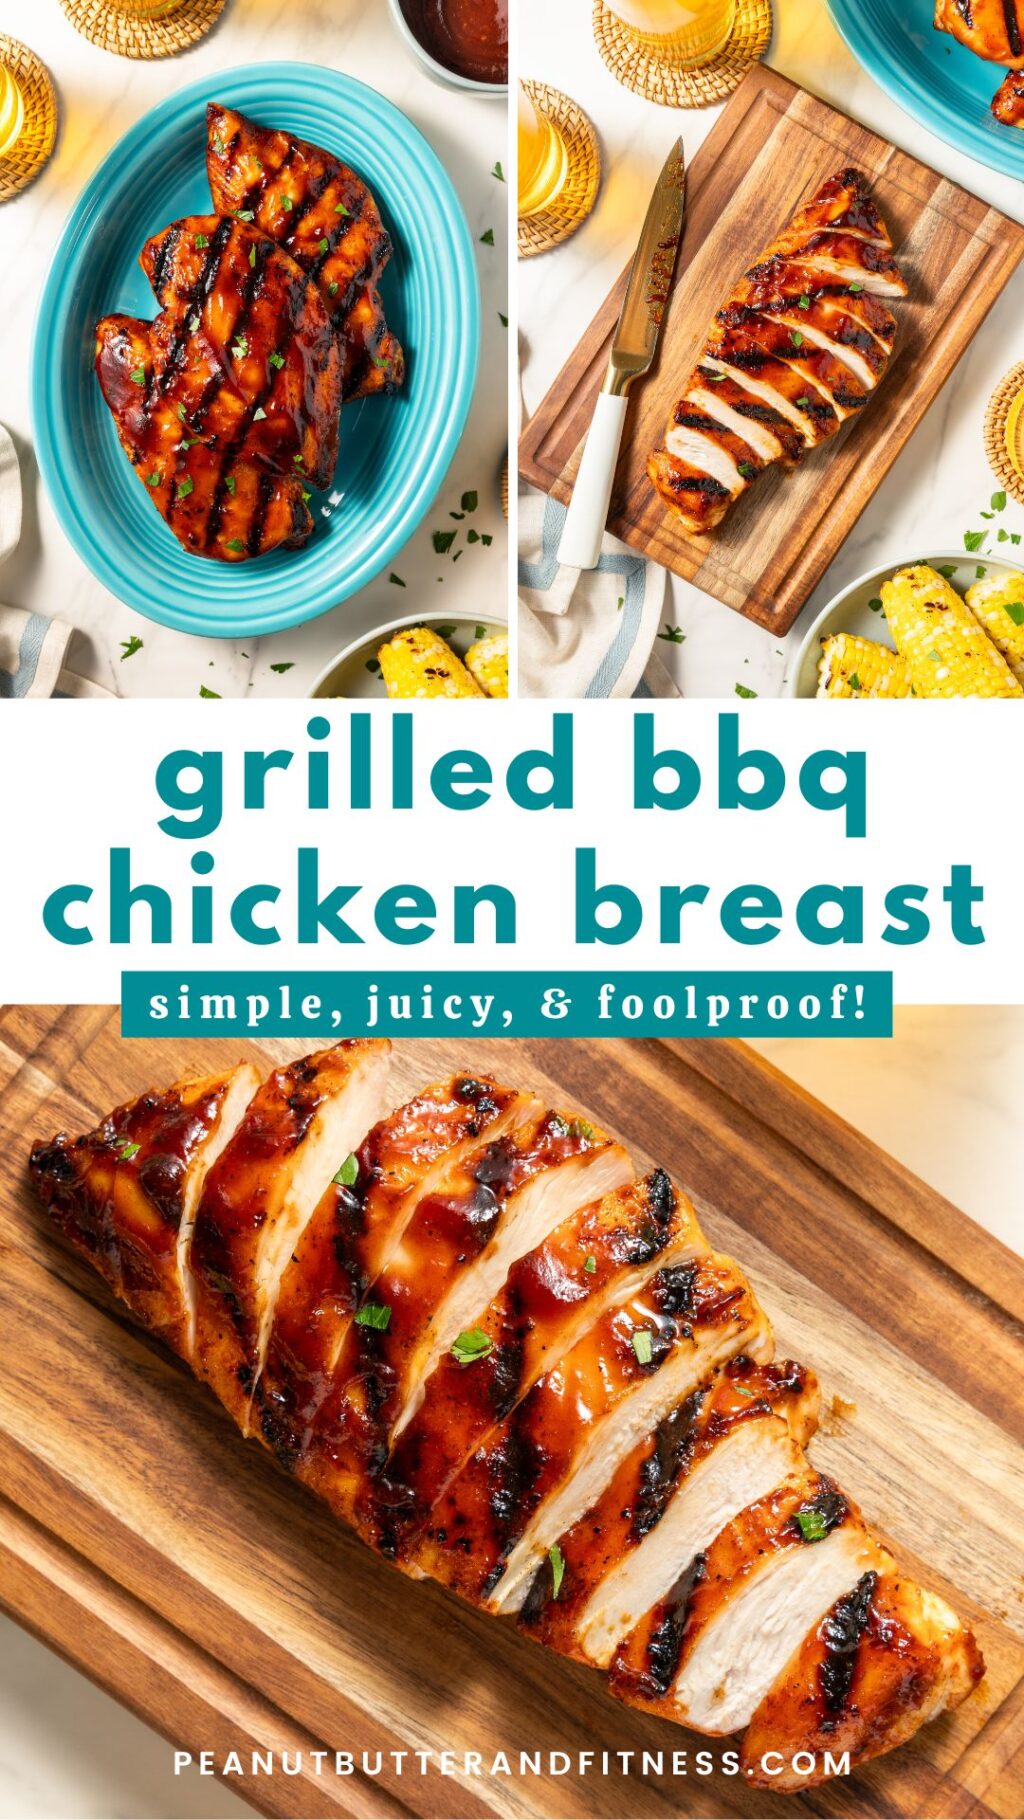
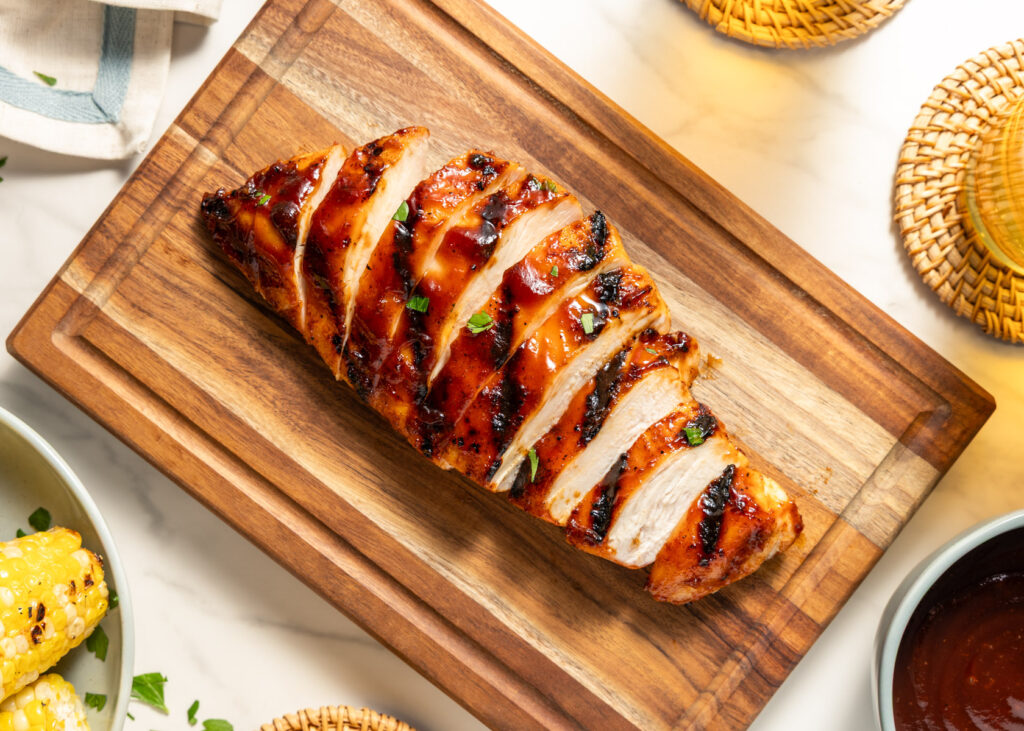
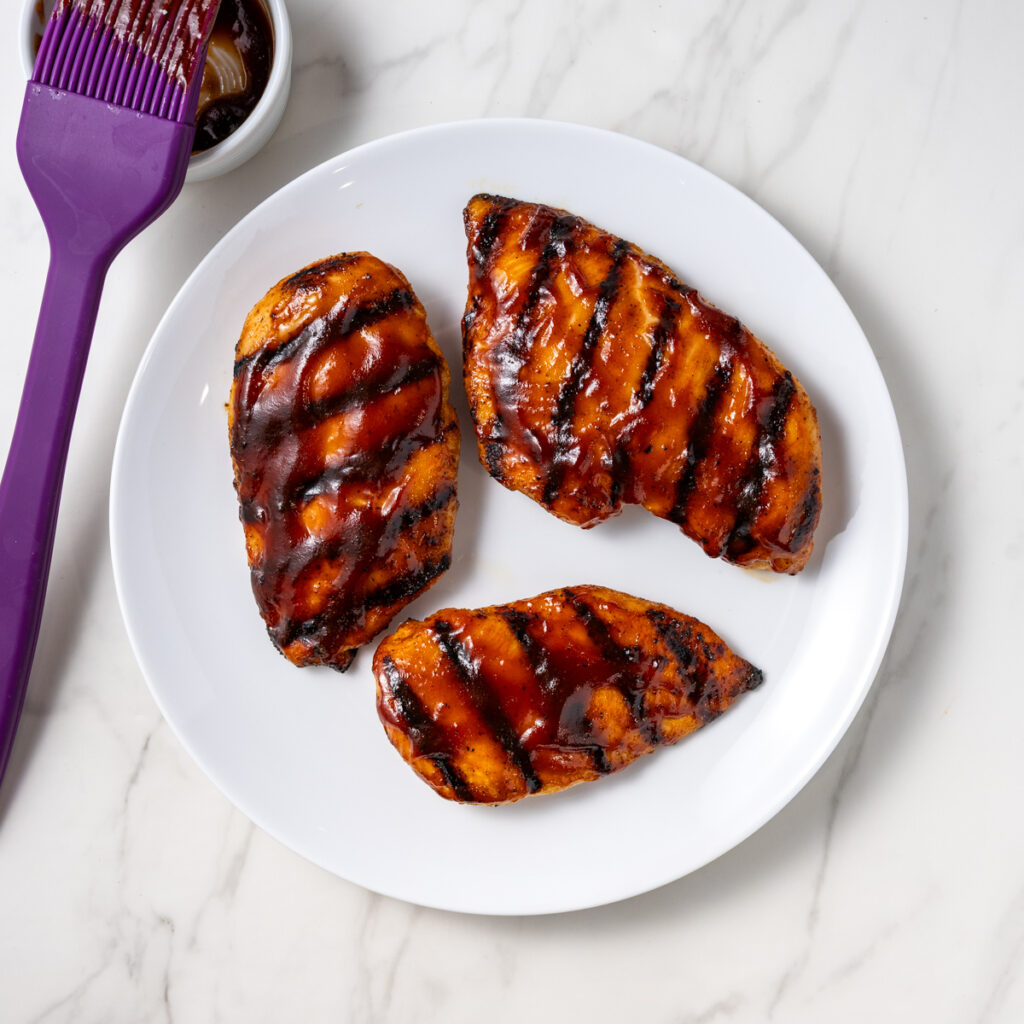
My dry brine and dry rub method is foolproof and forgiving, but results in perfectly juicy chicken breasts with a sticky BBQ sauce glaze that’ll wow your guests at summer barbecues!
serve it with:
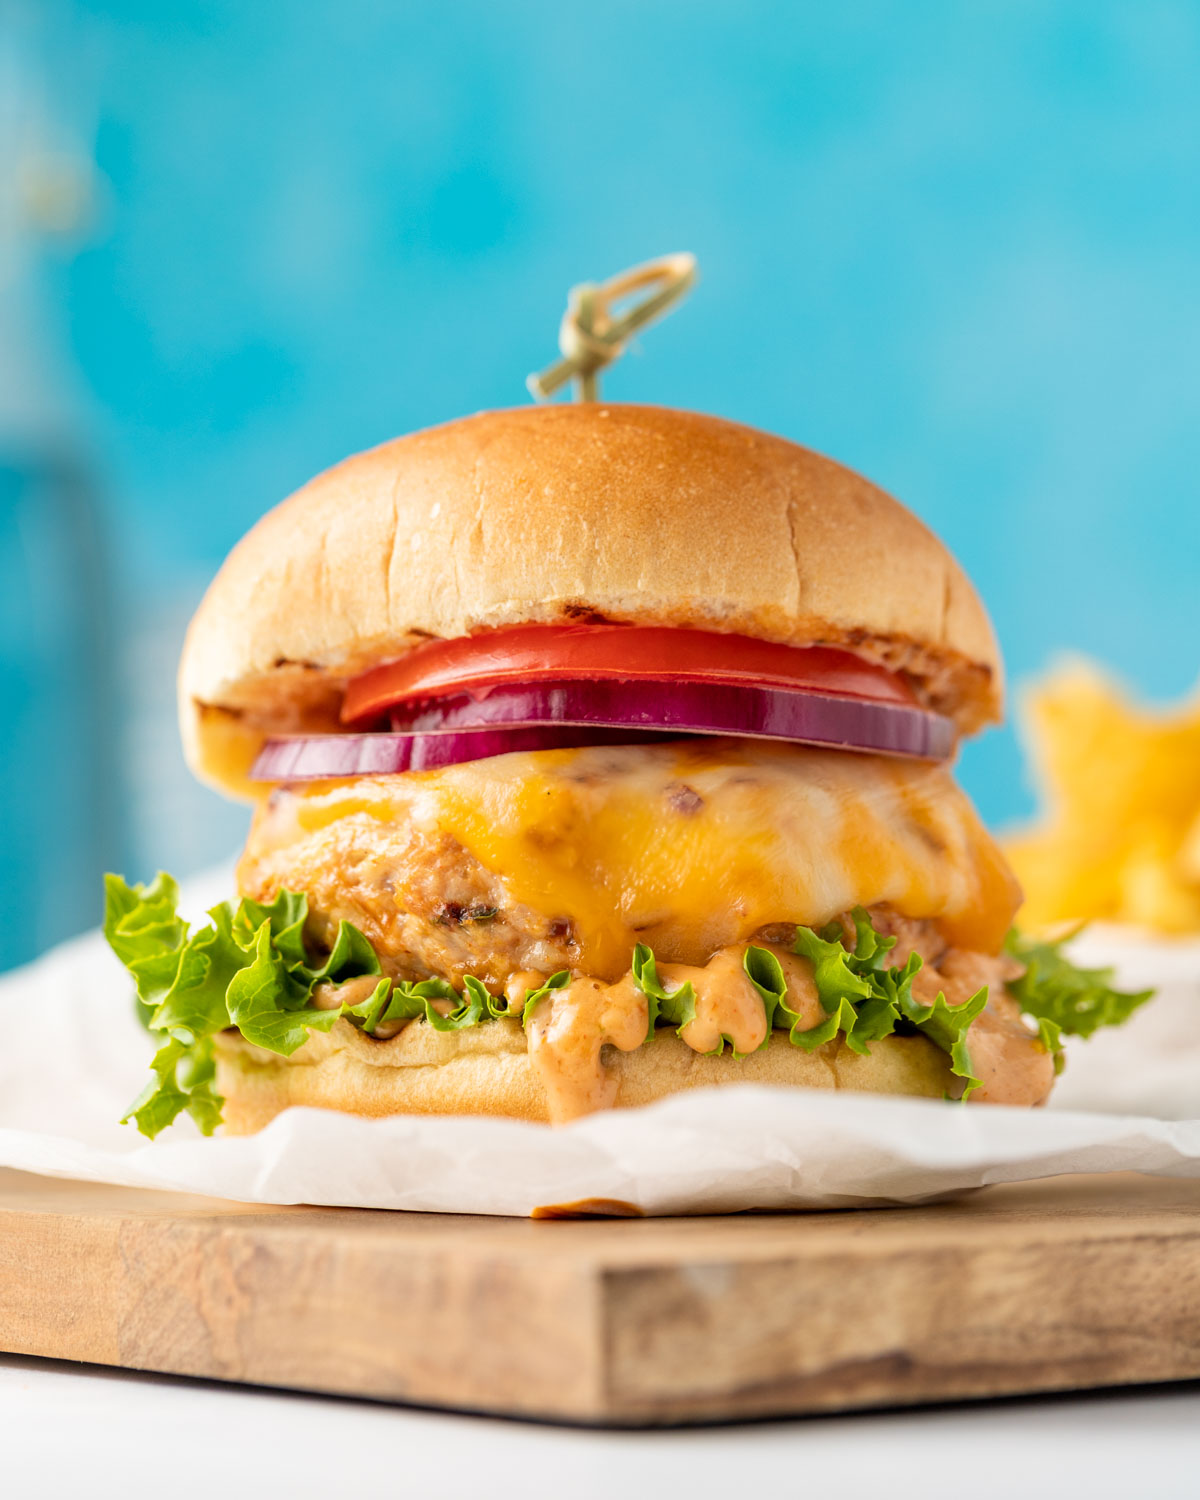
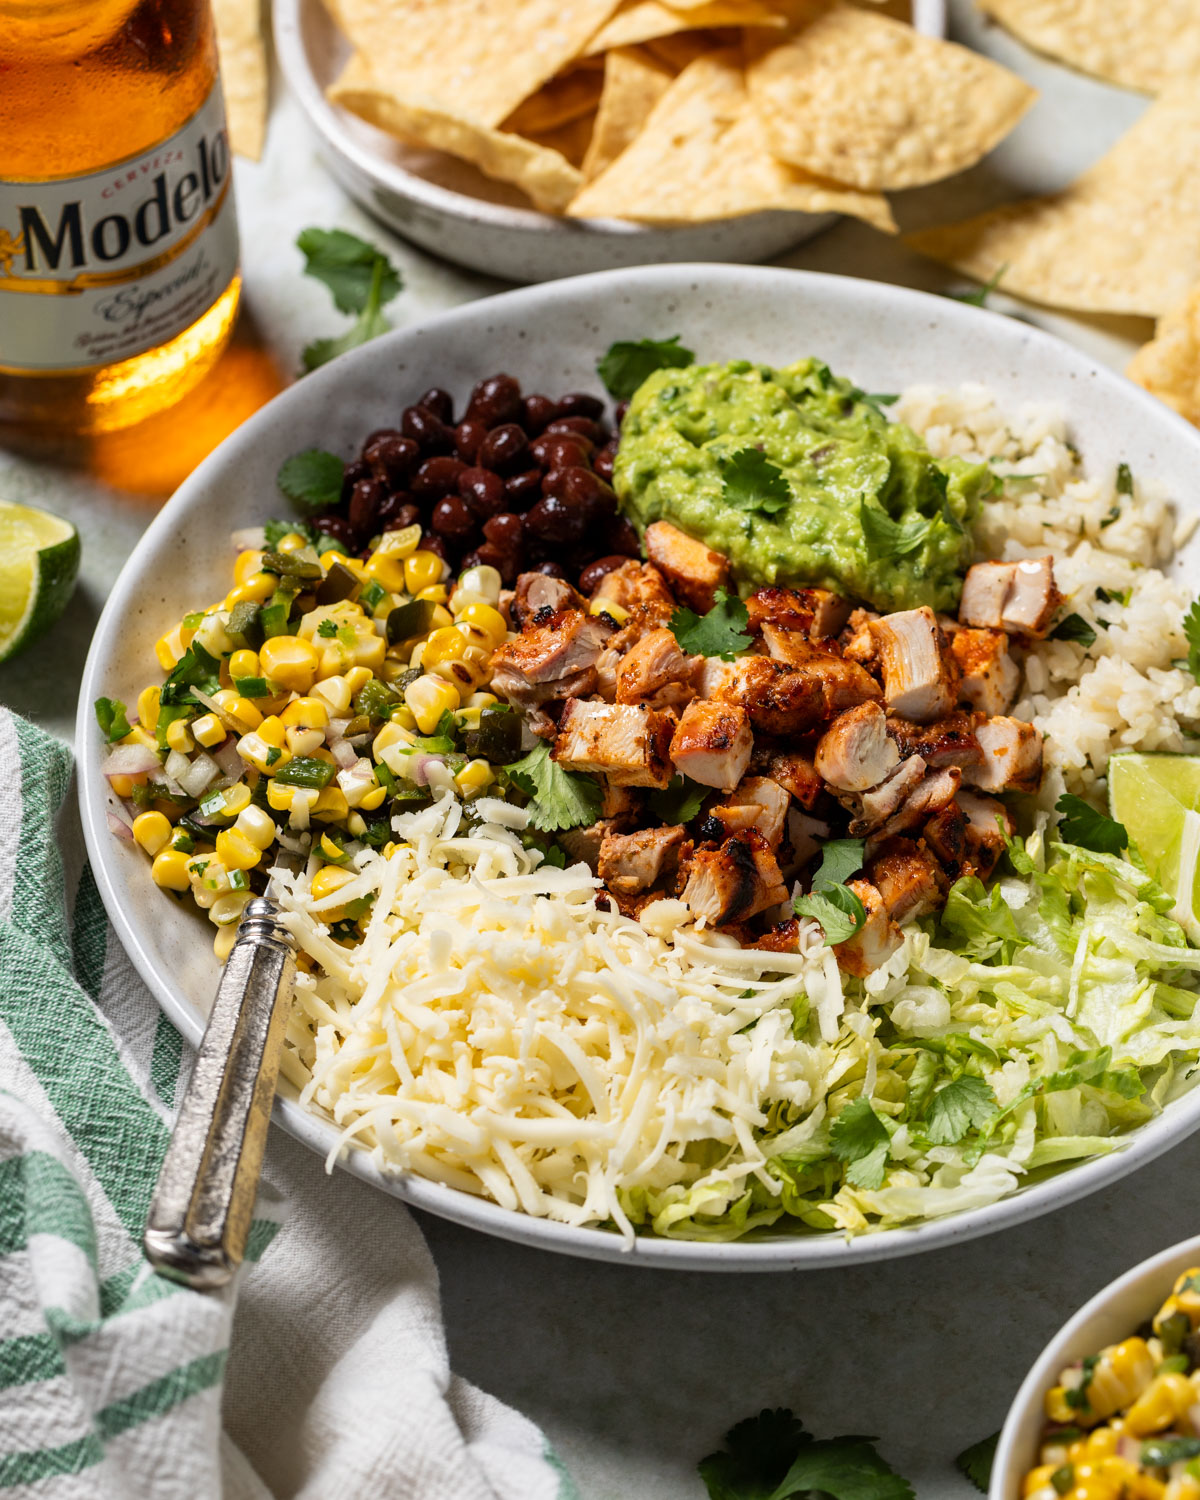
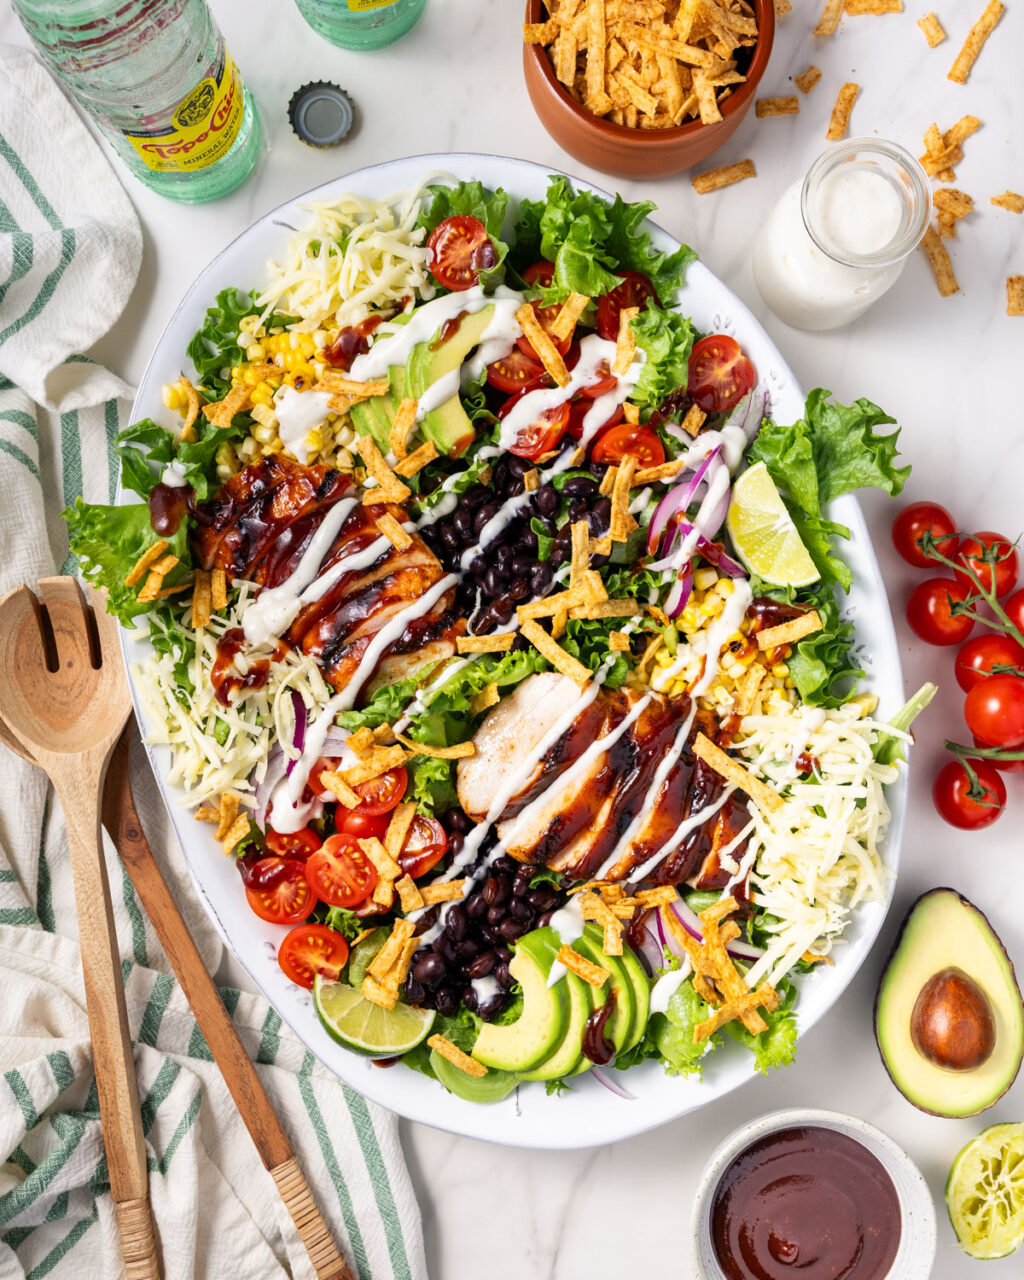
BBQ Ranch Chicken Salad
This hearty summer salad has 41 grams protein and 7 grams of fiber! It’s perfect for summer lunches with the family or make it ahead for meal prep.
It’s grilling season and I’m pumped to share my new Grilled BBQ Chicken Breast recipe! This one was a labor of love (and delicious eating) over the course of several weeks of testing different methods to get the juiciest, most flavorful BBQ chicken with the least amount of fuss.
When I went to start testing my BBQ Ranch Chicken Salad recipe, I realized that I didn’t actually have a tried and true method for barbecue chicken. So naturally, I started experimenting. There are a million ways to Sunday to barbecue a piece of chicken, many of which will claim to be “the best” – I just wanted to find my favorite way. I wanted something that didn’t take too much fussing, that was easy to replicate, stayed juicy, and packed a ton of flavor when grilled up on a regular old gas grill.


Flavor Experiments
I believe in science, so of course I had to keep track of all the methods I tried out before landing on my favorite. My 2nd attempt was the winner, but I went back to it and retested it twice after trying the other ways…just to be sure.
- Marinade only – This was the first and most obvious method to me. I whipped up a marinade made of BBQ sauce, soy sauce, salt, and some spices, then let the chicken marinate for about 8 hours. It was just okay. I thought the chicken lacked flavor overall and it wasn’t particularly juicy – it wasn’t exactly giving main character energy.
- Dry brine + dry rub – After the marinade only flop, I started reading up on BBQ food science and decided to give this method a try. Normally I use a wet brine when I grill chicken, but I wanted something less fussy, especially since I’d still need another step to impart flavor. Here, I dry brined for about 7 hours, patted it with a brown sugar and spice dry rub and let it rest for another 2. I thought the flavor of this method was awesome and the BBQ sauce on top held on nicely. While the chicken was juicy, the dry brine made the texture slightly more firm than what I’m used to with wet brine.
- Wet brine + dry rub – This tastes mostly the same as the dry brine + dry rub method, maybe just a litttttle bit juicier. To me it’s not worth the extra effort of wet brining. For this test, I wet brined for about 6 hours, patted the chicken dry, then let it rest covered in the dry rub for about two hours.
- Wet brine + marinade – Similar to the wet brine + dry rub method, this one was a little juicer than the dry brine and dry rub method, but was just not worth the extra effort. I also didn’t really think the marinade added more flavor than you get with the dry rub. Here I did about 5 hours in the brine, and another 6 in the marinade.
the science of
Dry Brining
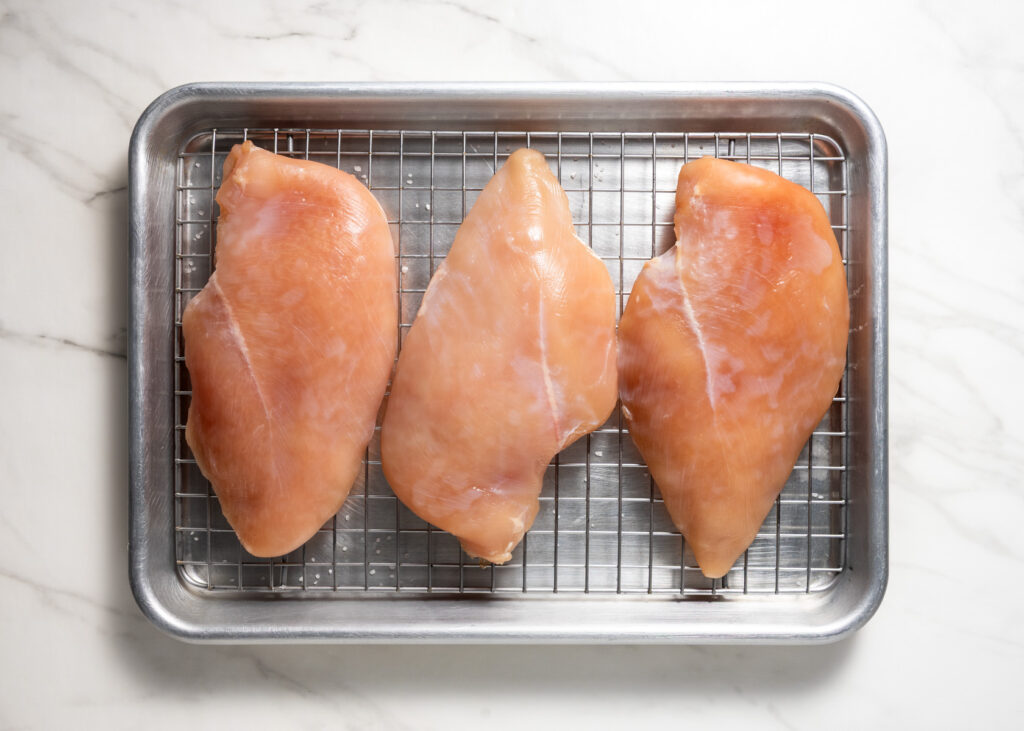
If you’re not used to this method it can seem a little strange at first (and the chicken winds up looking a little strange and splotchy too). You sprinkle salt on chicken and leave it uncovered on a rack, exposed to the air in your refrigerator for hours on end? Yep, and that’s the whole method. Here’s how it works to make chicken juicy:
- Salting the surface of the chicken causes the chicken to release some juices.
- Those juices come to the surface where they combine with and dissolve the salt.
- As the chicken rests, the salty solution gets reabsorbed into it.
Not only is the chicken now seasoned from the inside out, the salt also helps break down certain proteins in the muscle fibers of the meat, preventing it from contracting and releasing as much of the chicken’s natural juices as it cooks. The dry surface of the chicken is easier to get a hard sear and delicious, crispy grill marks.
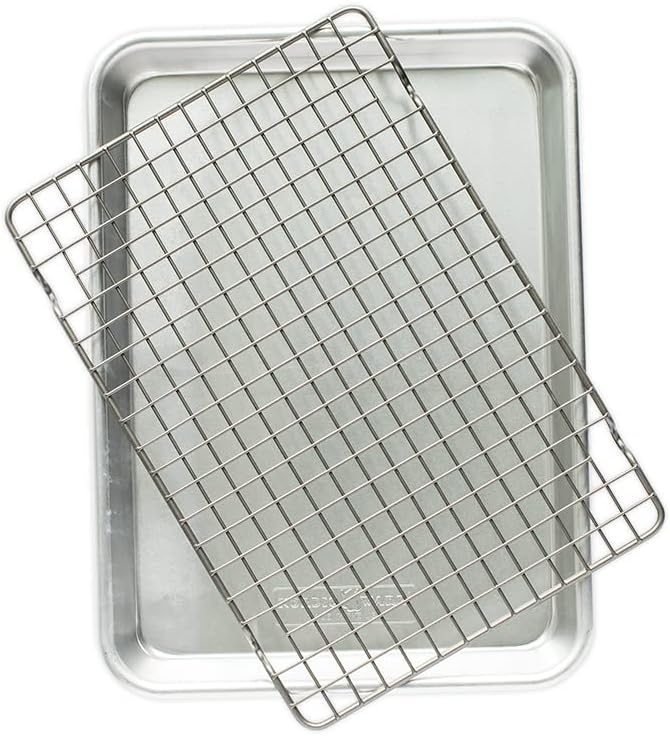
The key to this method is time – you really can’t rush it and the minimum time for the salt solution to get reabsorbed is about 4-6 hours (though some recipes will say all you need is an hour). The benefit is that it’s super easy and less messy than wet brining. All you need is a baking sheet with wire rack, kosher salt, and time.

The Cooking Method
It’s important to note that all of my flavor experiments were tested out on a gas grill – no smokers or other fancy cooking methods that might impart other flavors during the cooking process.
Some recipes that will tell you that once you brush on the BBQ sauce, you need to put the chicken over a low heat section of the grill to allow the sauce to caramelize and adhere to the chicken. While that may be the best option for bone-in thighs or other longer cooking cuts of chicken, the boneless, skinless chicken breast I’m using is super lean and doesn’t have a lot of wiggle room when it comes to adding cooking time.
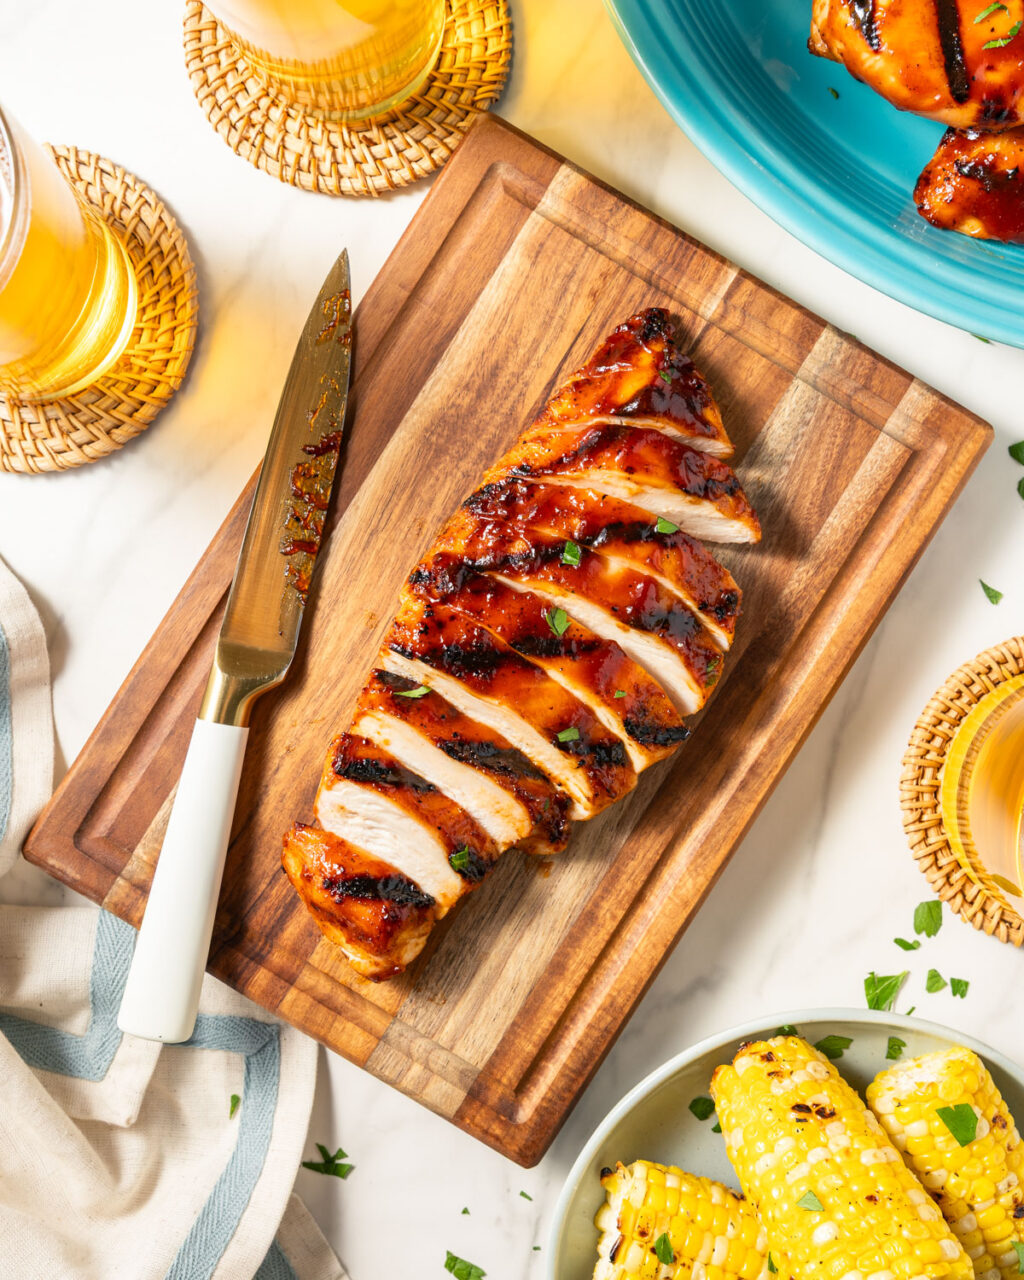
Instead, what I like to do is get a good hard sear on the “nice side” of the chicken breasts and cook for 6 minutes at about 450-500°F, then flip them and brush with BBQ sauce. Then I lower the heat a little to about 400°F and cook for about 6 more minutes. Depending on how thick the pieces are, they may need another minute or two. Some BBQ snobs may poopoo this method, but hey – I am absolutely a grilled chicken snob and I care most about getting a perfect cook on the chicken. And the reality is that the BBQ sauce sticks to the chicken just fine this way.

Ingredients and Substitutions
Here’s what you’ll need to make this Grilled BBQ Chicken Breast recipe:
- Chicken – Of course! This recipe is specifically made for juicy chicken breasts because they are the most fussy cut, but the recipe will absolutely work with thighs too.
- BBQ sauce – Pick one that you love. See my notes below on what to look for best results, but you definitely want something on the thicker side.
- Kosher salt – Kosher salt specifically is key to the dry brining process. Some people even swear by specific brands of kosher salt, but any kosher salt will do here. Regular table salt has smaller crystals and will make the chicken too salty.
- Brown sugar – I used brown sugar in the dry rub and even though some of it will “melt” off as the chicken rests, the goal with the brown sugar is to help get gorgeous grill marks the moment the chicken hits the hot grill grate. Since chicken breast cooks quickly, it can otherwise be hard to get really good char marks in the short time it takes to cook.
- Spices – You can play with this mix a little if you want, but I loved this combo for plenty of flavor and a little spicy kick. You can even add the spices along with the salt during dry brining if you want, but not the brown sugar.

pick a winner:
Barbecue Sauce
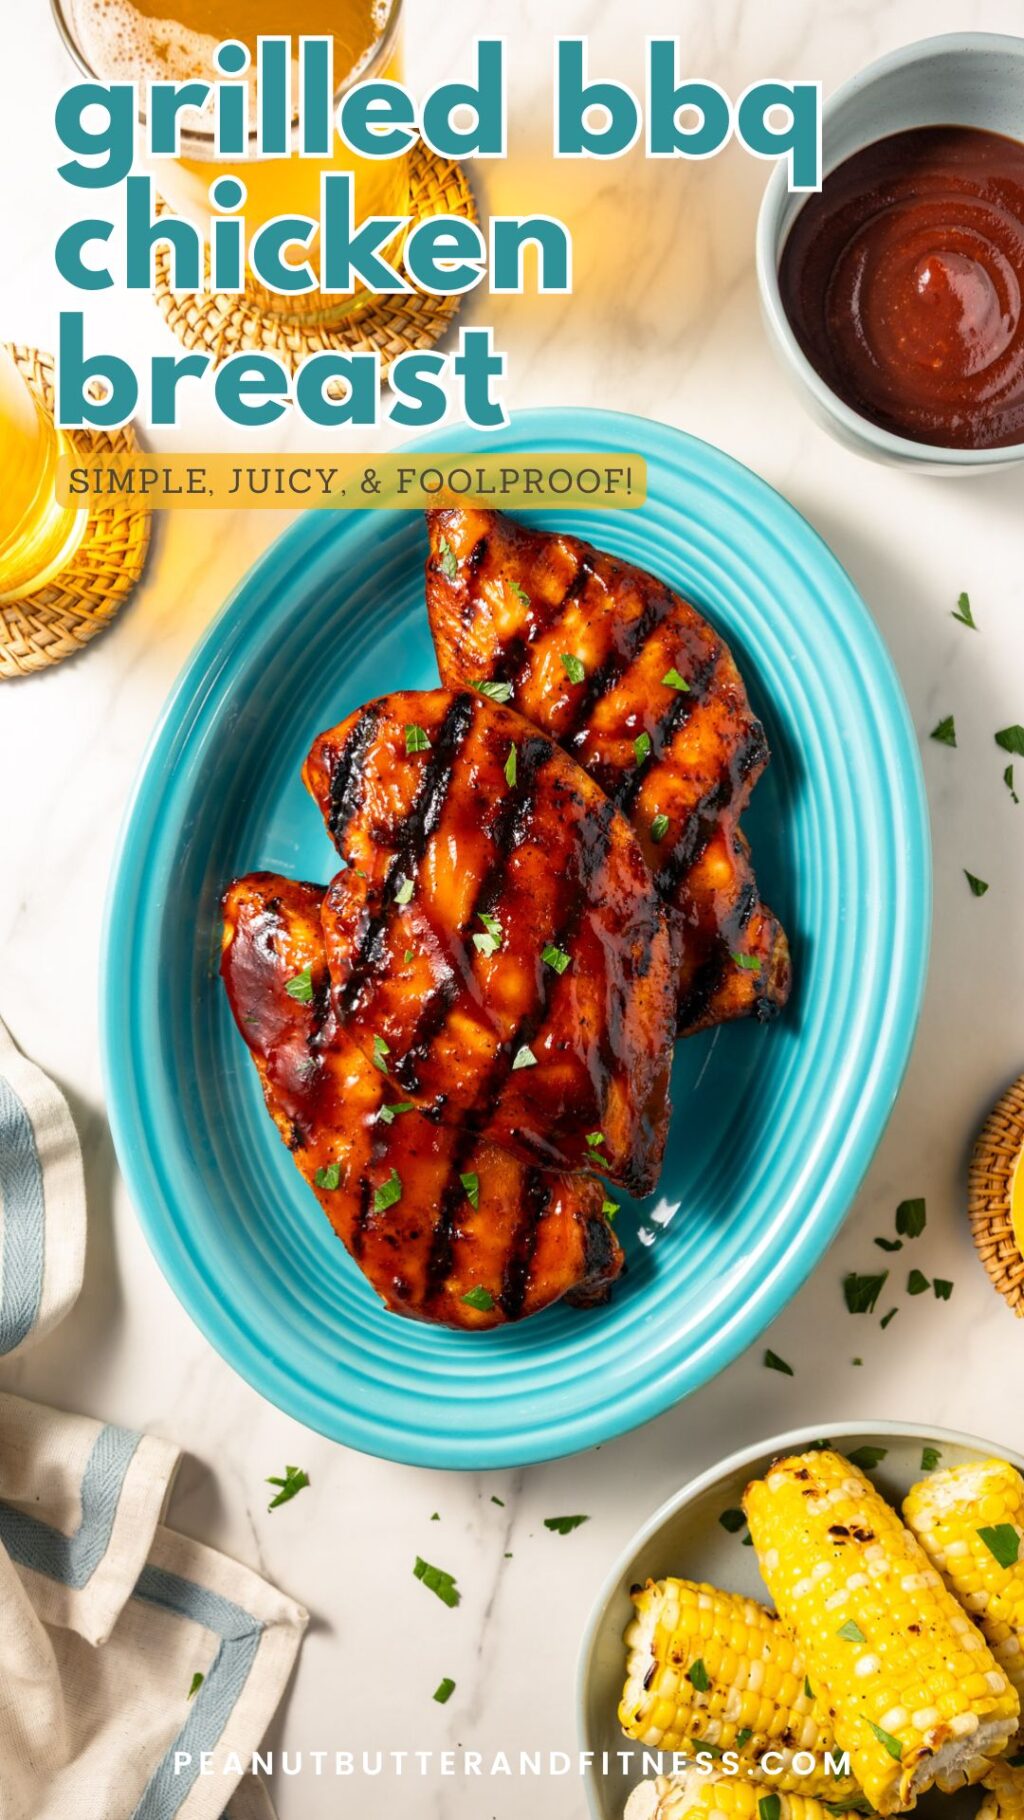
Use whatever tomato-based barbecue sauce you love on this chicken! Something that’s got sweetness, smokiness, and a little kick of spice is perfect for this recipe. It’s also helpful if it’s a little on the thick side so it doesn’t just drip off the chicken when you’re grilling. Kansas City style seems to fit the bill perfectly!
I’m not really a BBQ connoisseur, but I used Sweet Baby Ray’s Original Barbecue Sauce and enjoyed it with this recipe.
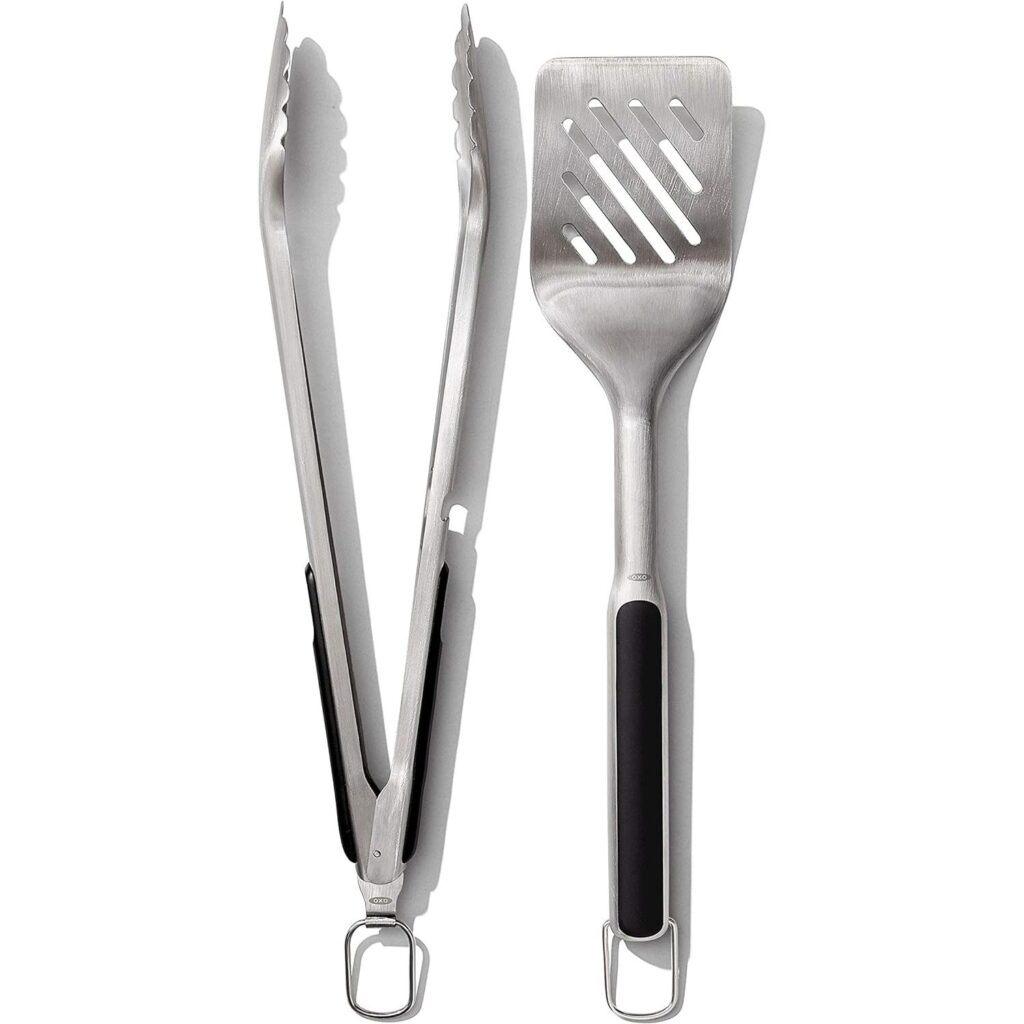
Shop for This Recipe
The exact grill brush that I use and love is from Thermoworks. It’s not available on Amazon, but is on sale right now for over half off! Here’s the link to it in case you want the exact one I have!

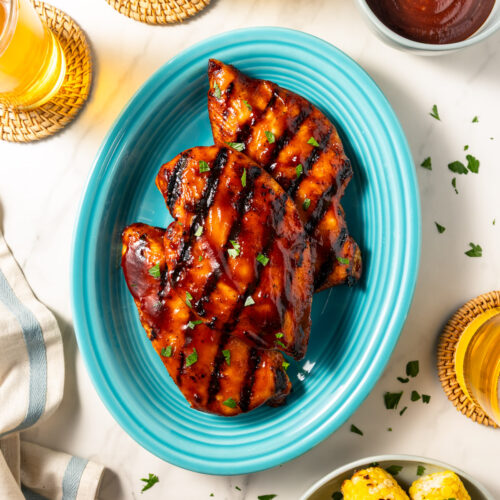
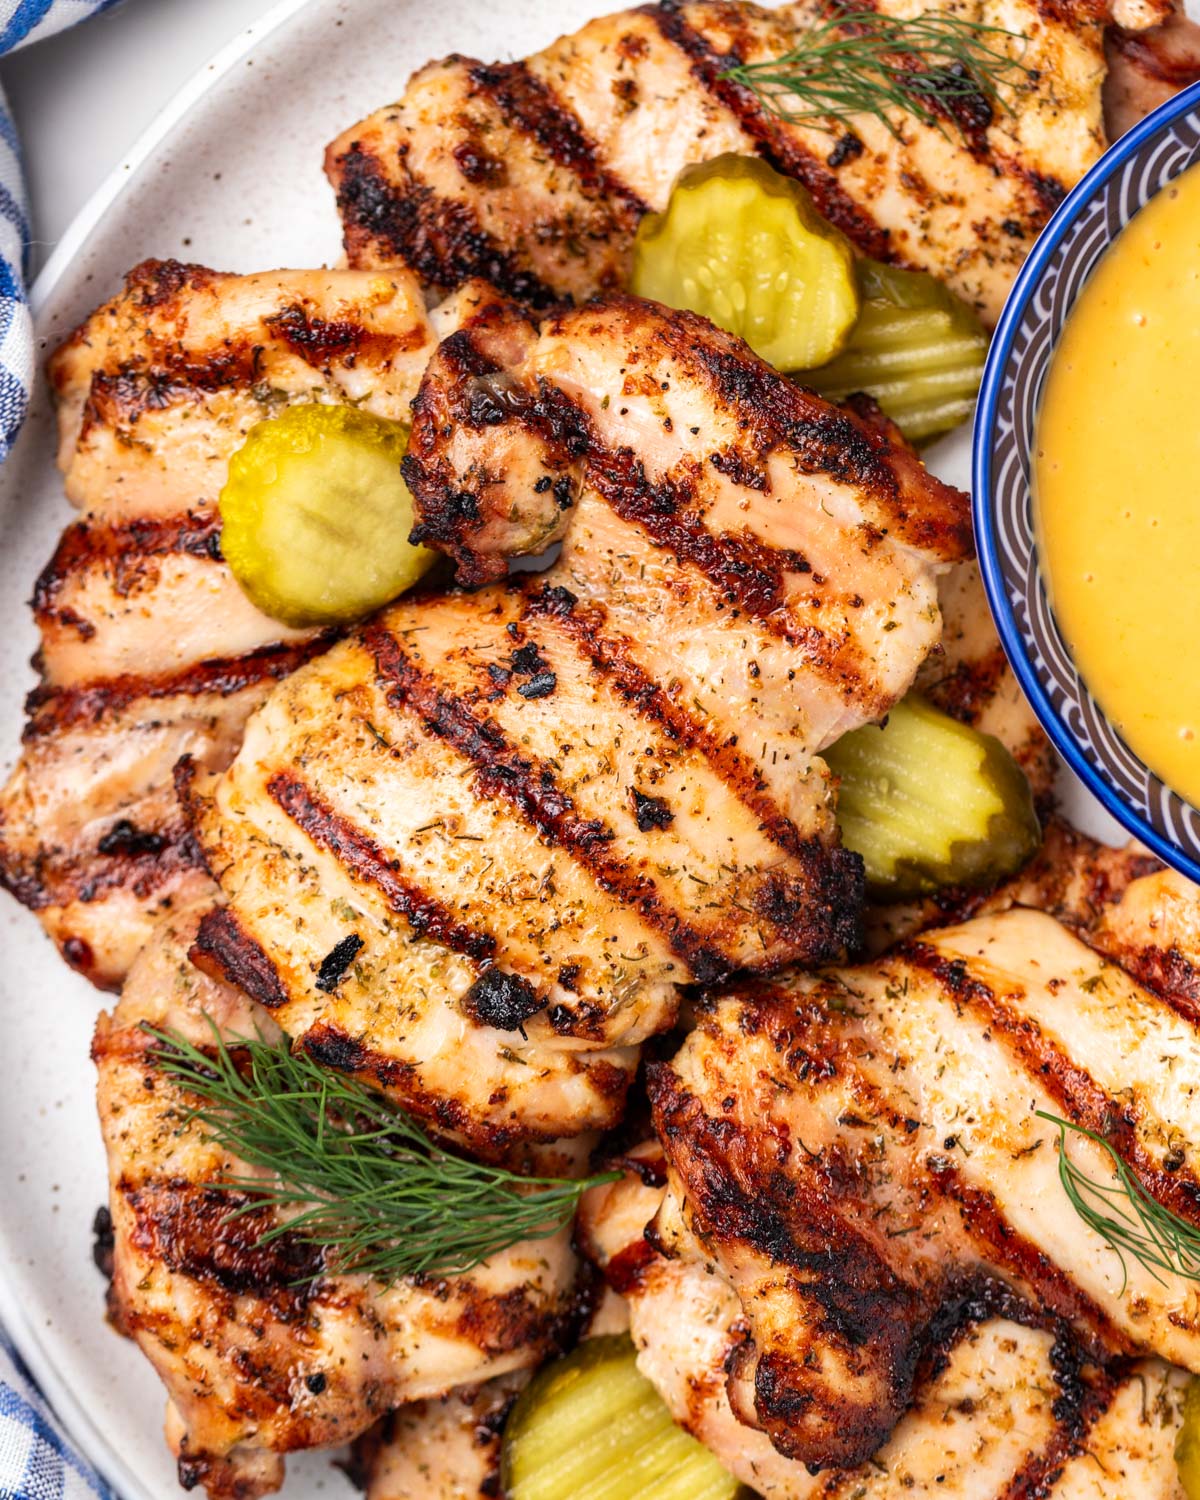
Grilled BBQ Chicken Breast
Ingredients
- 1 1/4 lb chicken breast, raw
- 1/3 cup Sweet Baby Ray's Original Barbecue Sauce, (96 grams)
- 1/2 tbsp olive oil
- 2 tbsp brown sugar
- 1 1/4 tsp kosher salt
- 1/2 tsp each: smoked paprika, ground mustard, cumin, garlic powder
- 1/4 tsp each: chili powder, black pepper
Instructions
- Place 1 1/4 lb chicken breast, raw on a small rimmed baking sheet with paper towels under and over it. With a mallet or closed fist, pound the chicken to even thickness. Add a wire rack under the chicken on the baking sheet, then season both sides with 1 1/4 tsp kosher salt. Set aside in the refrigerator, uncovered, to dry brine for at least 6 hours or up to 24 hours.
- Mix 2 tbsp brown sugar, 1/2 tsp each: smoked paprika, ground mustard, cumin, garlic powder, and 1/4 tsp each: chili powder, black pepper on a plate. Press the dry-brined chicken breasts into the dry rub mixture to coat on both sides. Return the chicken to the wire rack and baking sheet. Refrigerate, uncovered, for an additional 1-3 hours.
- After the chicken has rested in the dry rub, pat both sides dry with a paper towel again and rub with 1/2 tbsp olive oil. Set aside at room temperature while heating the grill.
- Pre-heat the grill to 450-500°F. Rub the grill grates with vegetable oil or spray with non-stick grill spray. Add the prepared chicken, "nice" side down, and cook for 6 minutes.
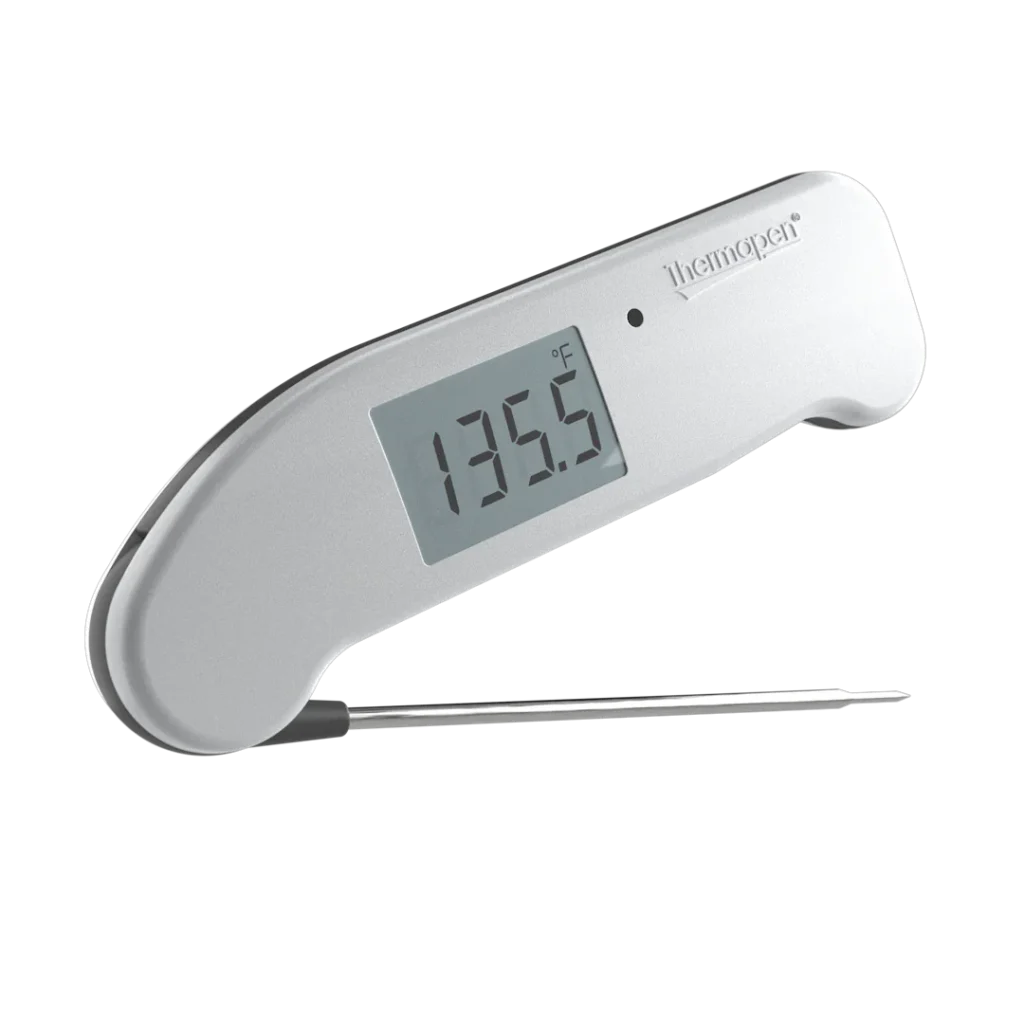
- Flip the chicken, then brush with 1/3 cup Sweet Baby Ray's Original Barbecue Sauce. Lower the heat to about 400°F and continue to grill for 5-7 minutes or until the chicken is cooked through. Set aside to rest for 5 minutes before serving.
Tips & Tricks

Nutrition Information